Teenage Engineering Speaker
Spring 2023|14 Weeks|Individual Project The objective for this project was to design and fabricate a working bluetooth speaker based on a chosen brand and its identity. I decided to design for teenage engineering, I wanted to conceptualize a speaker for a maker space.
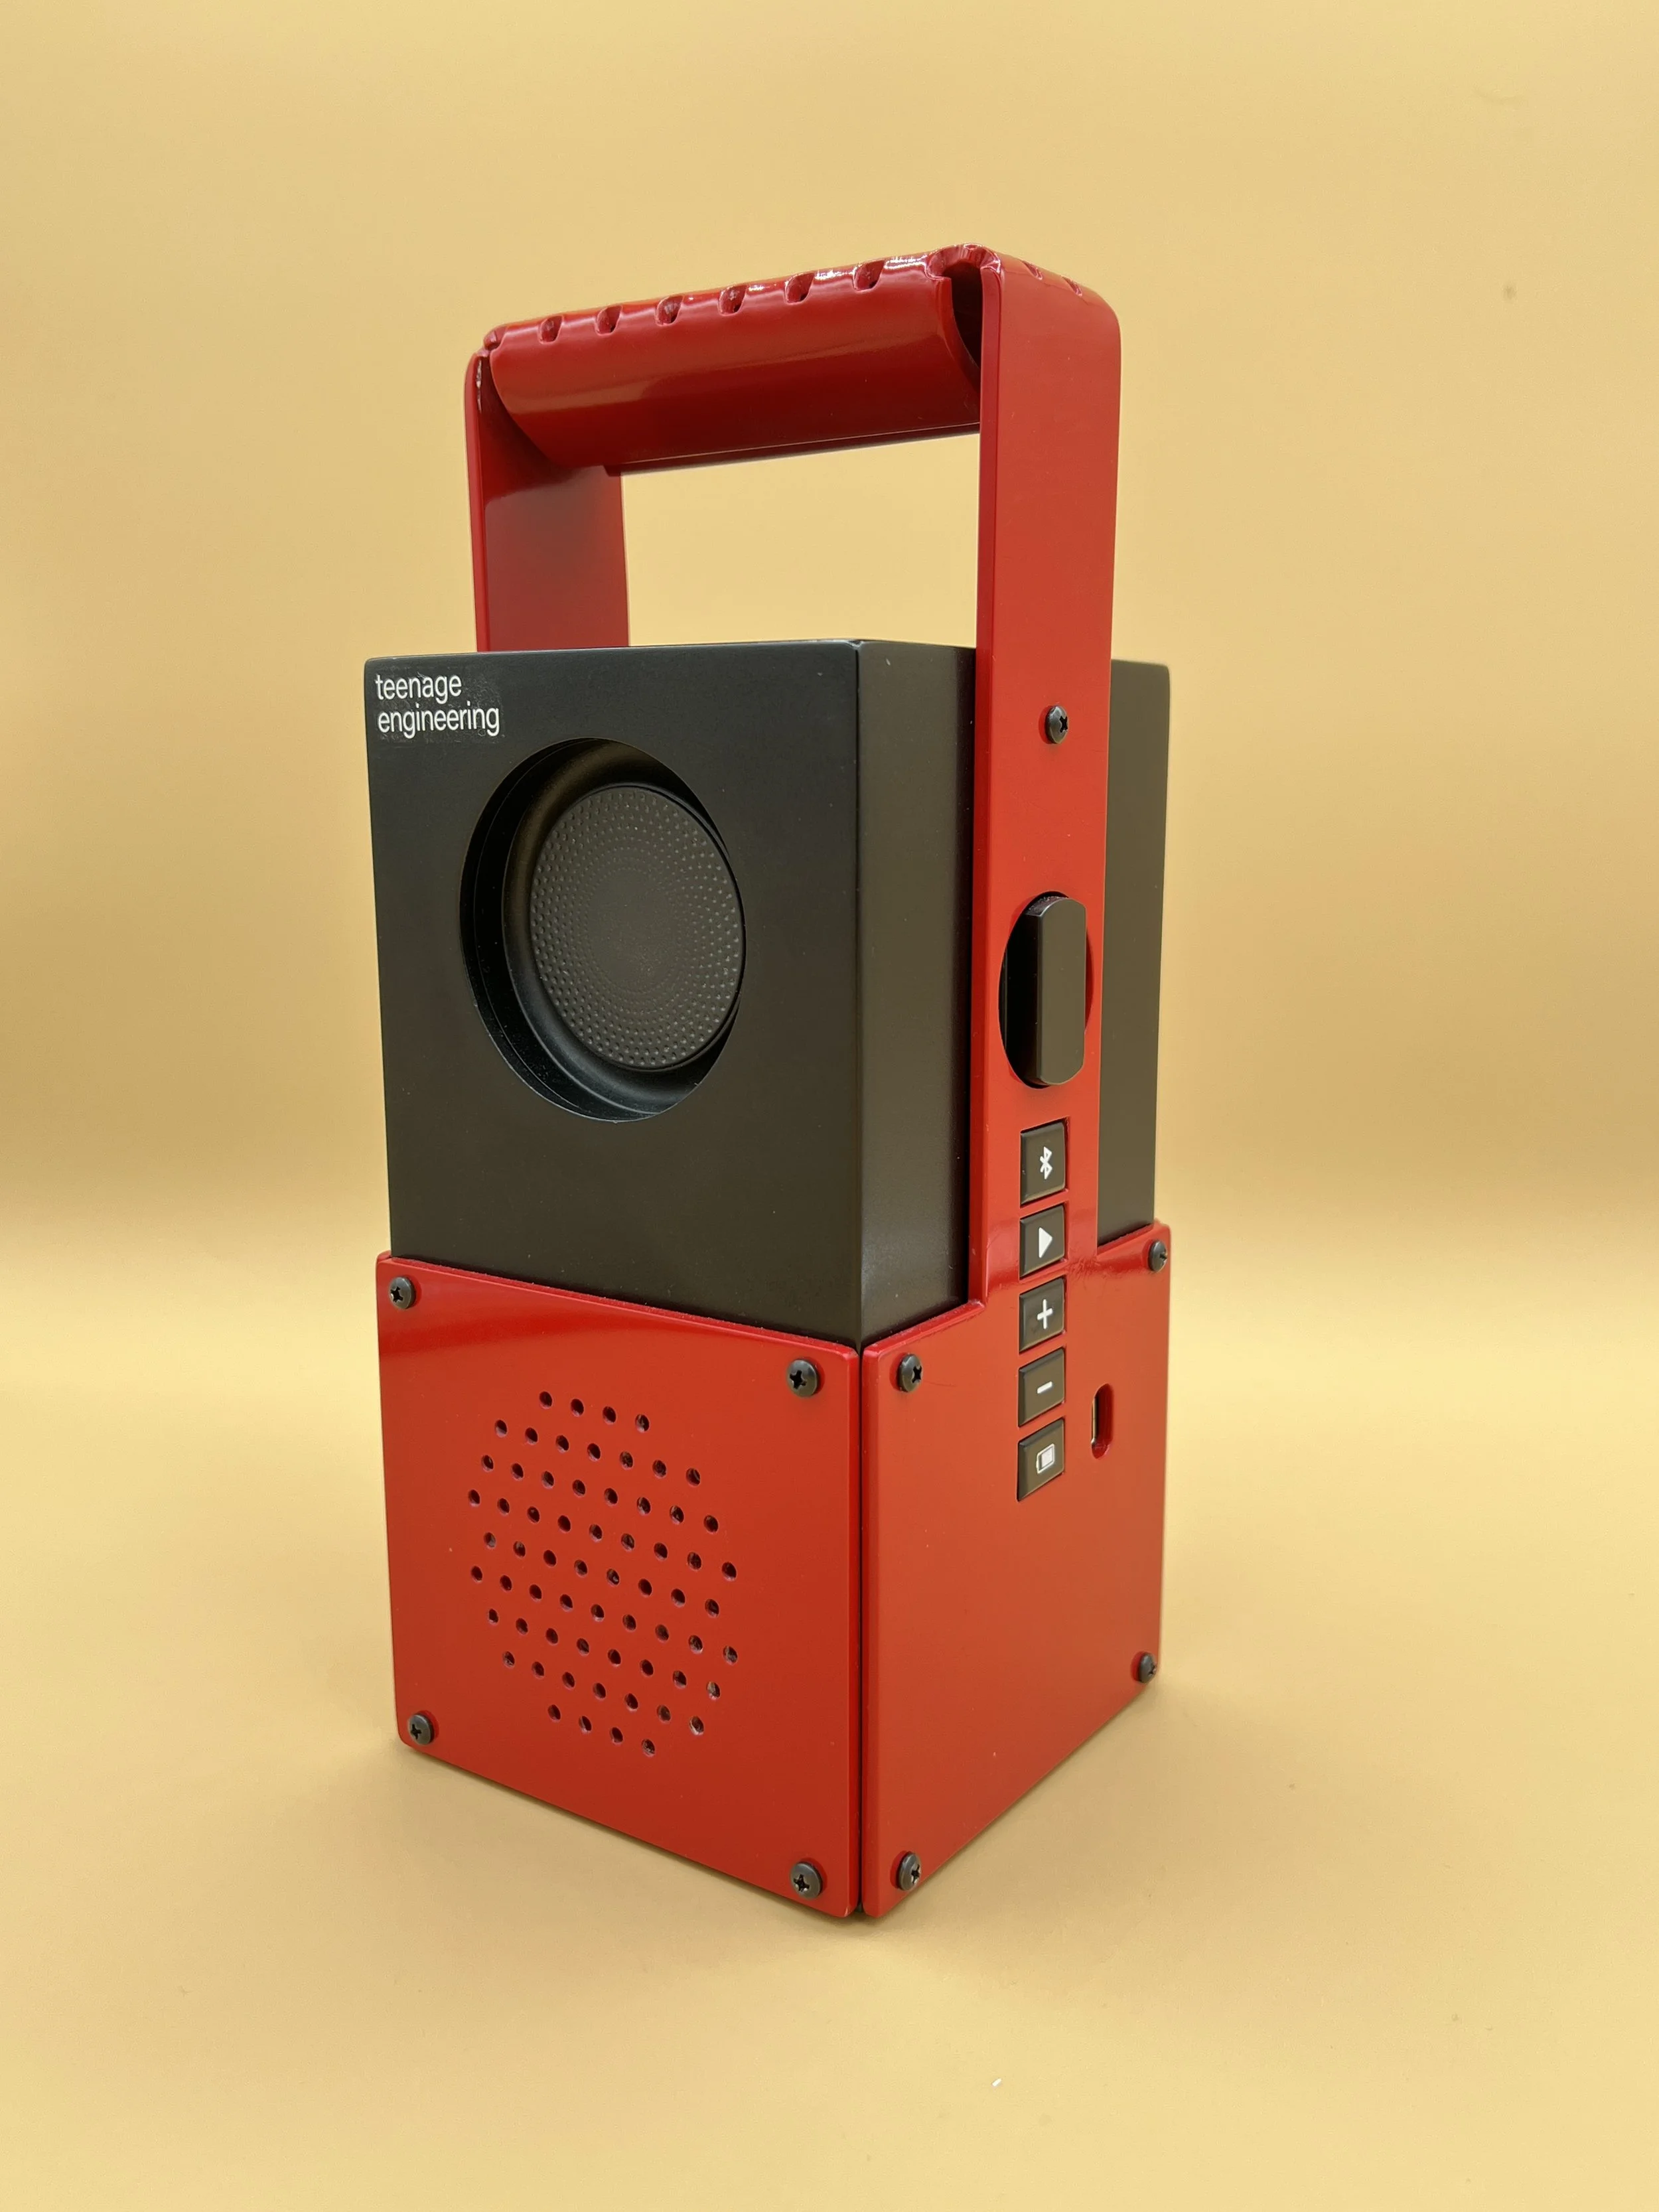
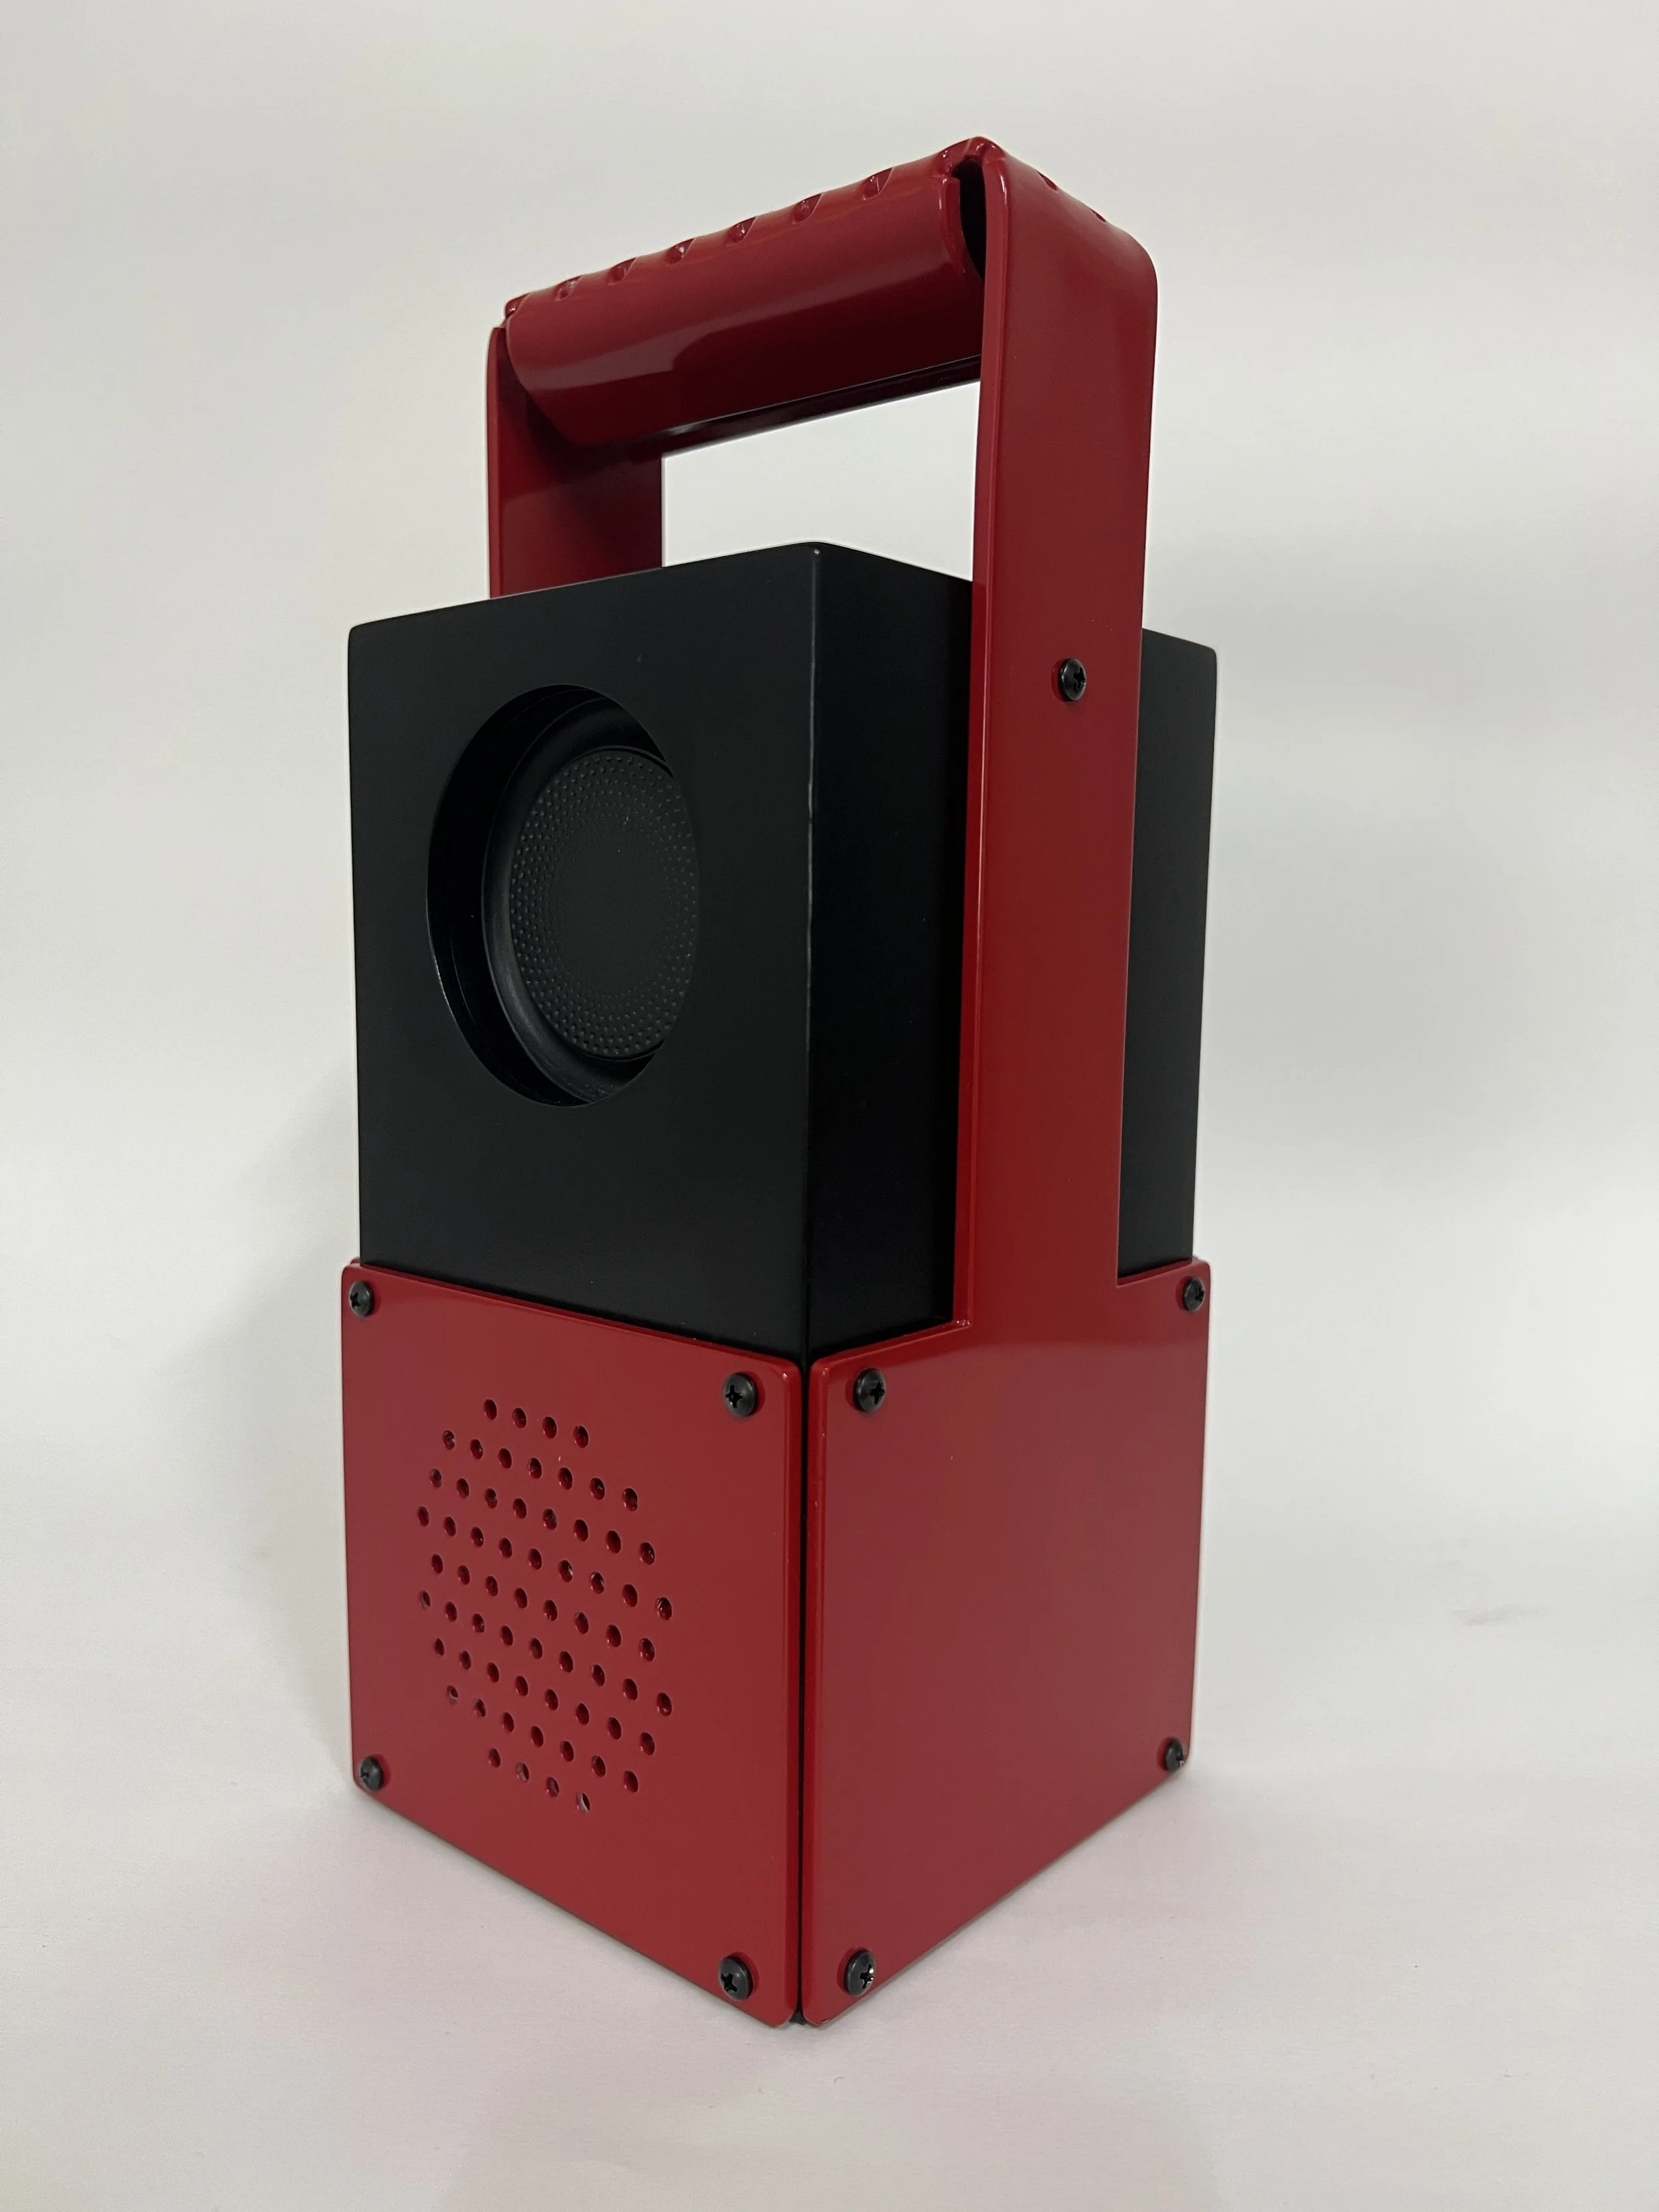
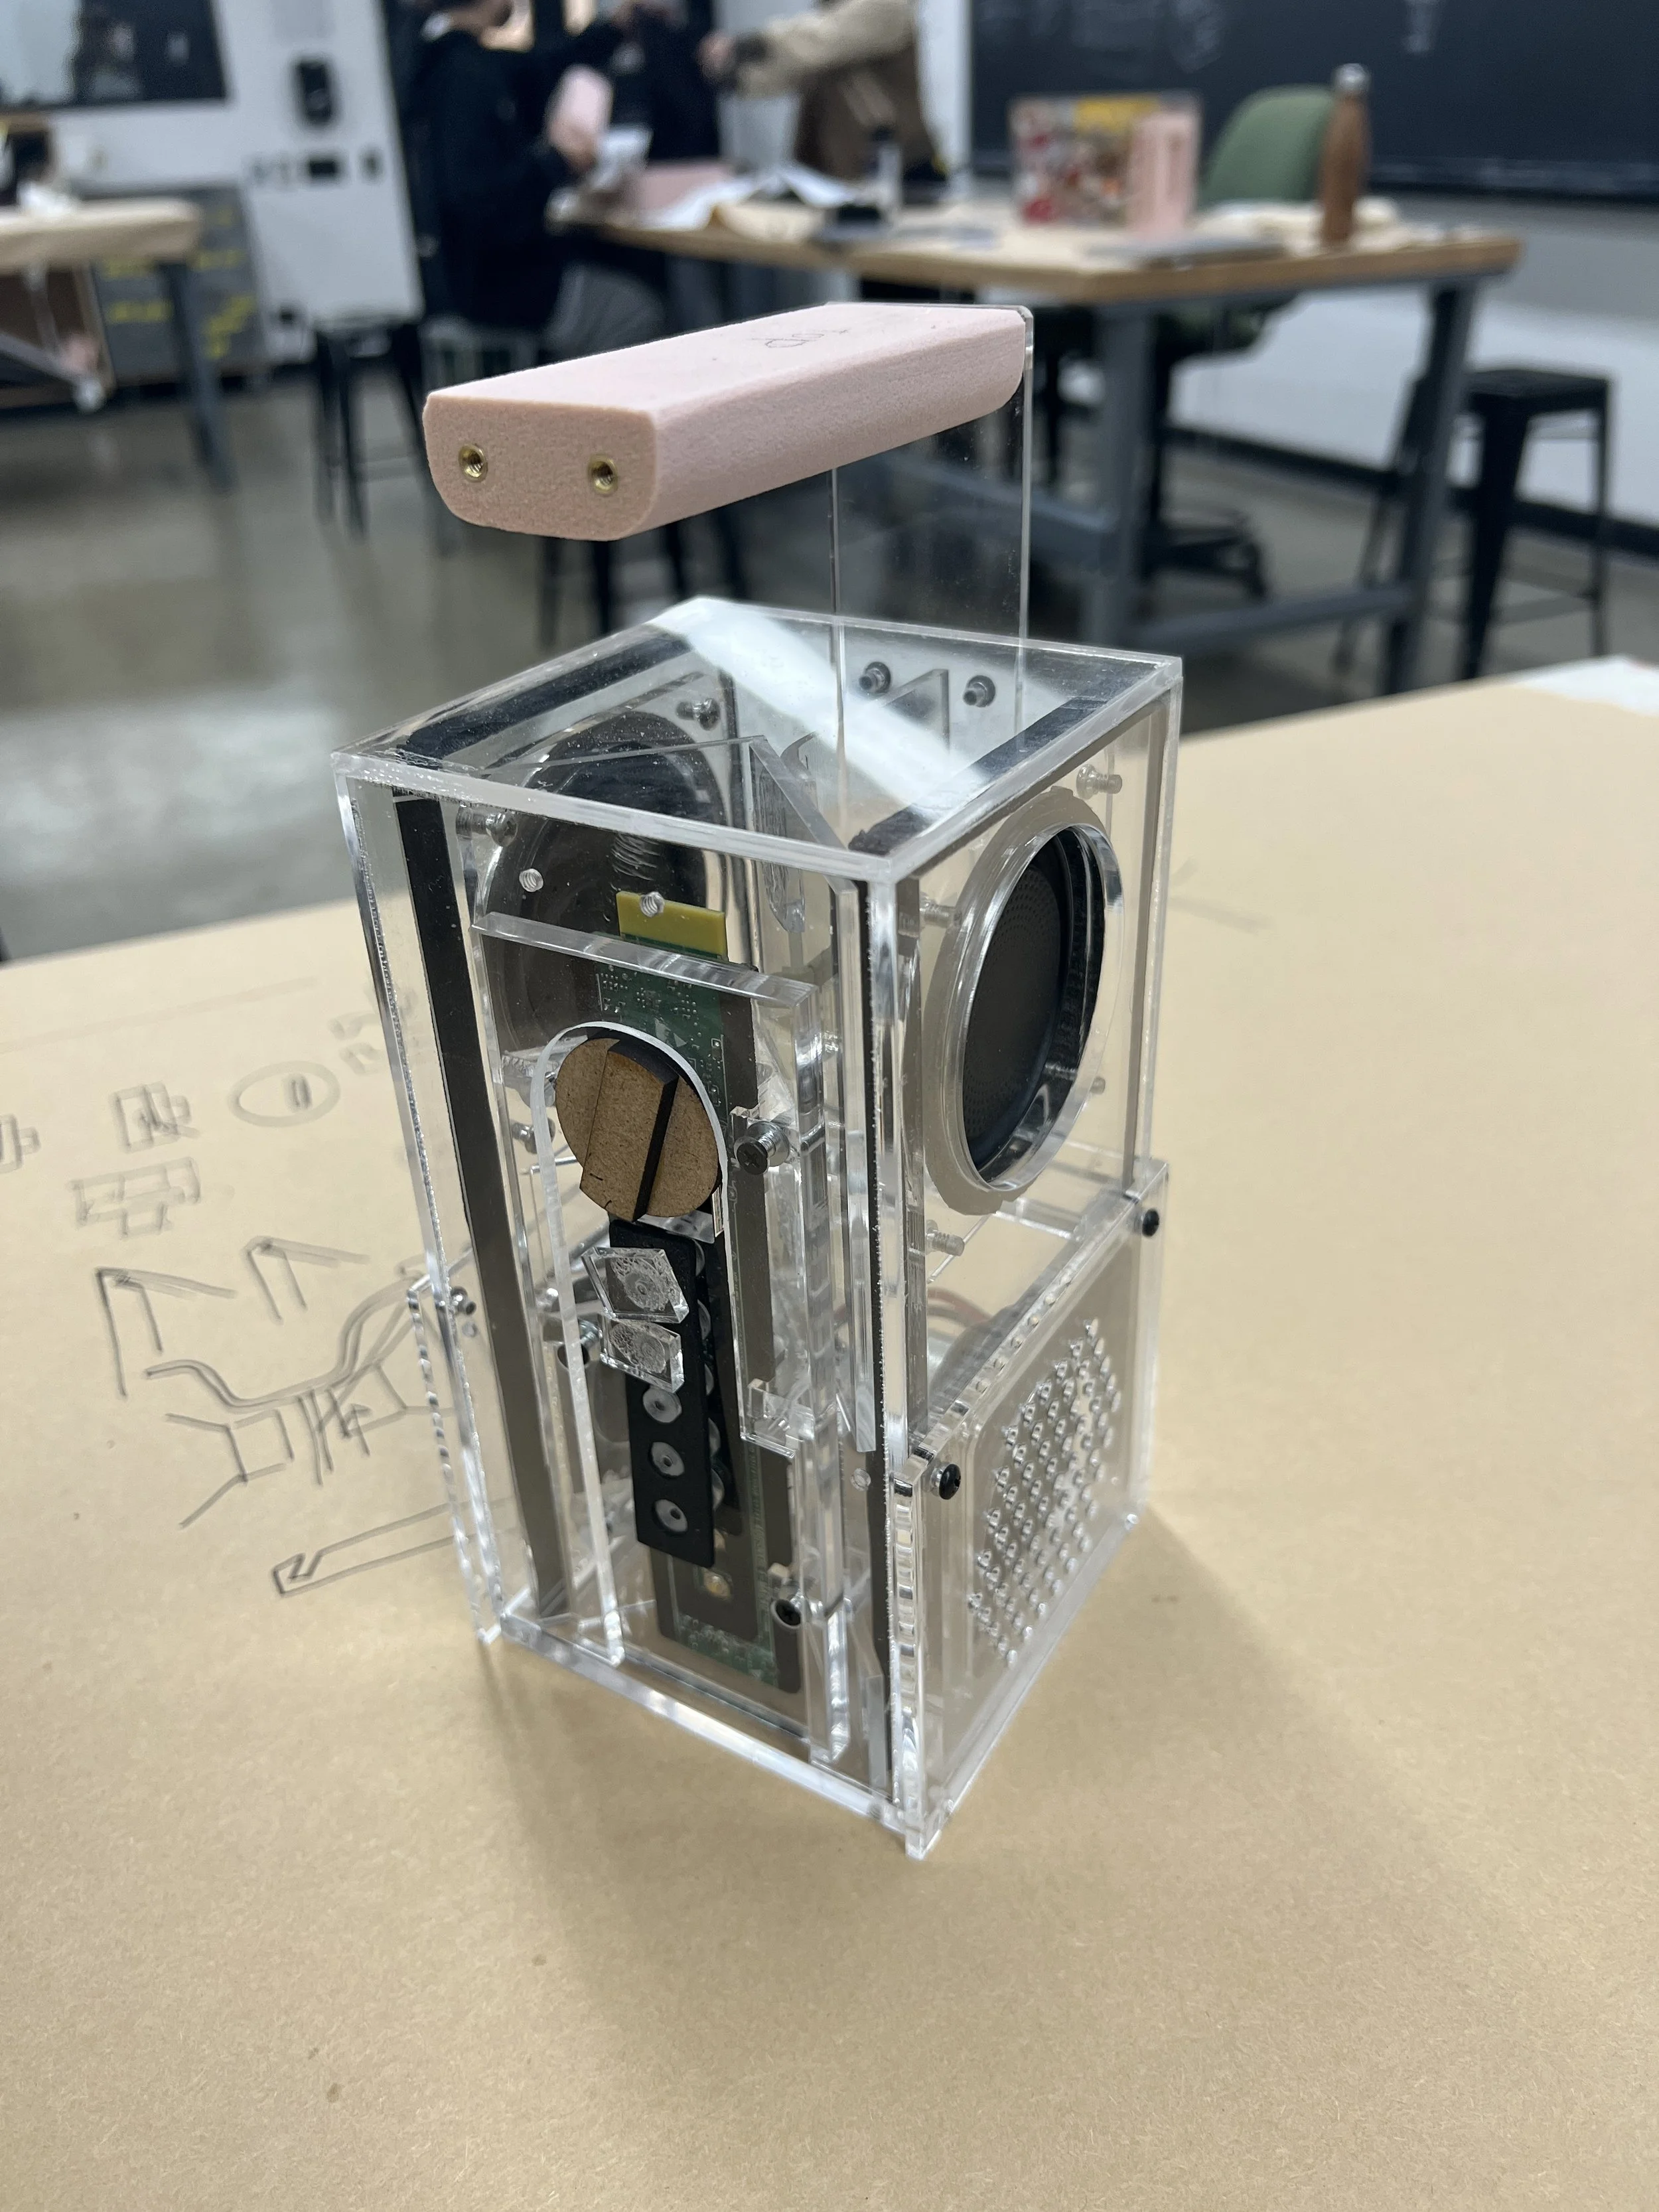
The large handle makes it easy to move the speaker around a workshop frequently.
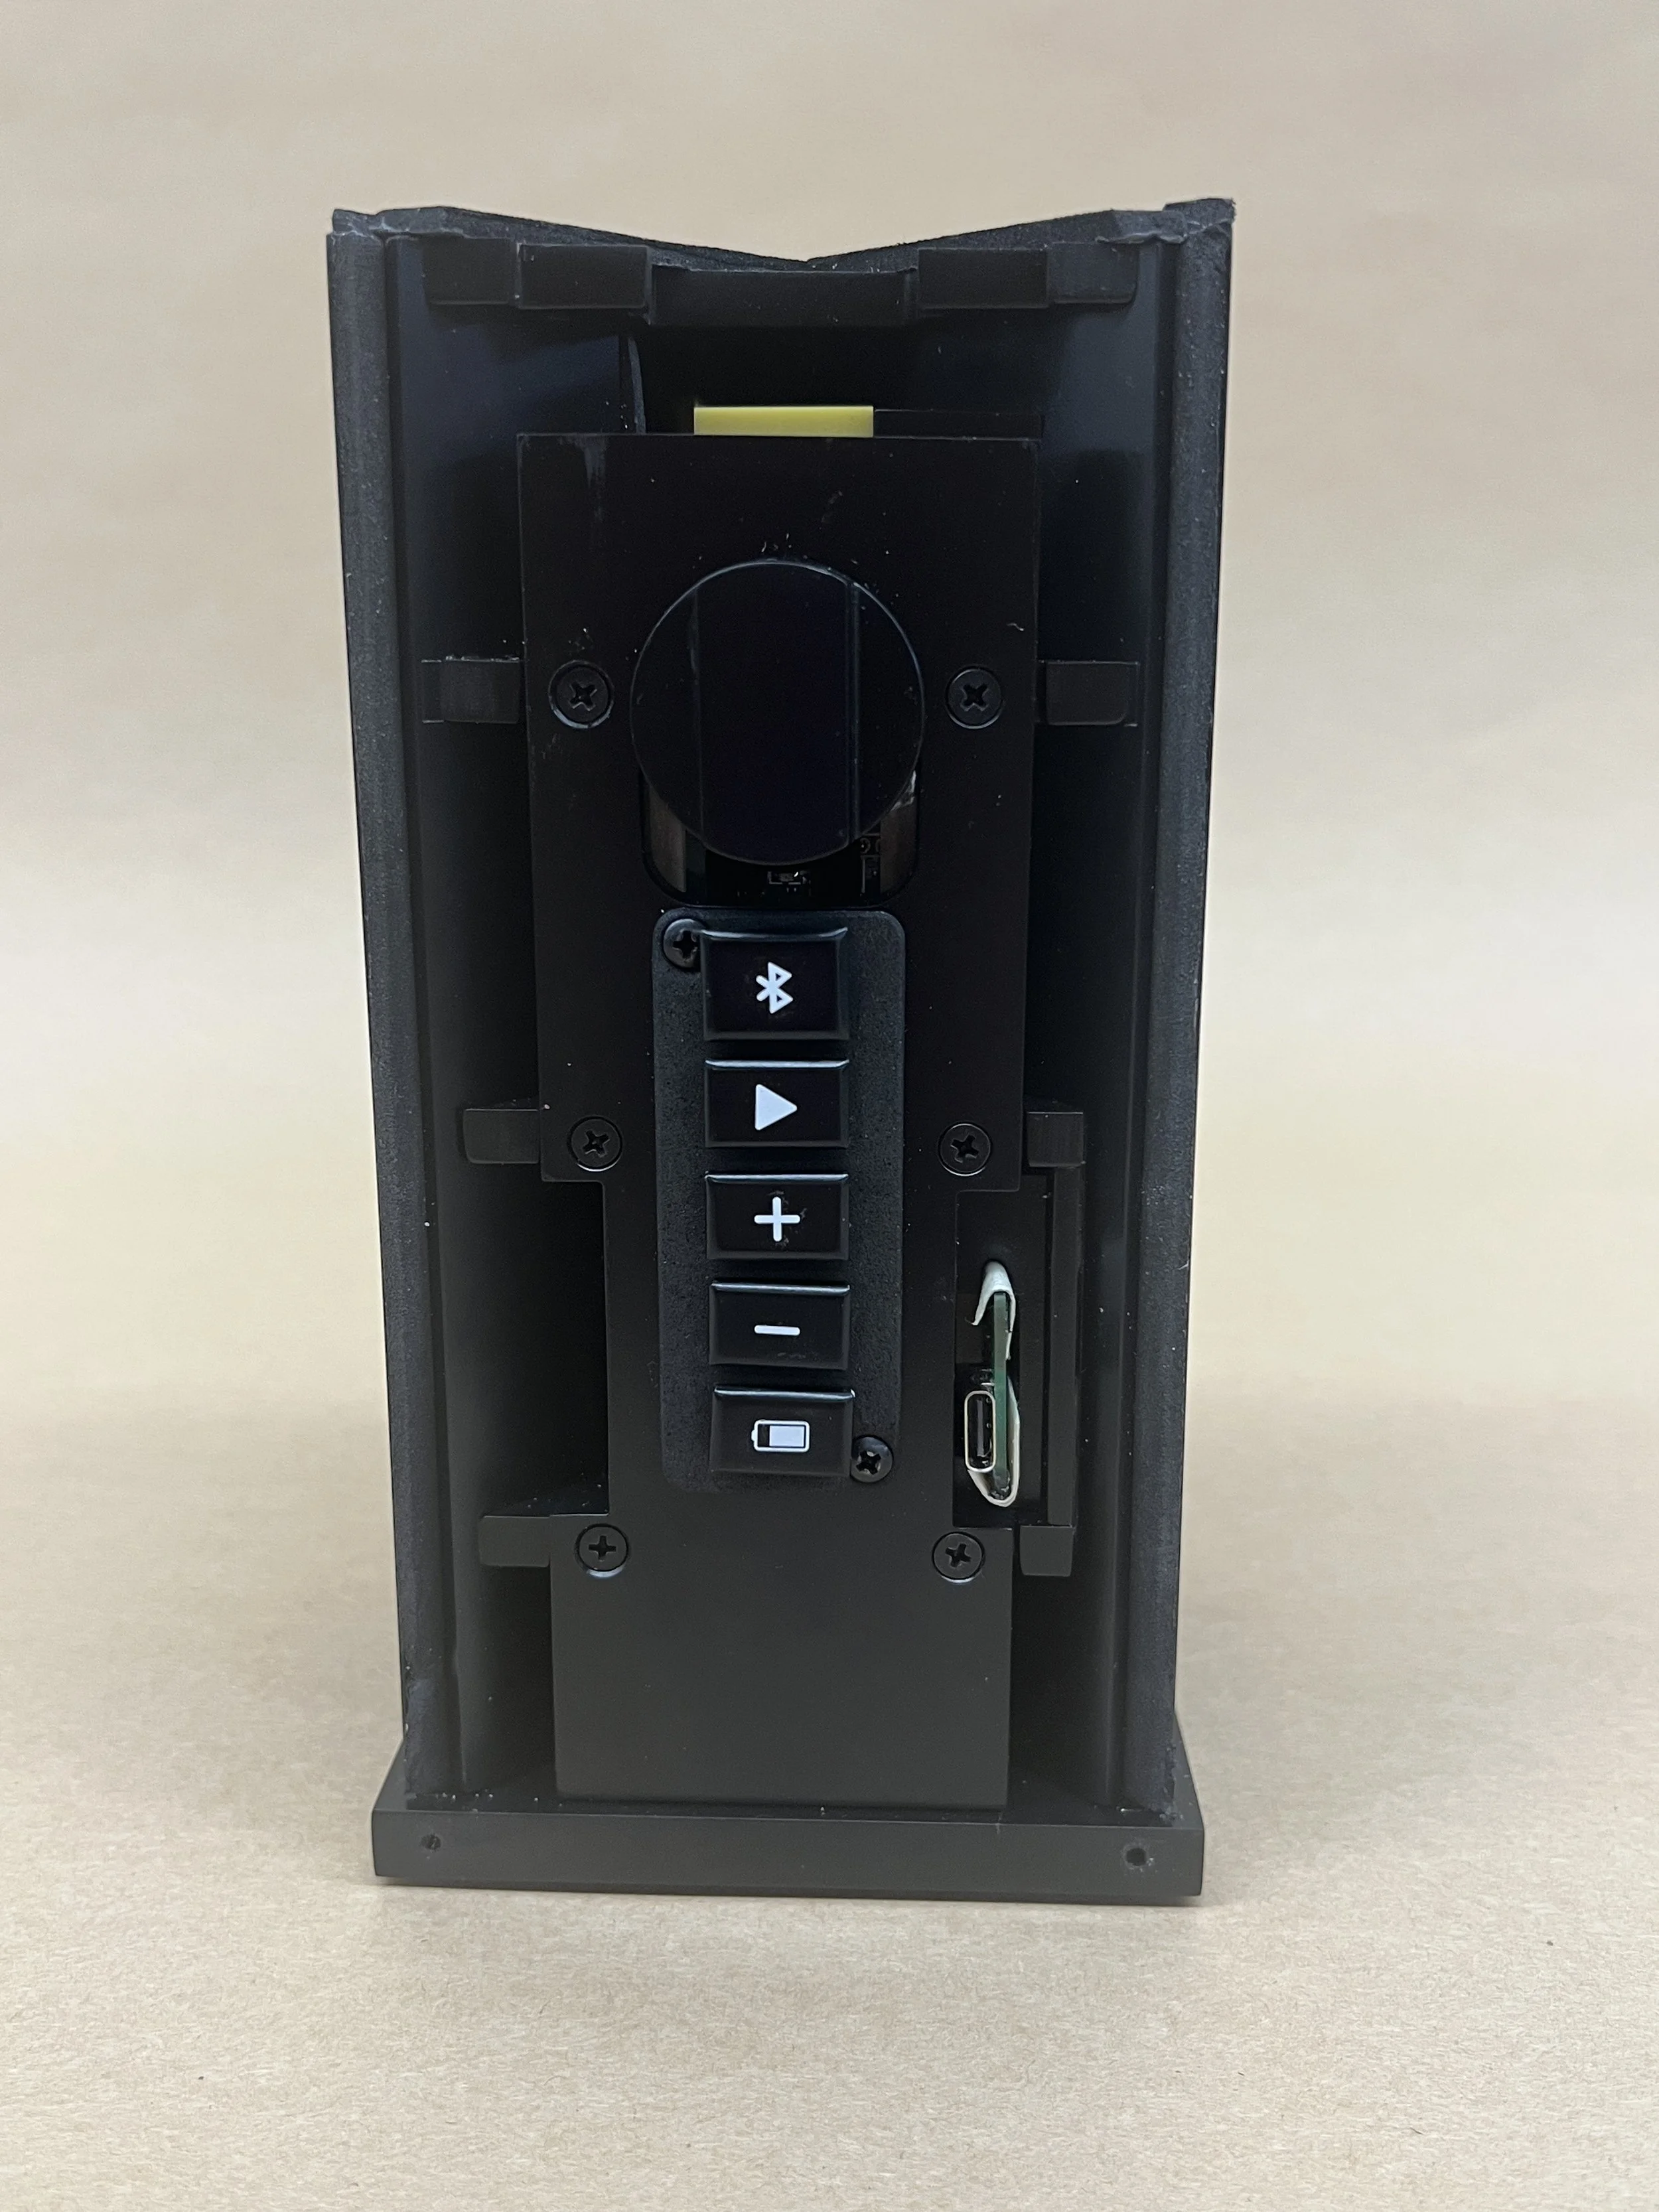
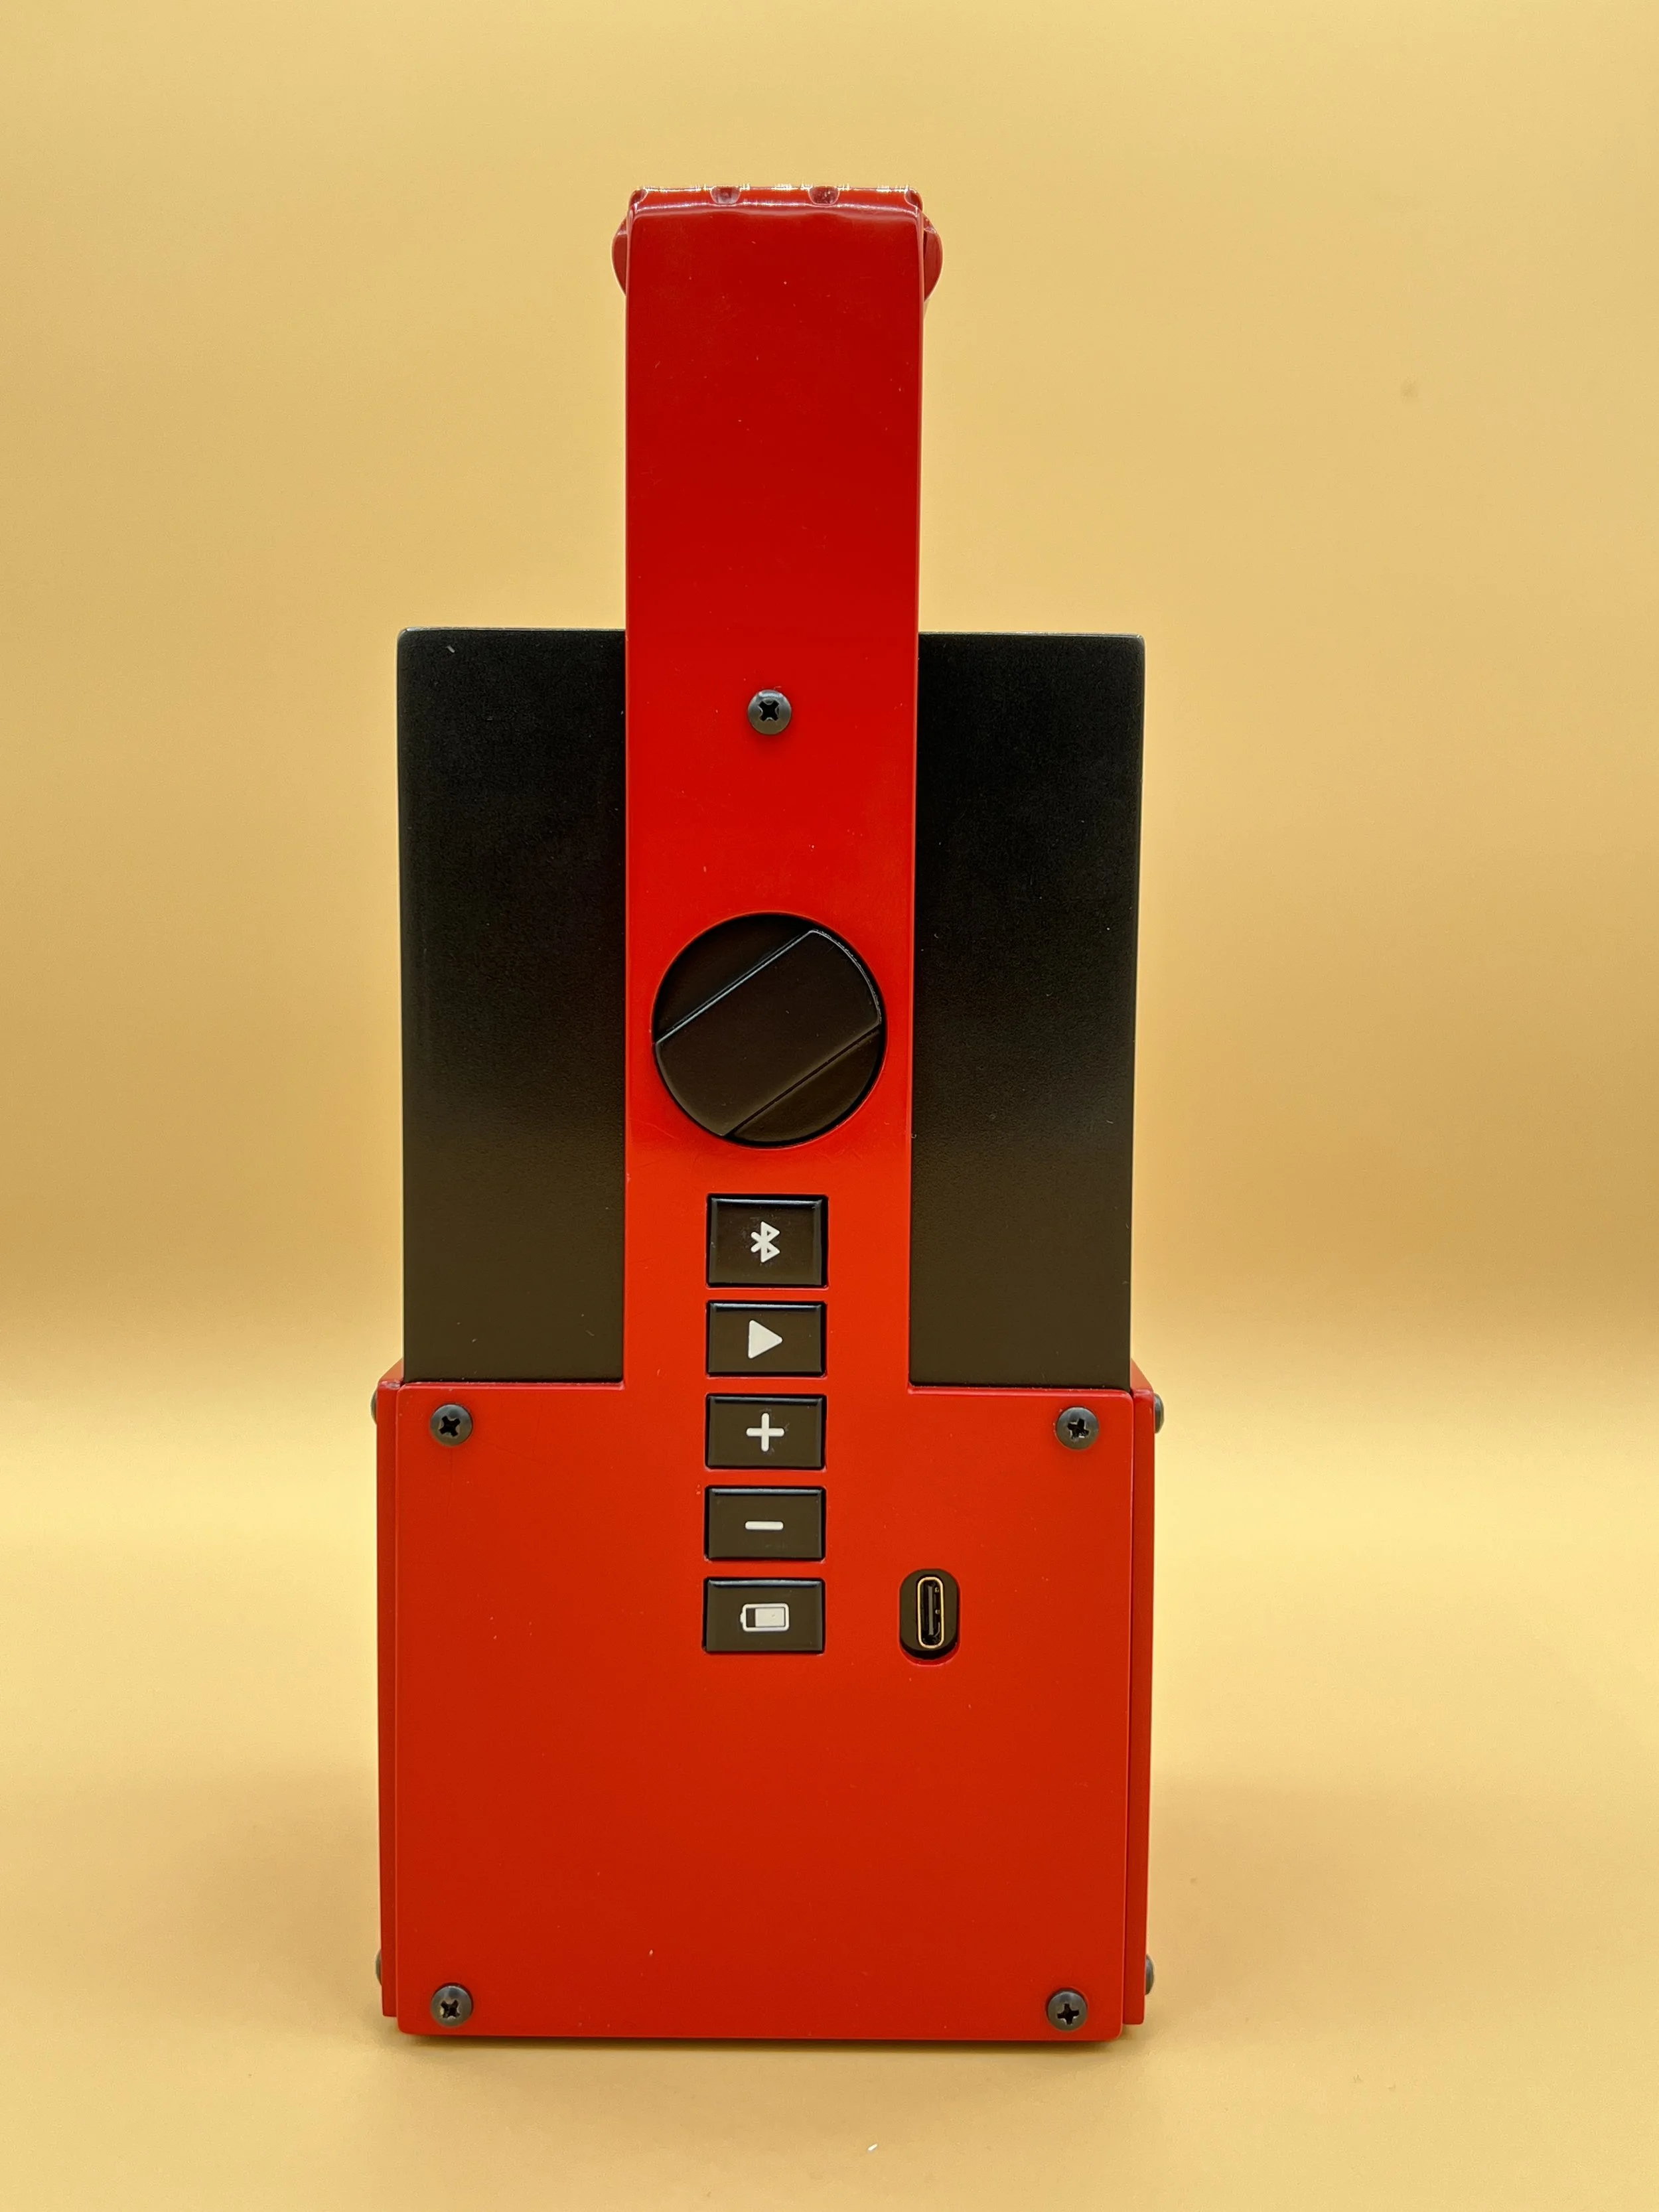
Switch and Buttons.
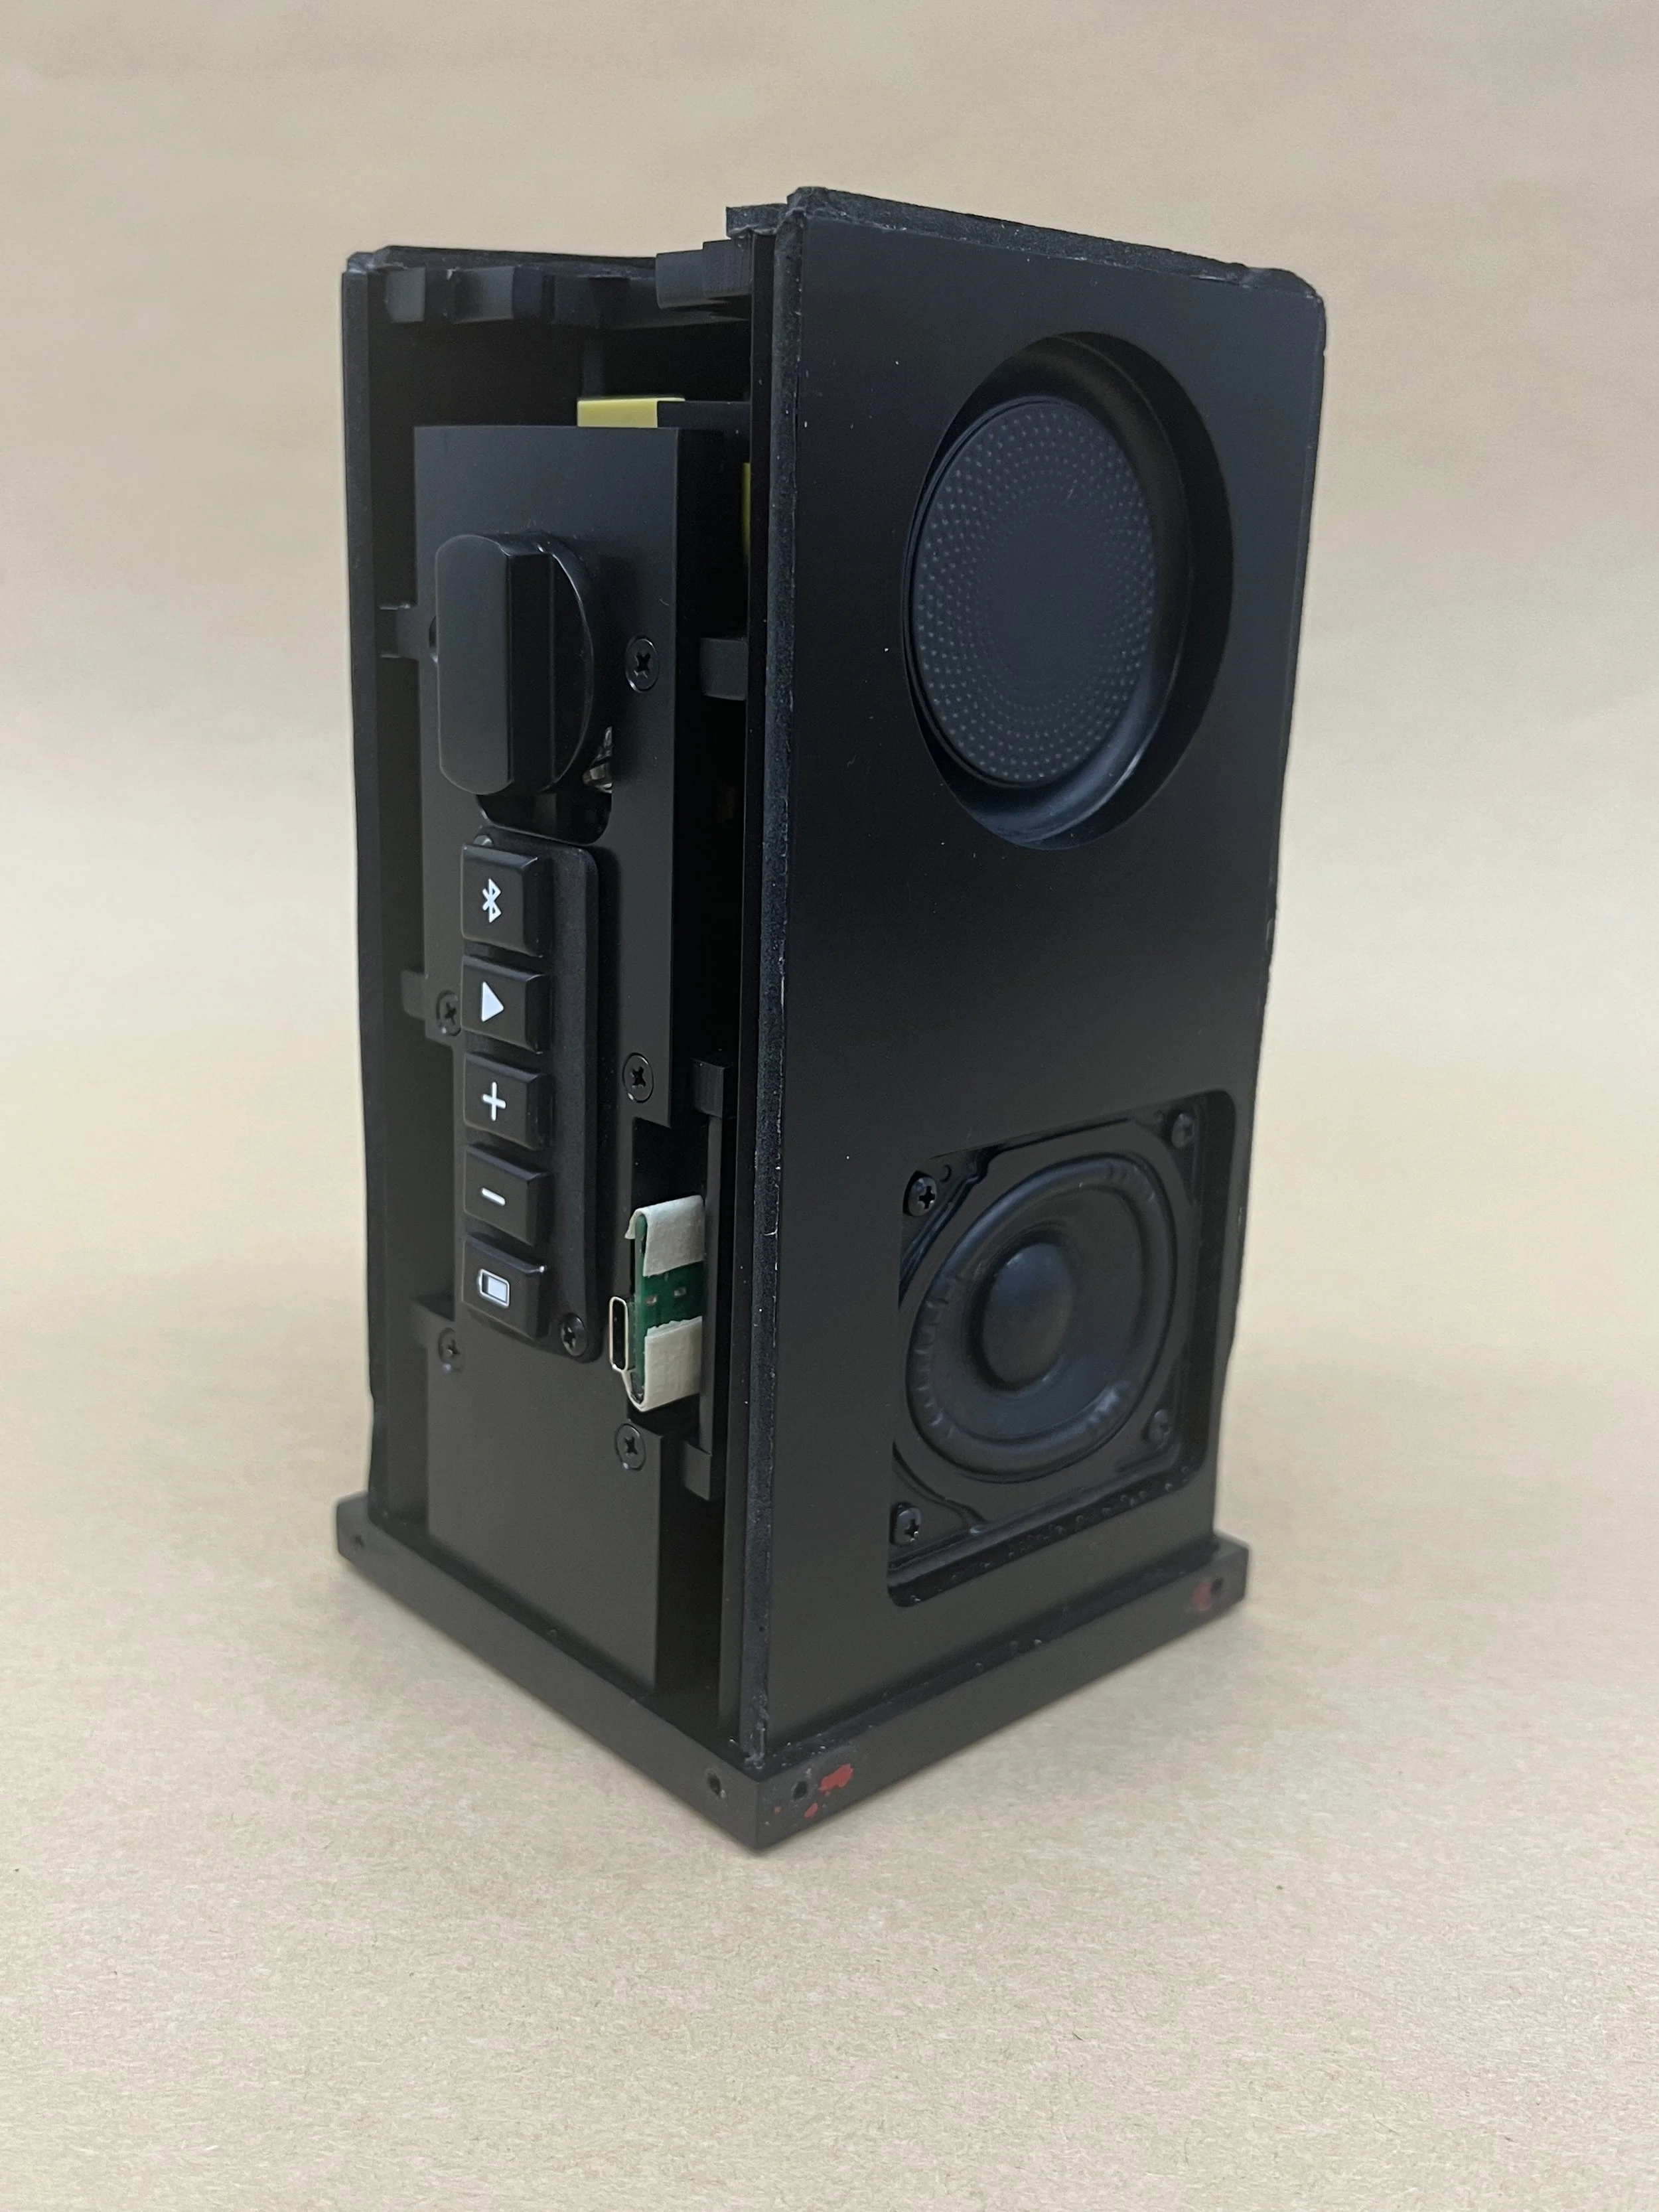
The speaker turns on with a rotating switch. The remaining controls are on a vertical array of buttons below the power switch.
Fully functioning prototype.
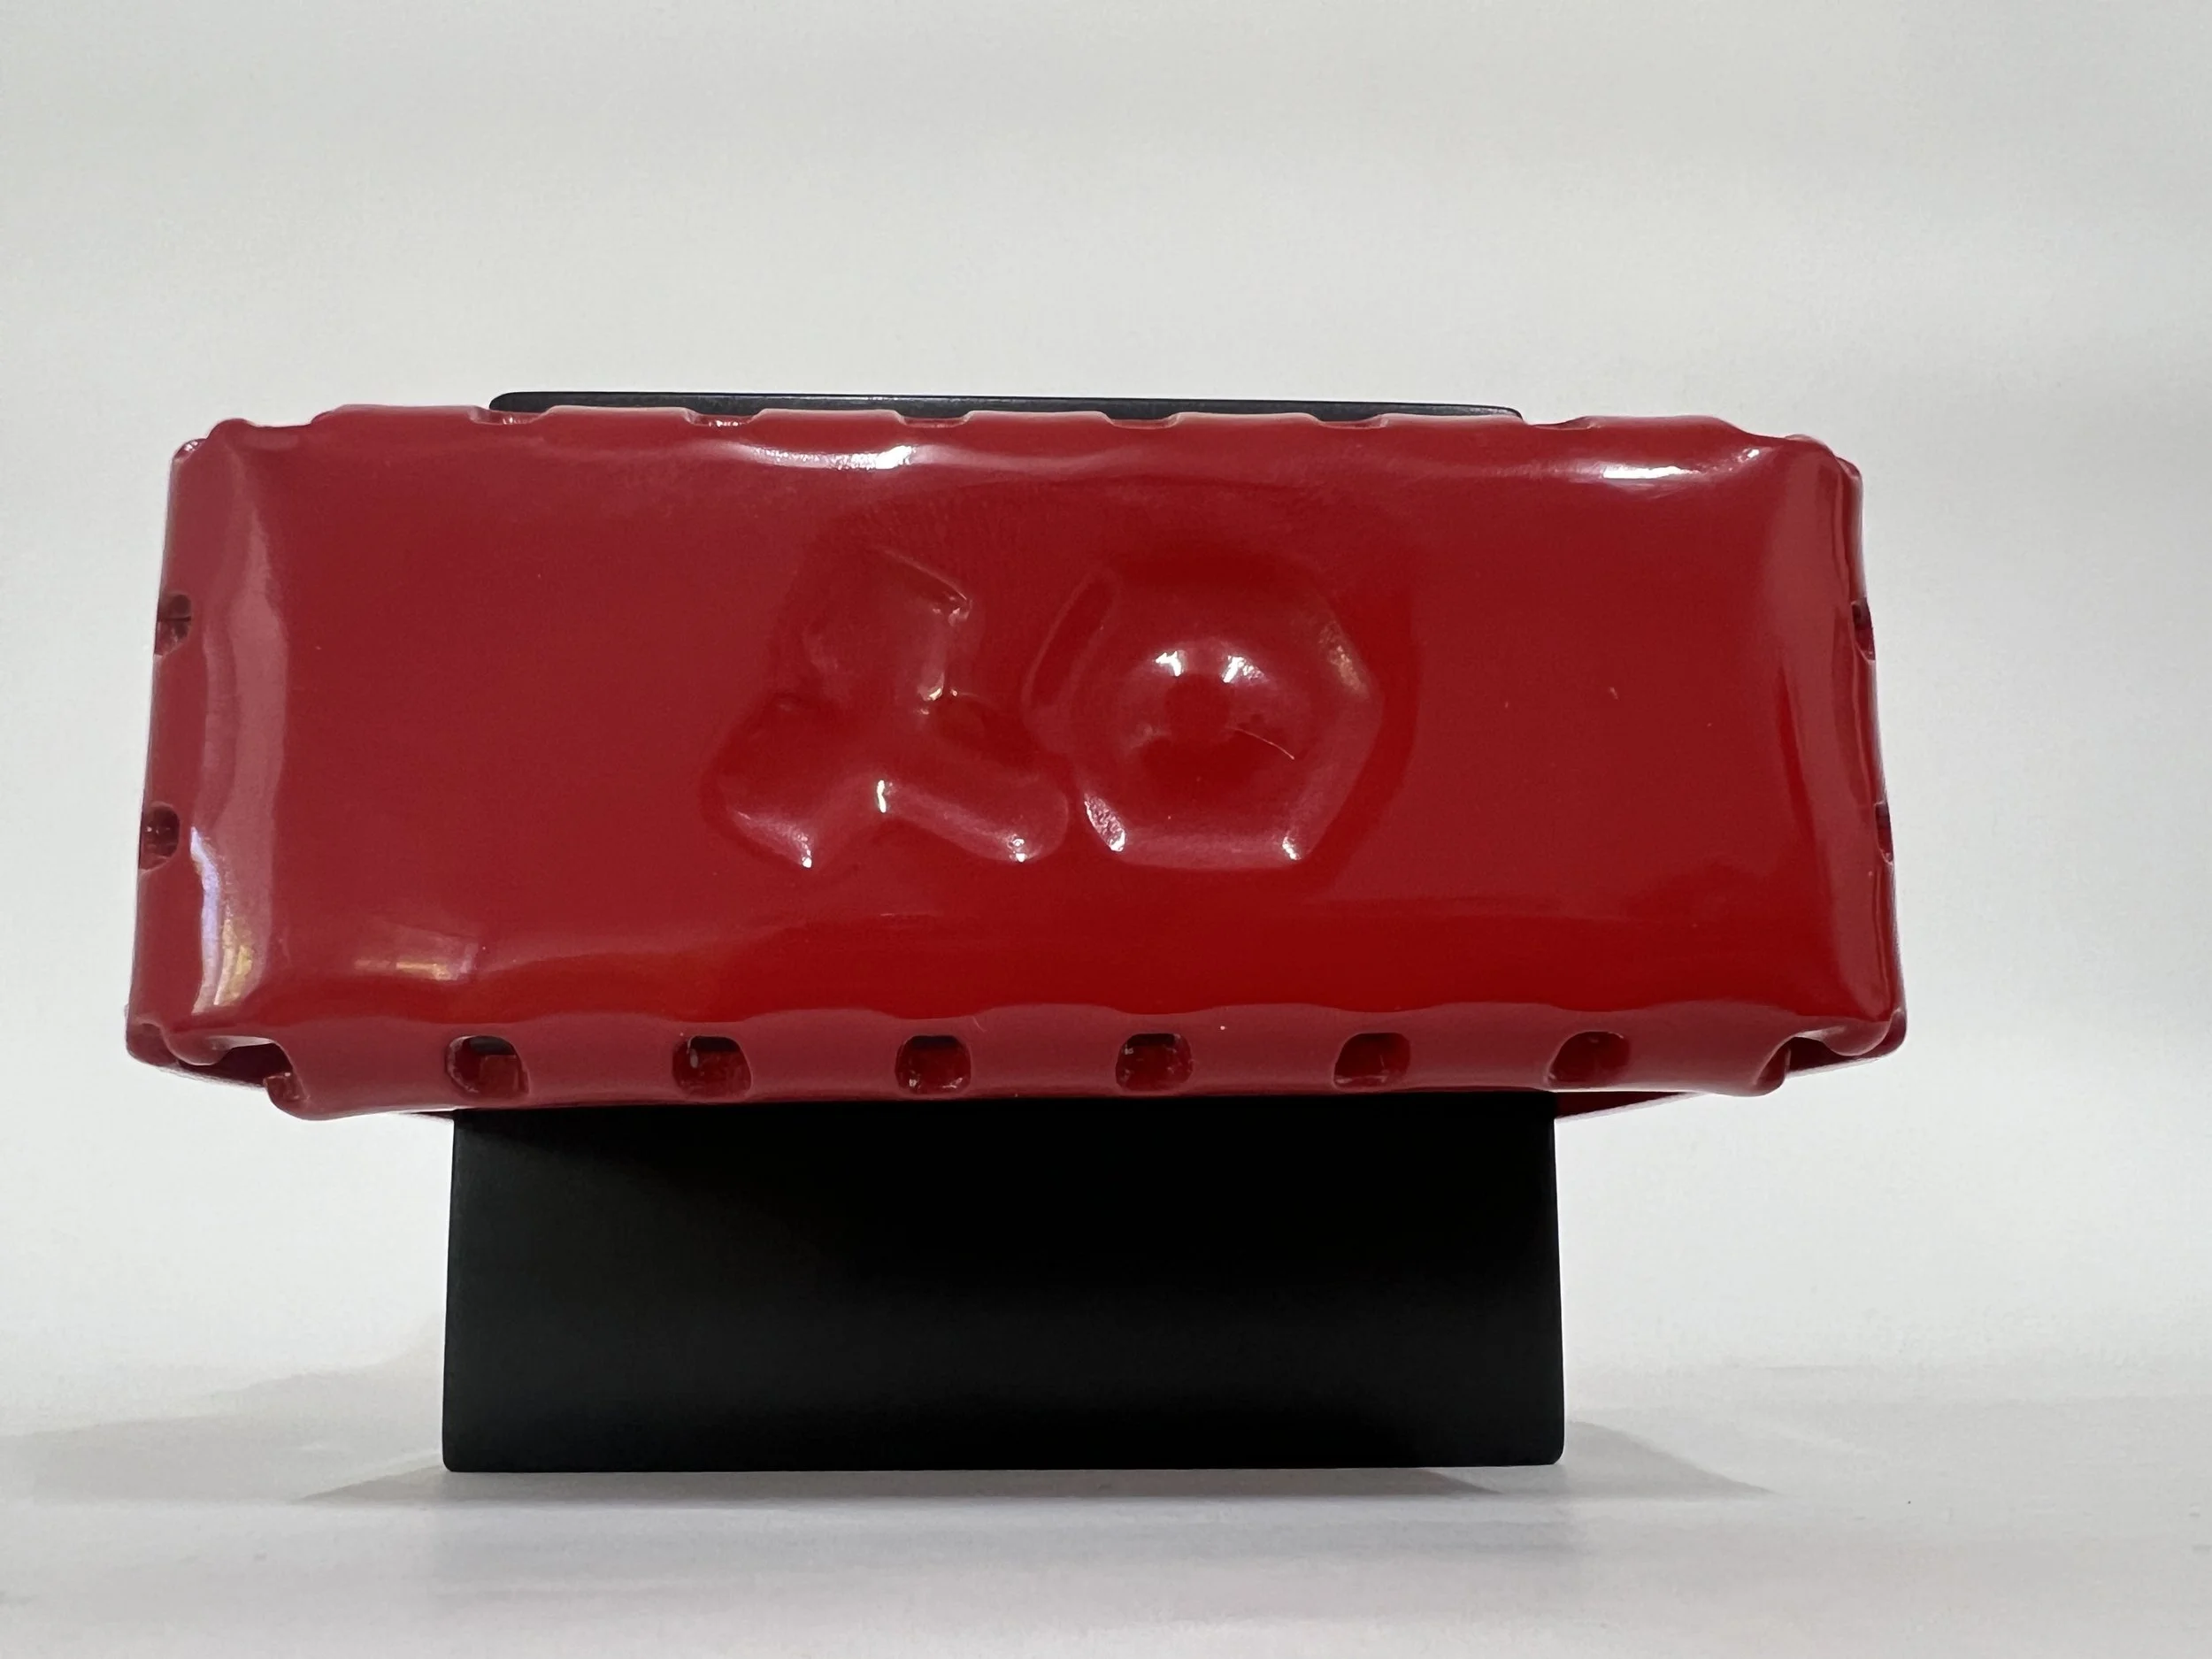
Big Handle.
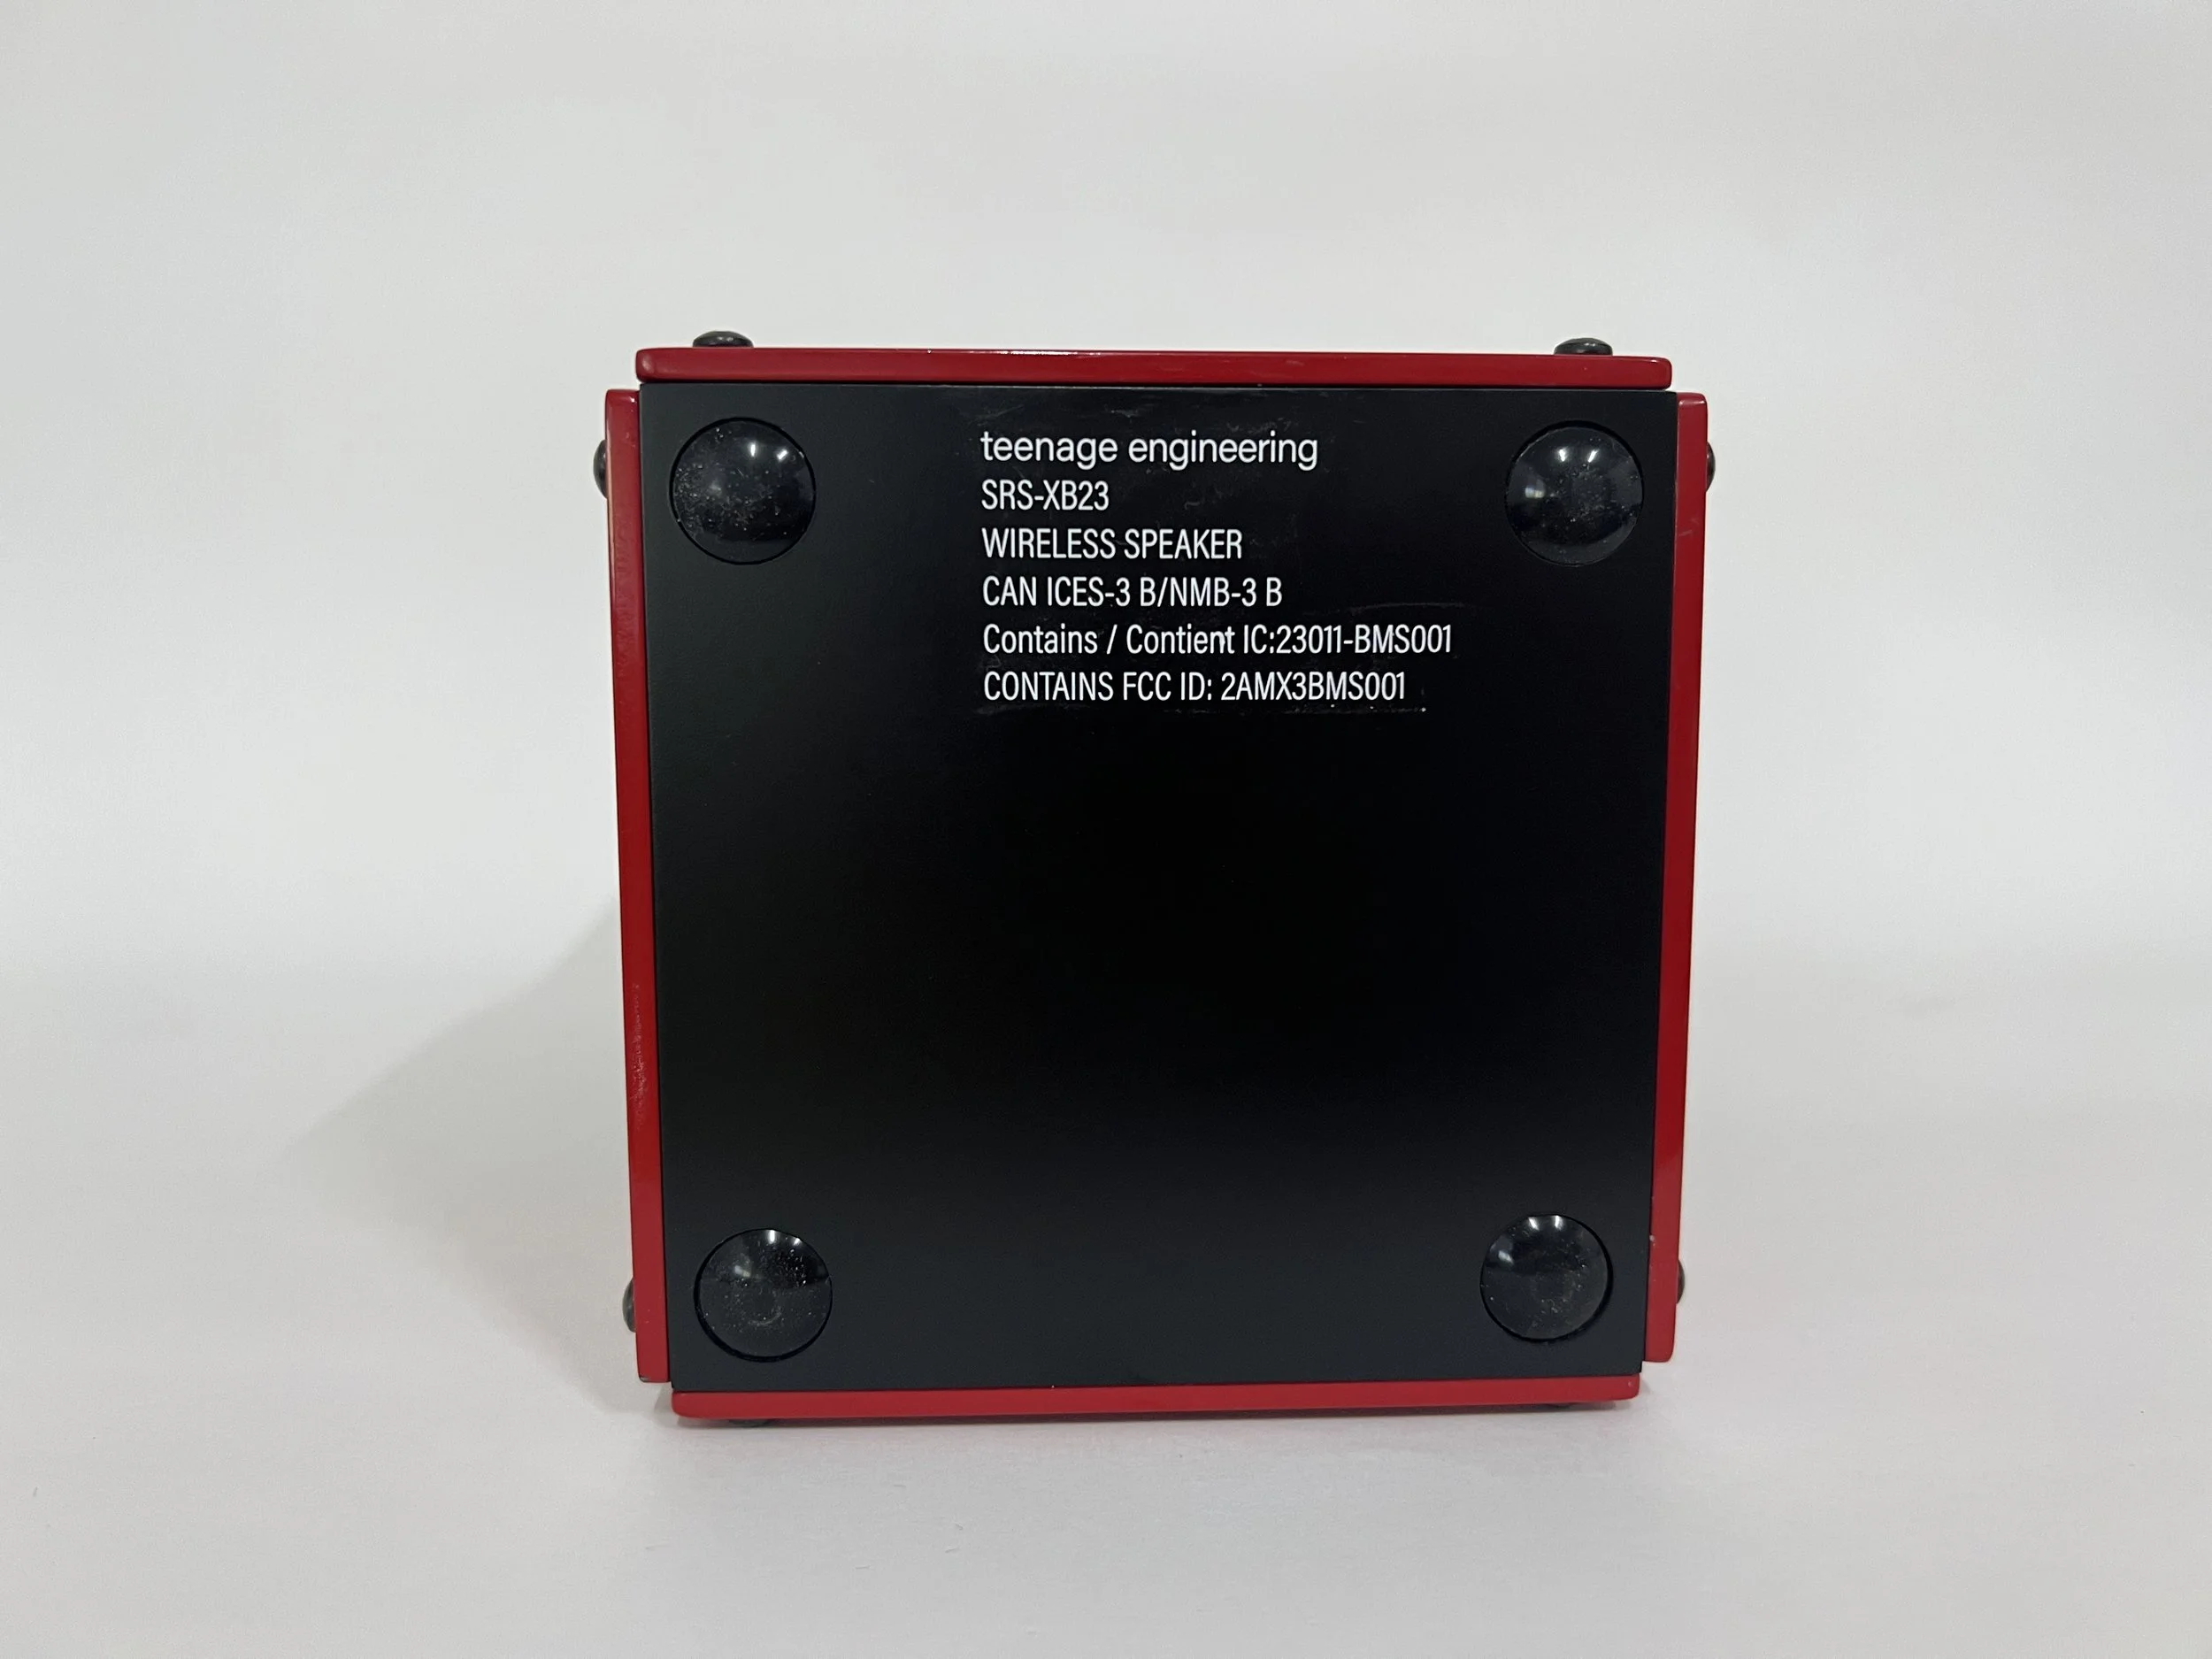
USB-C Charging.
Simple, side mounted USB-C charge port.
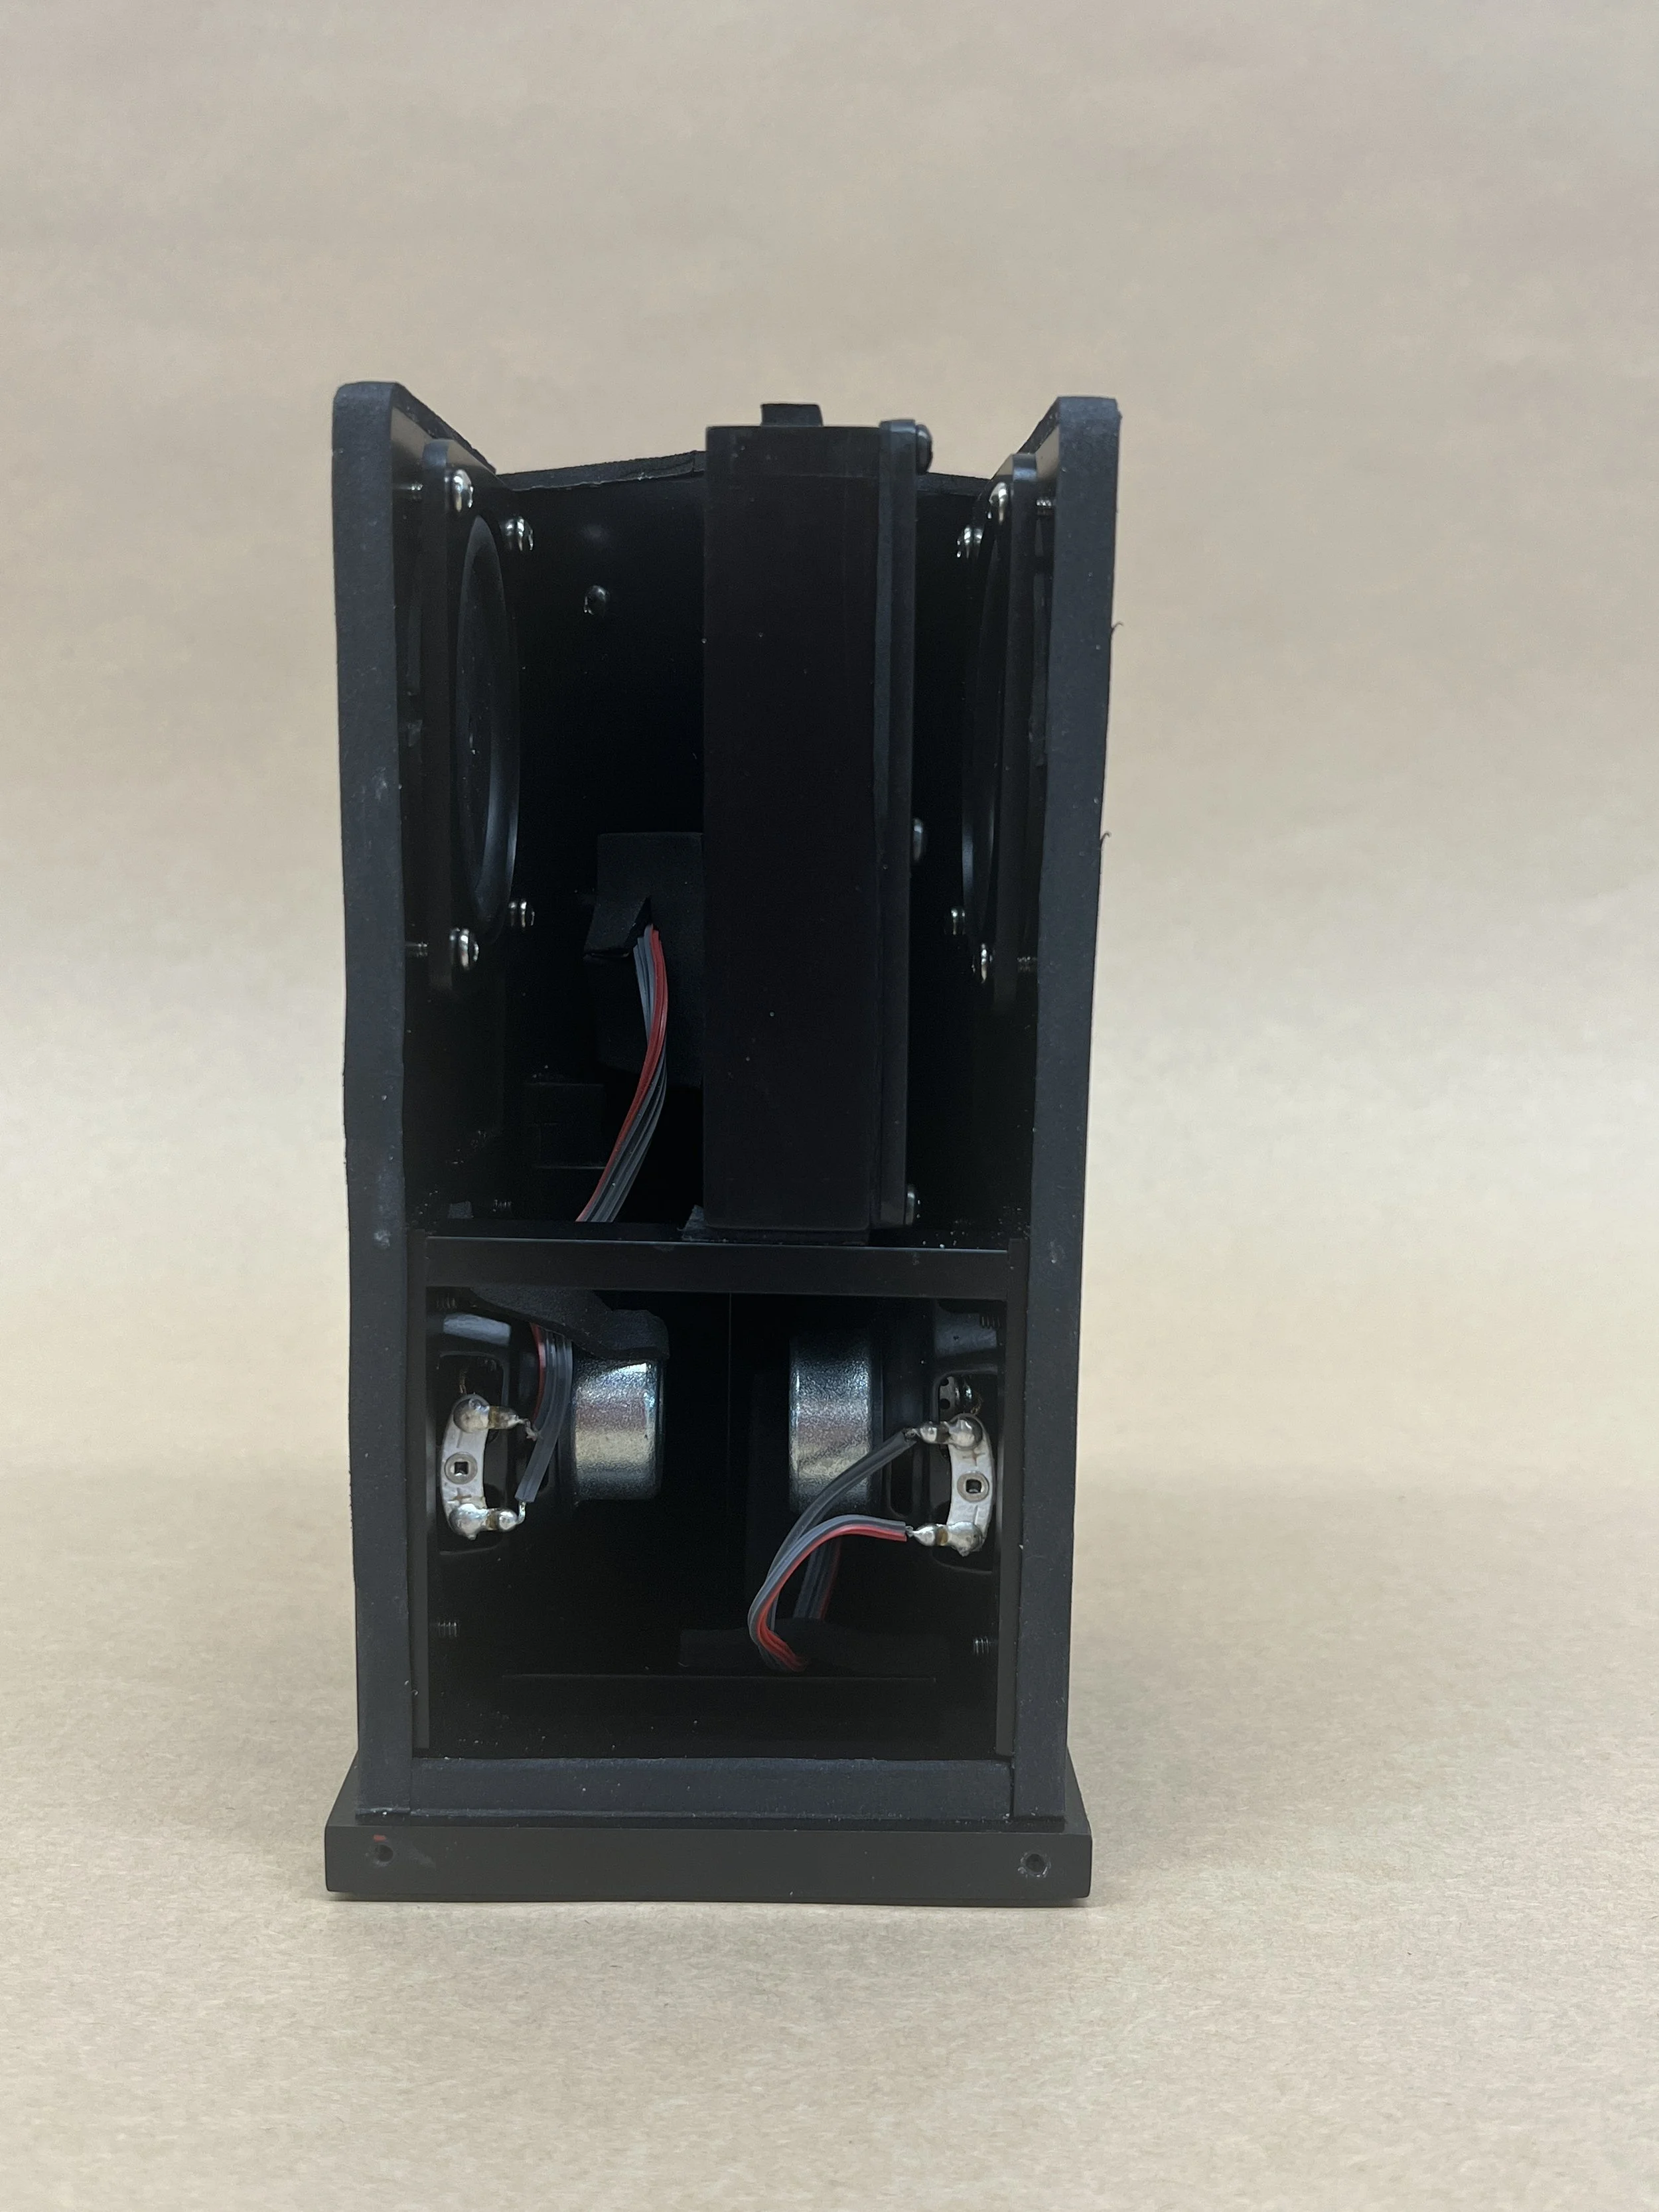
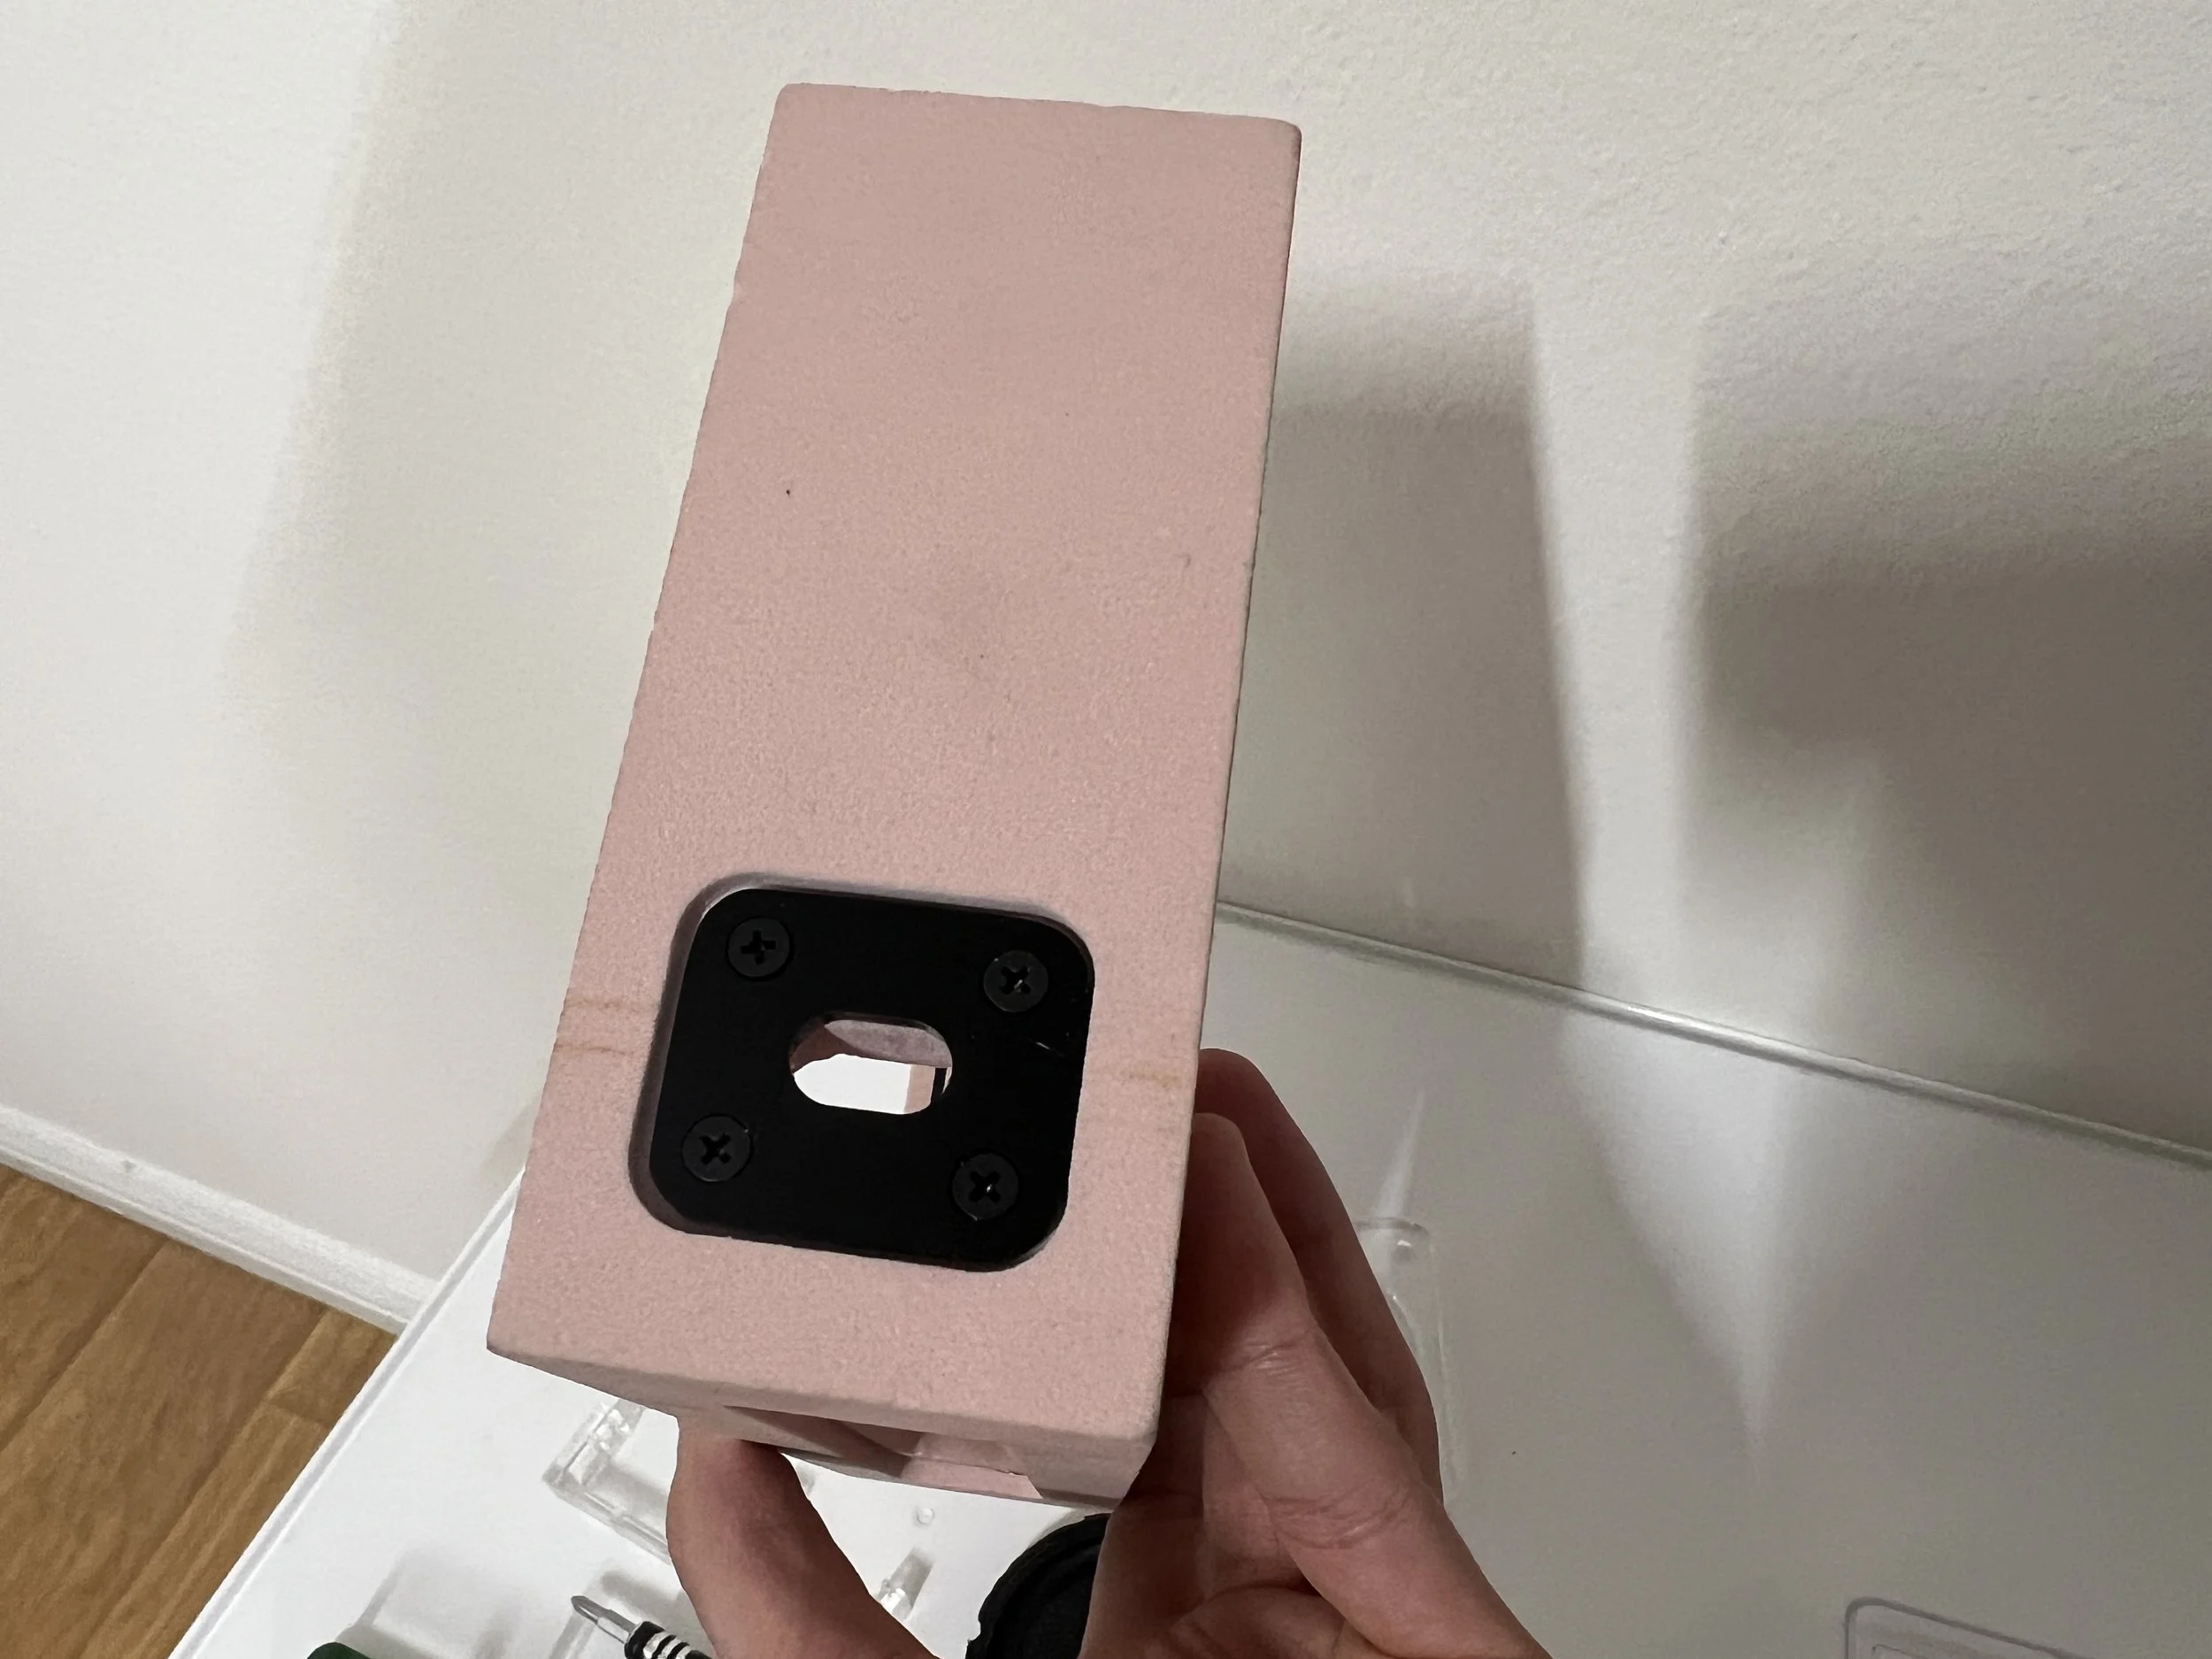
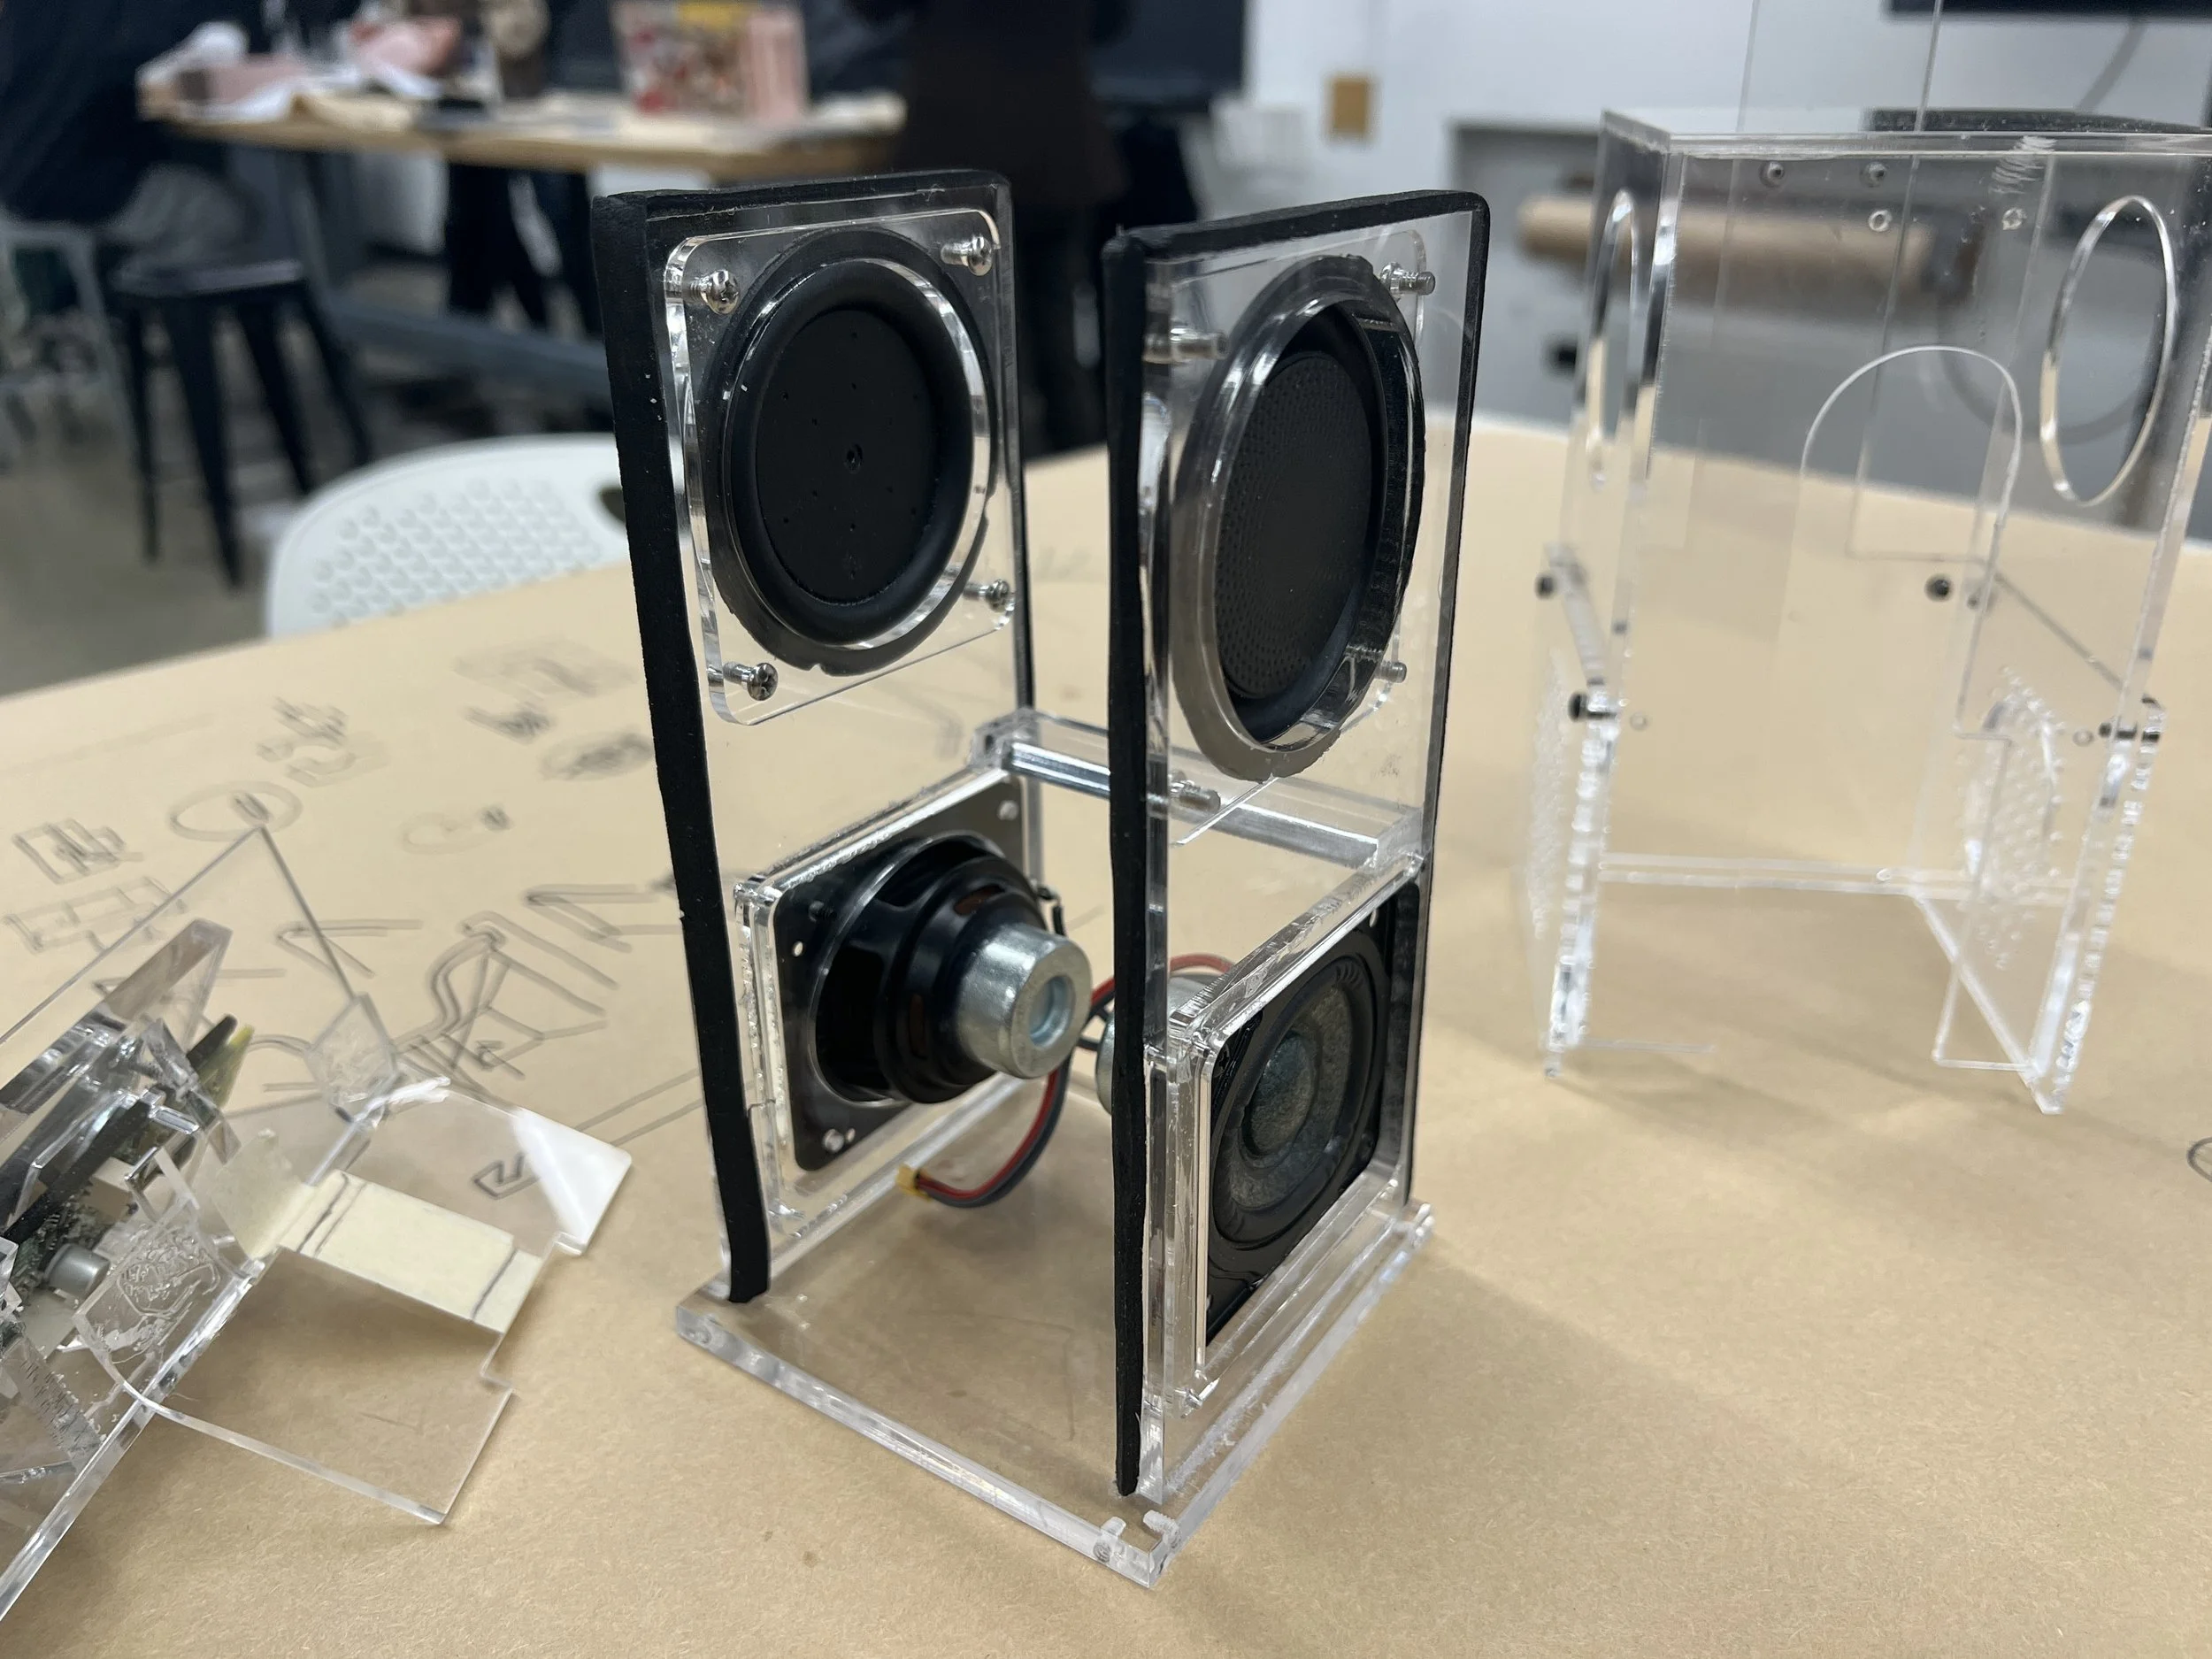
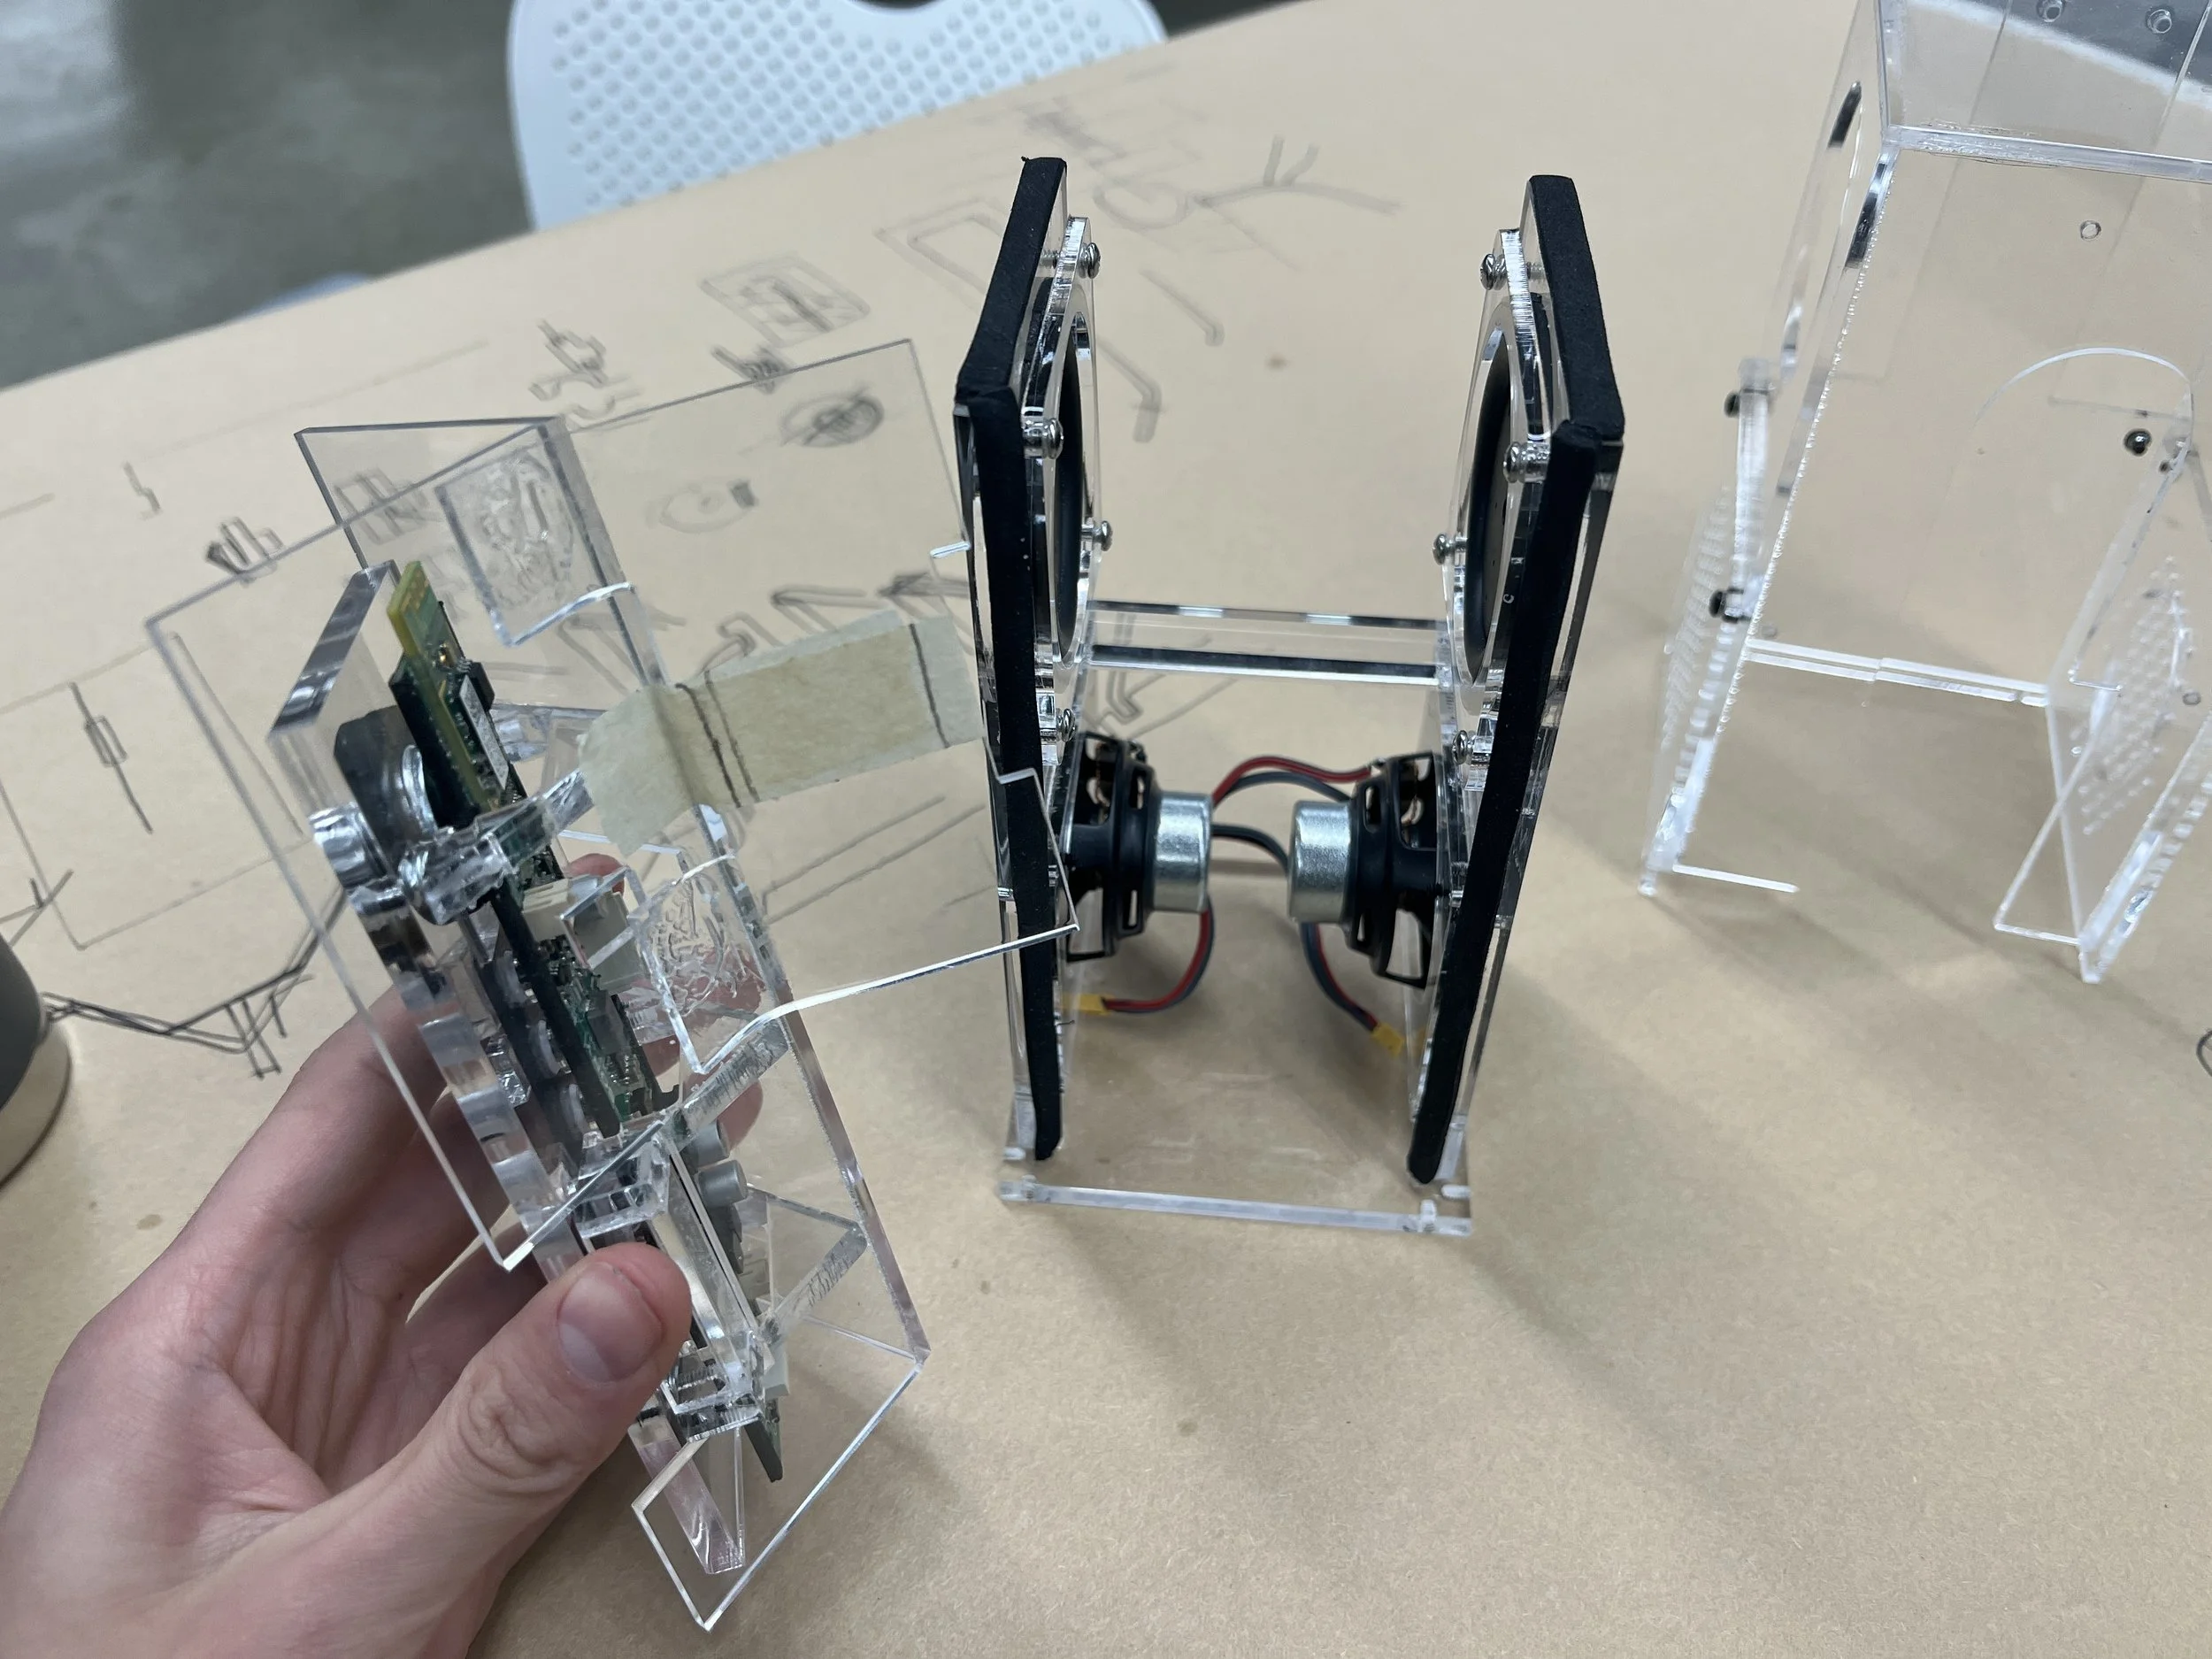
The first step in this process involved disassembling a Sony bluetooth speaker to harvest the components and also to develop an understanding of how the product was manufactured.
Speaker Disassembly.

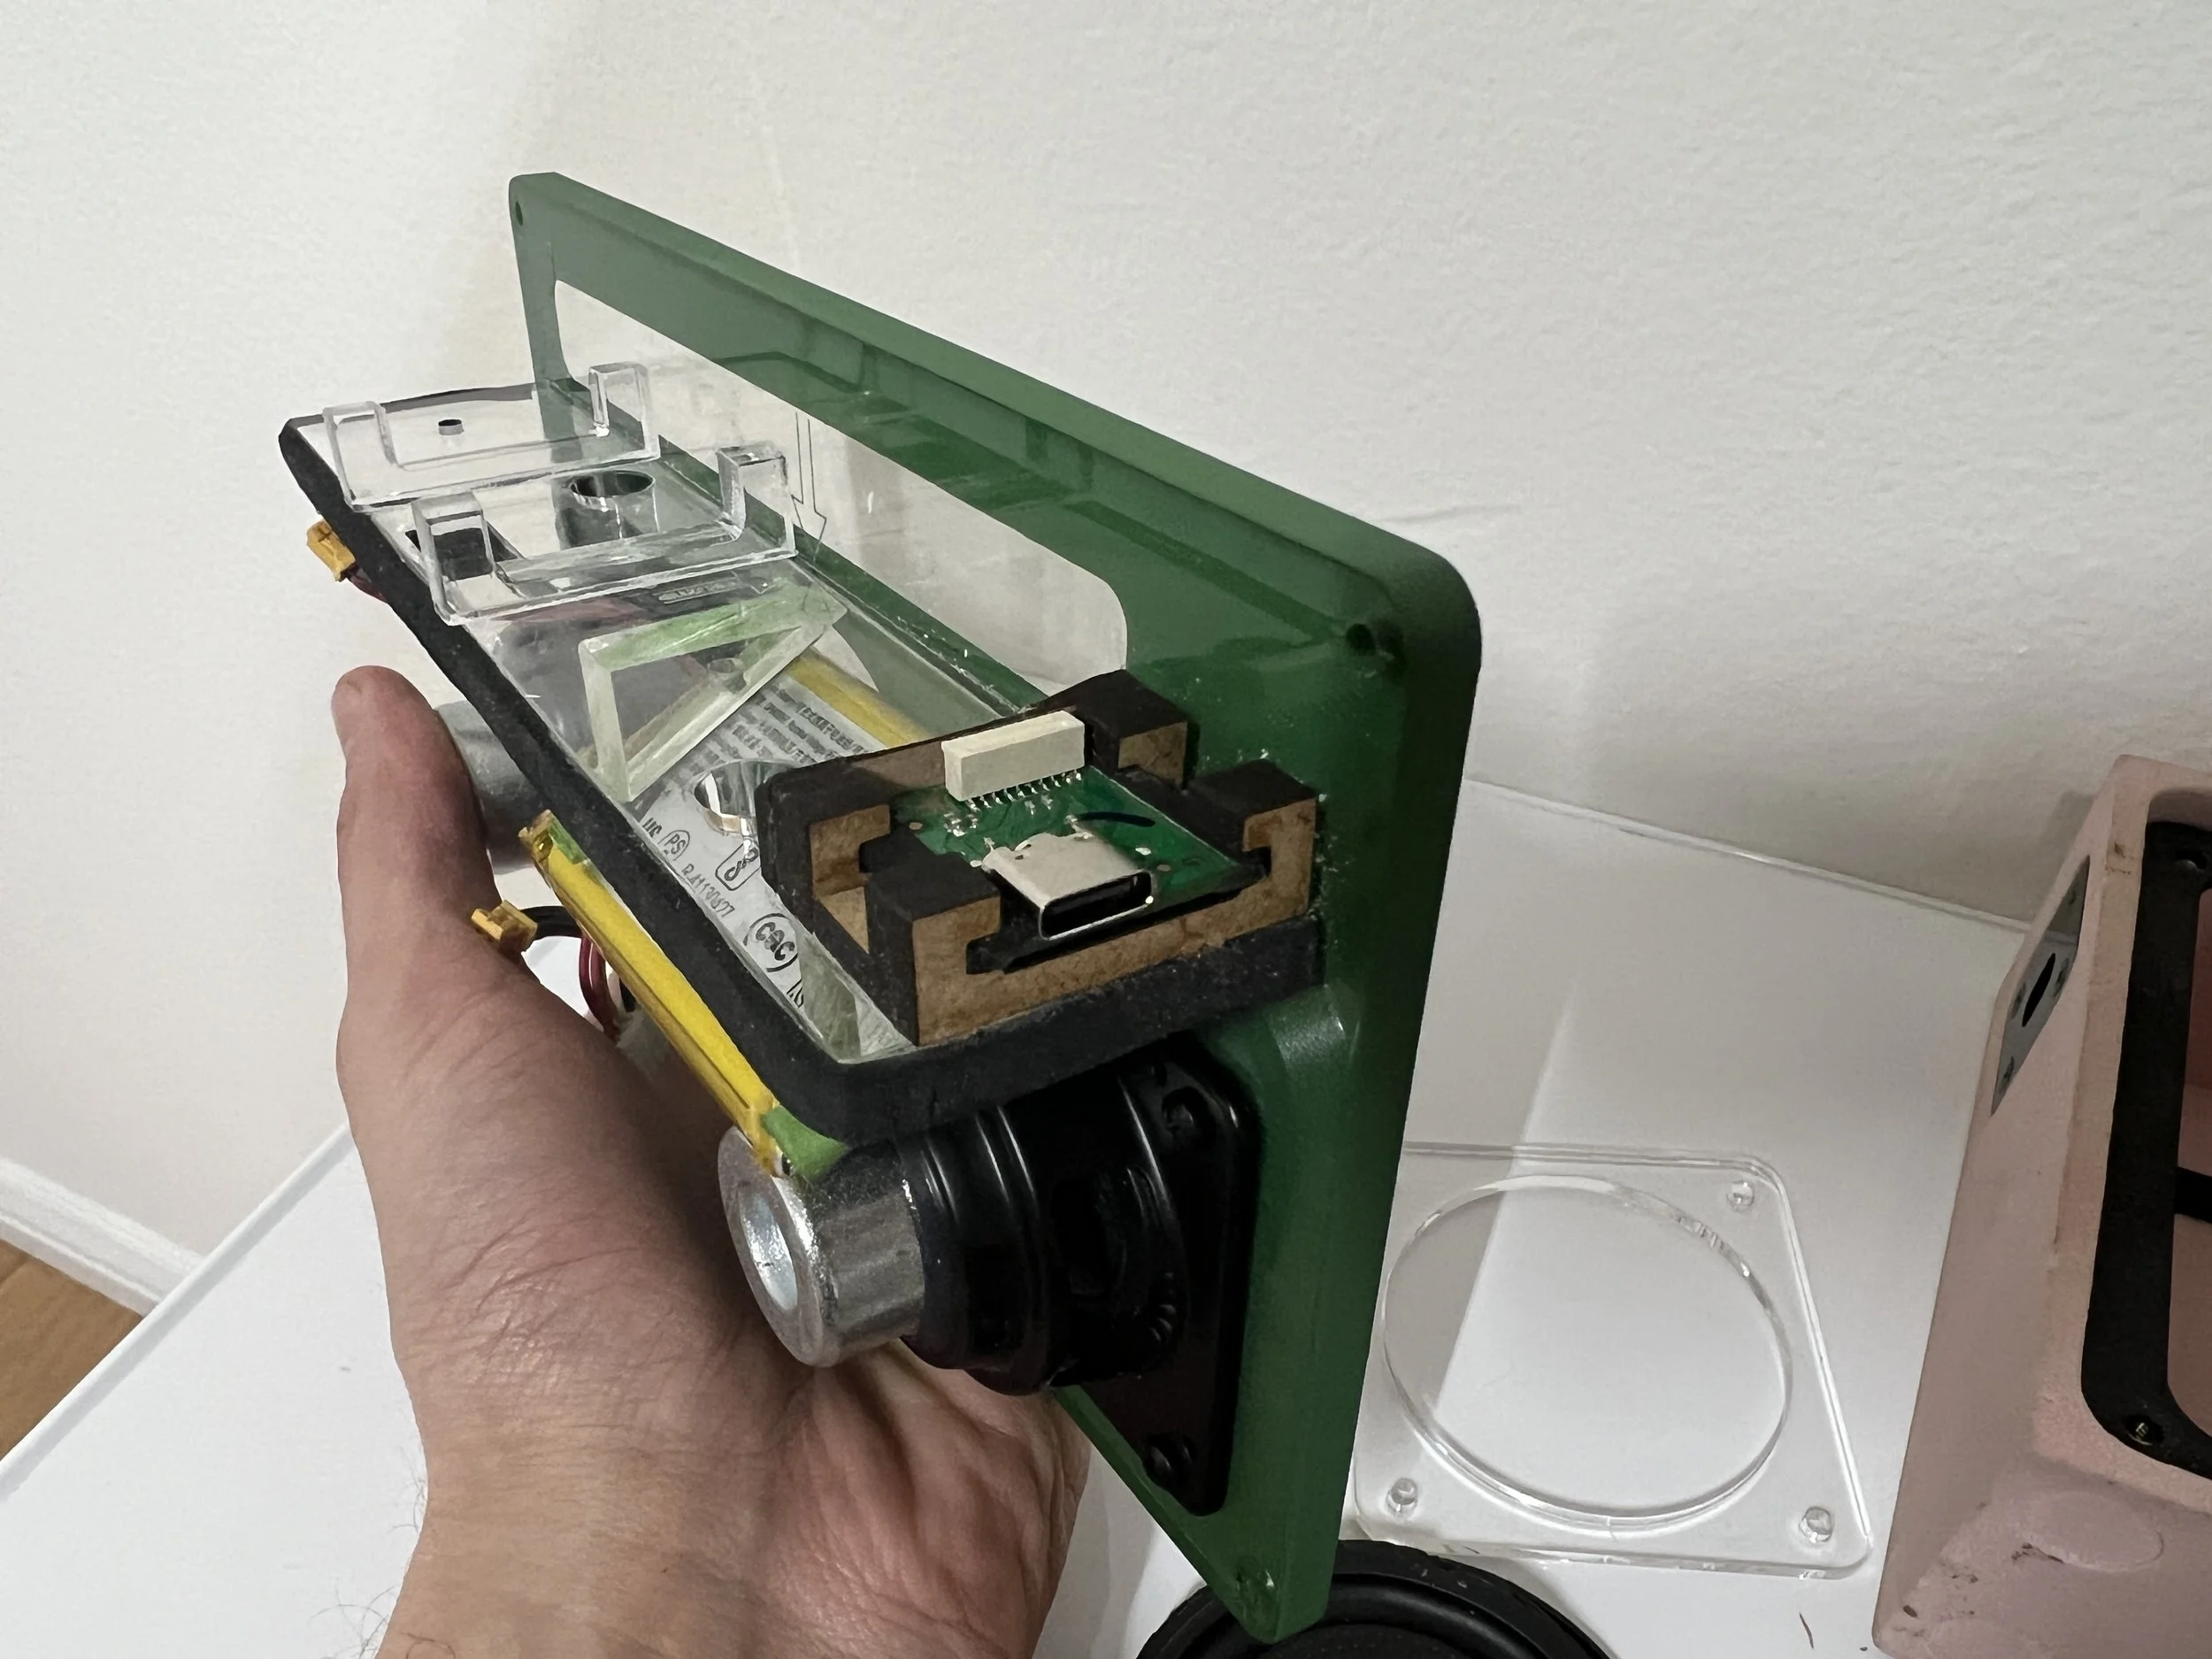
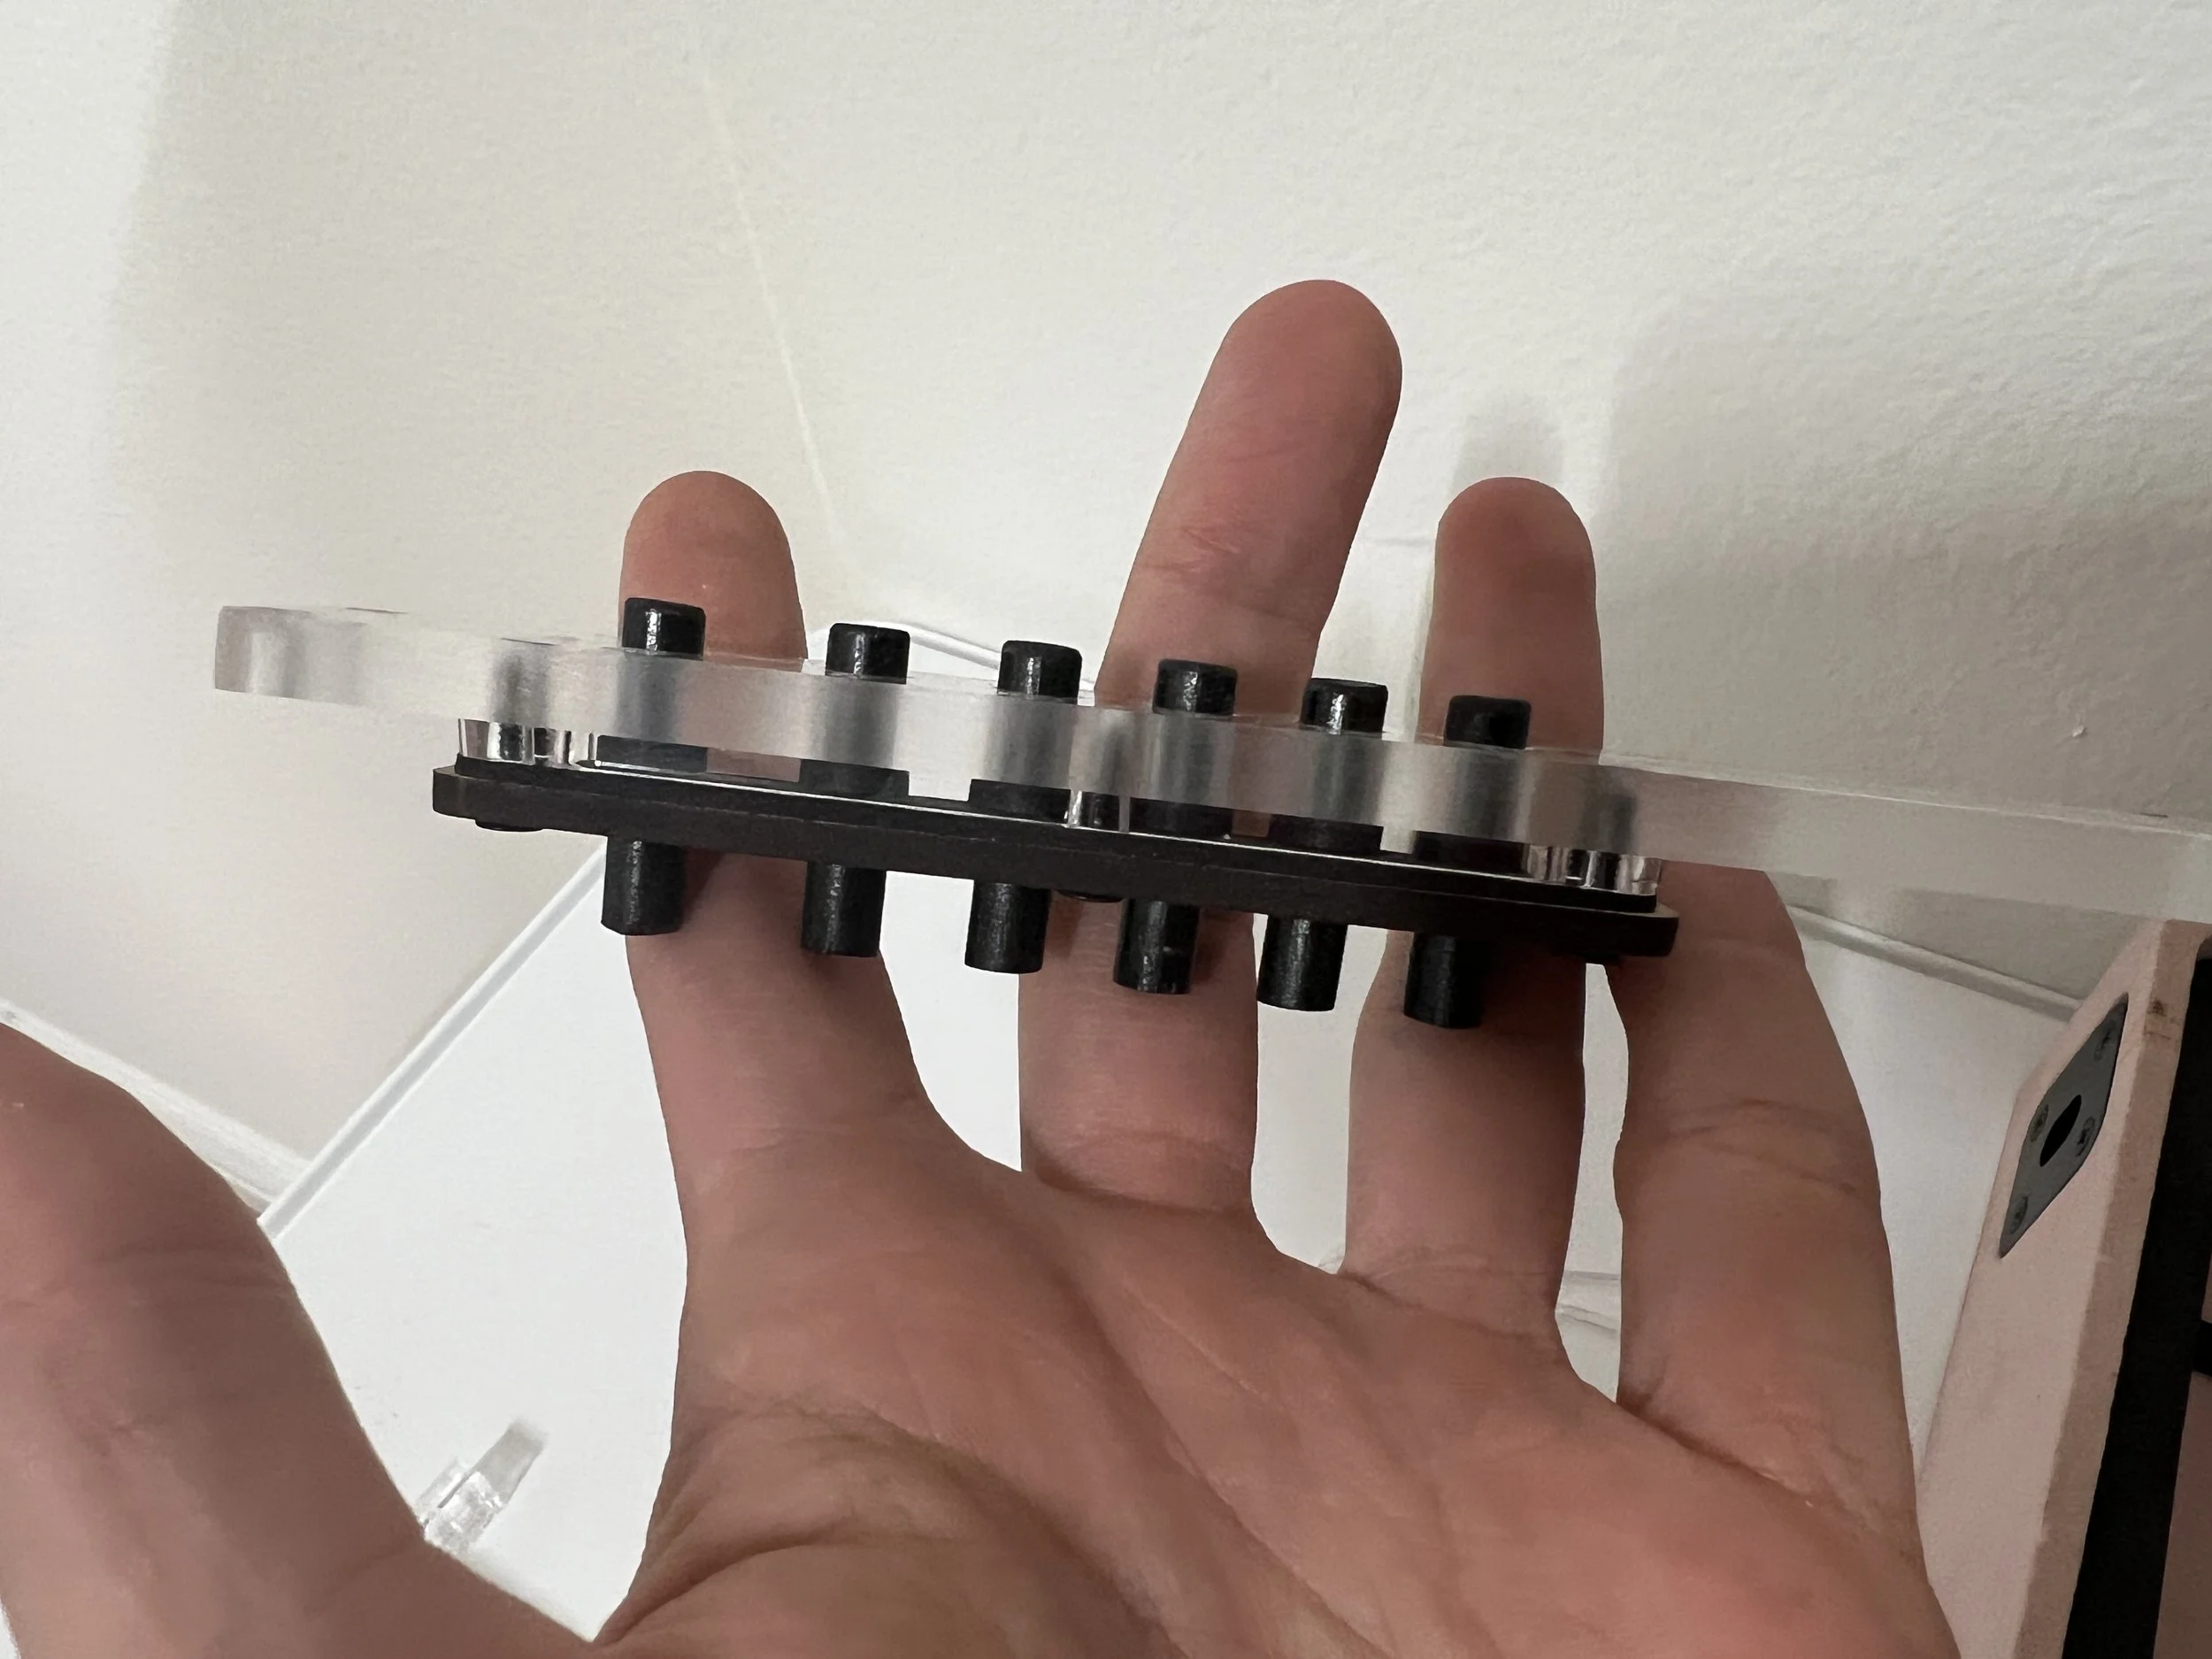
Completed Test Prototype.


Test Model Insights.
We used the bluetooth speaker components to build a simple functioning pre designed speaker to practice before we starting designing our own. The only thing we had to design for this quick test model were the buttons. The most important takeaway from this step was how important a sealed housing is for better sound quality.
The next step was to choose an existing audio brand to design for and the space where we intend our design to be utilized. I chose teenage engineering for my speaker brand.
“teenage engineering creates high quality, well designed, electronic products for all people who love sound and music.”


Chosen Environment.
I chose a maker space as the environment I wanted to design my bluetooth speaker for.


Sketching and Ideation.

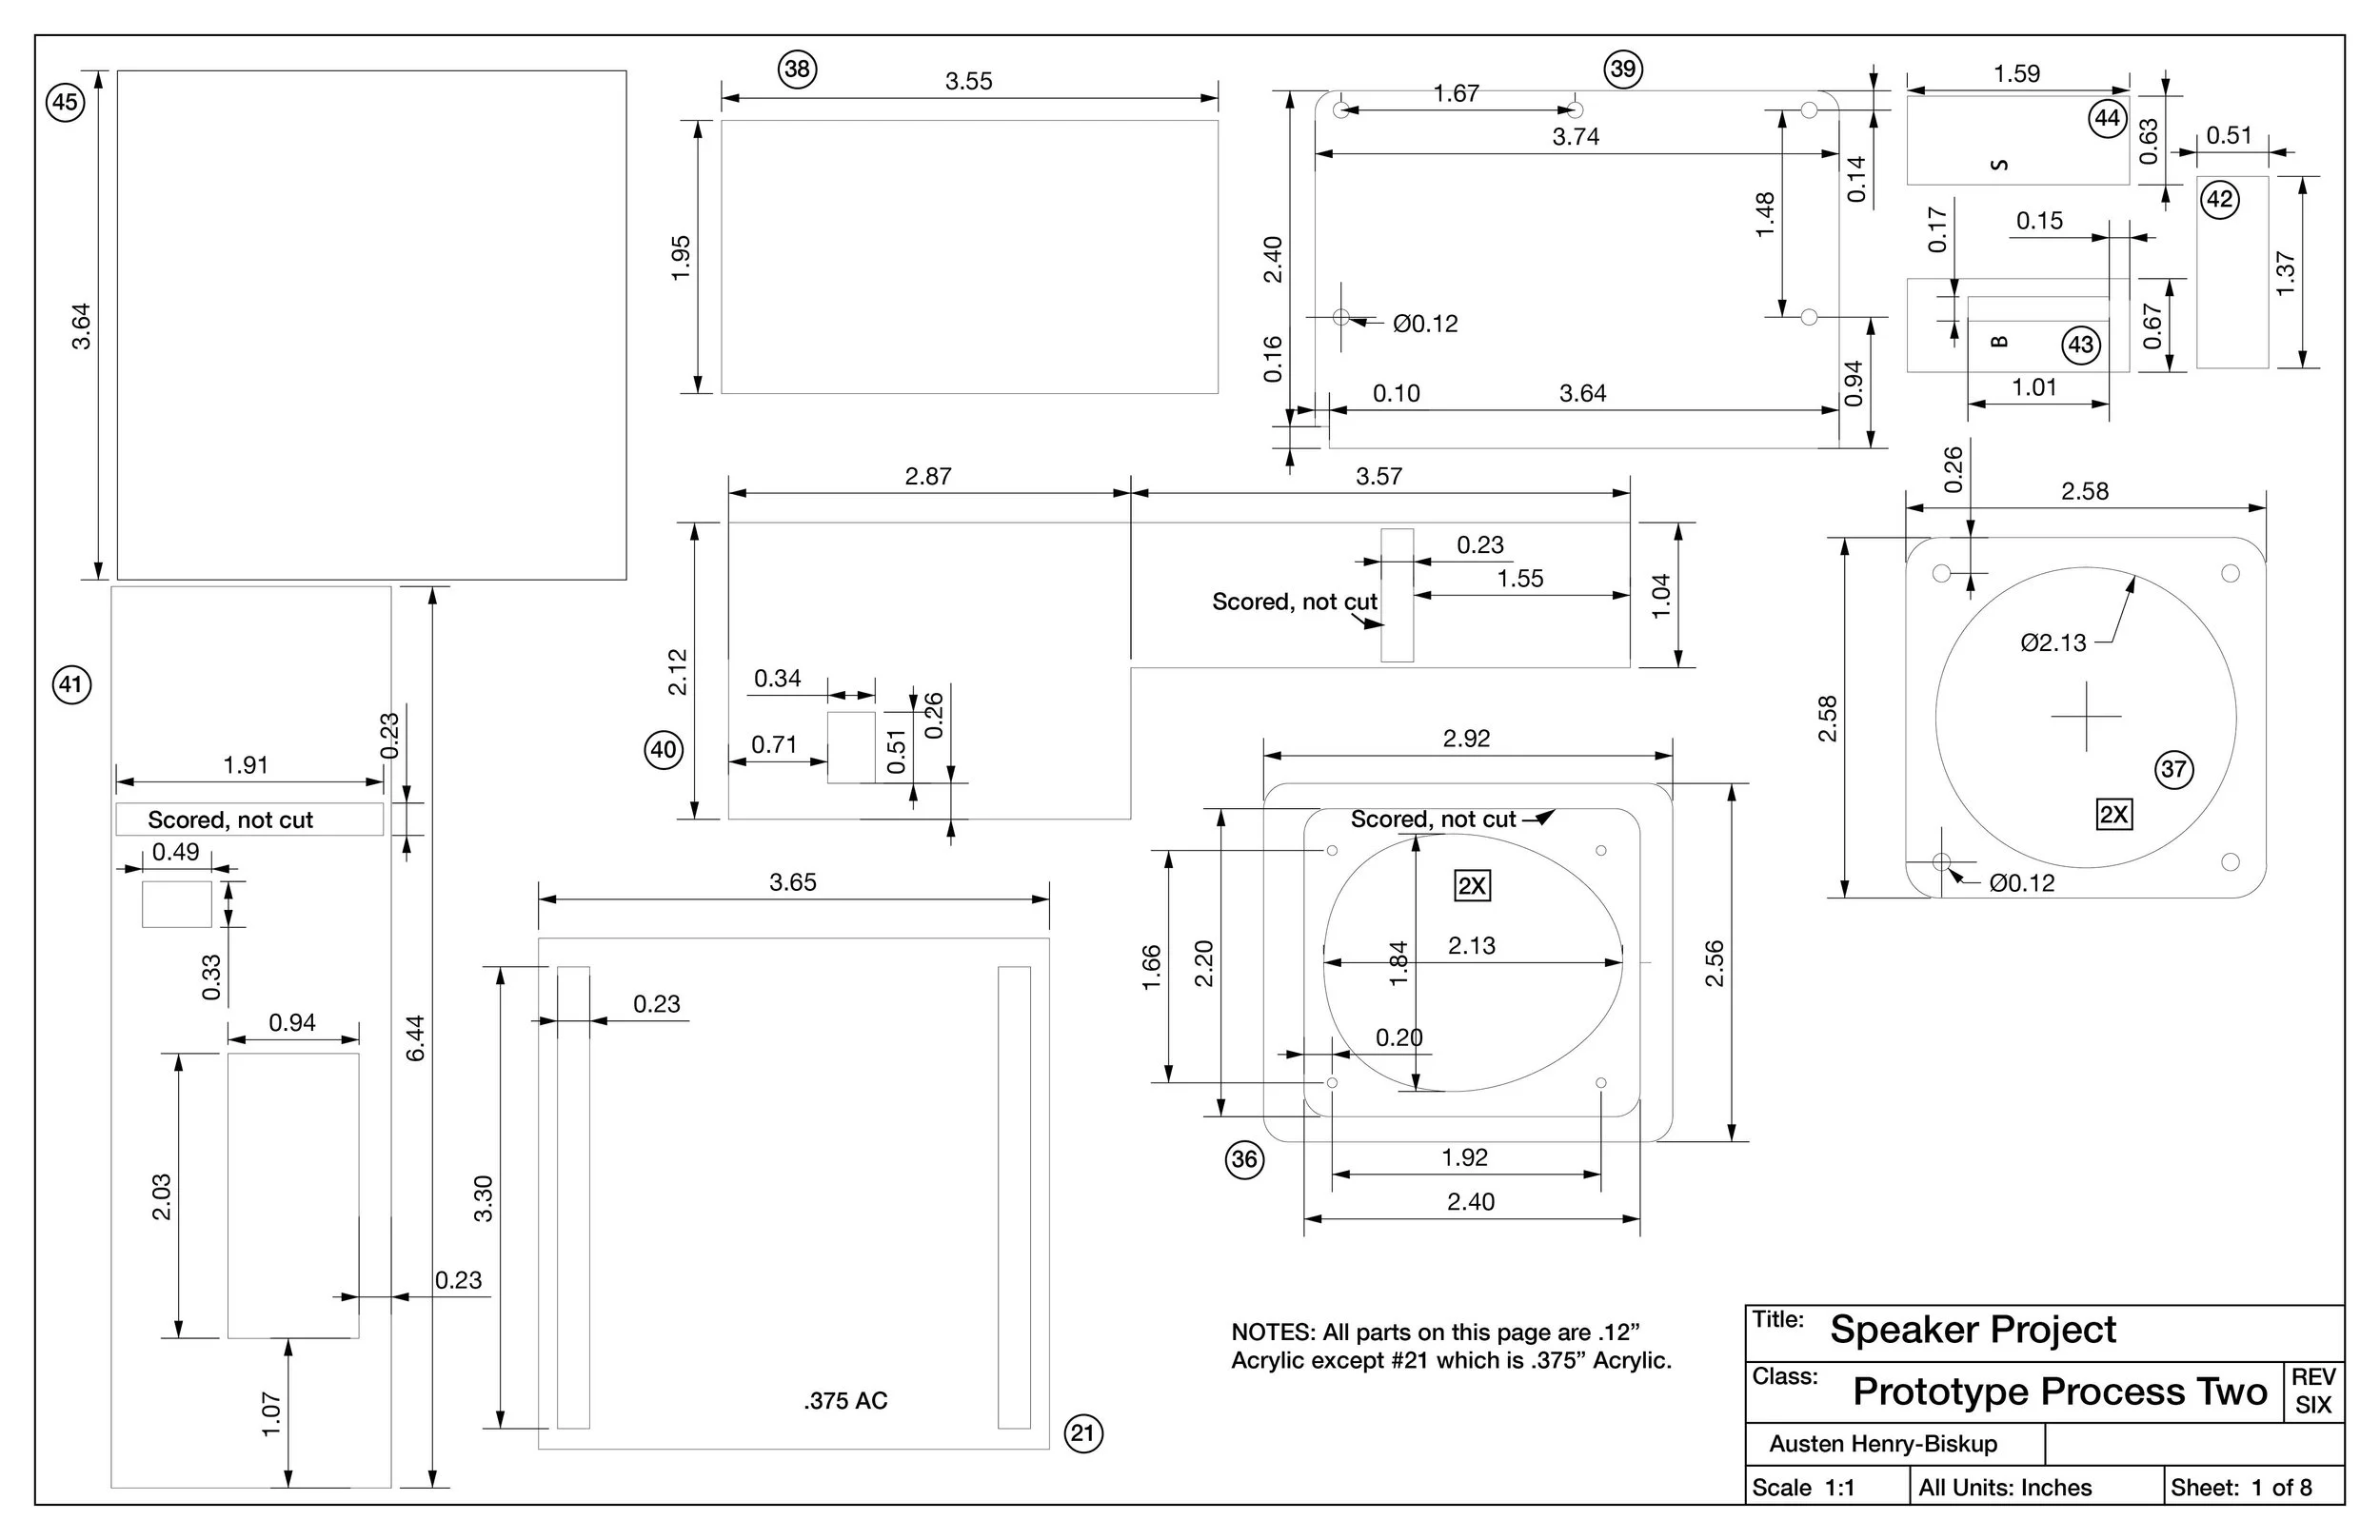
Once we had a general Design in mind we made 2D diagrams of the speaker components and began arranging them to see how they would fit in our design.
Components Diagram and Orthographic Layout.


First Foam Concept Model.

First Cardboard Concept.


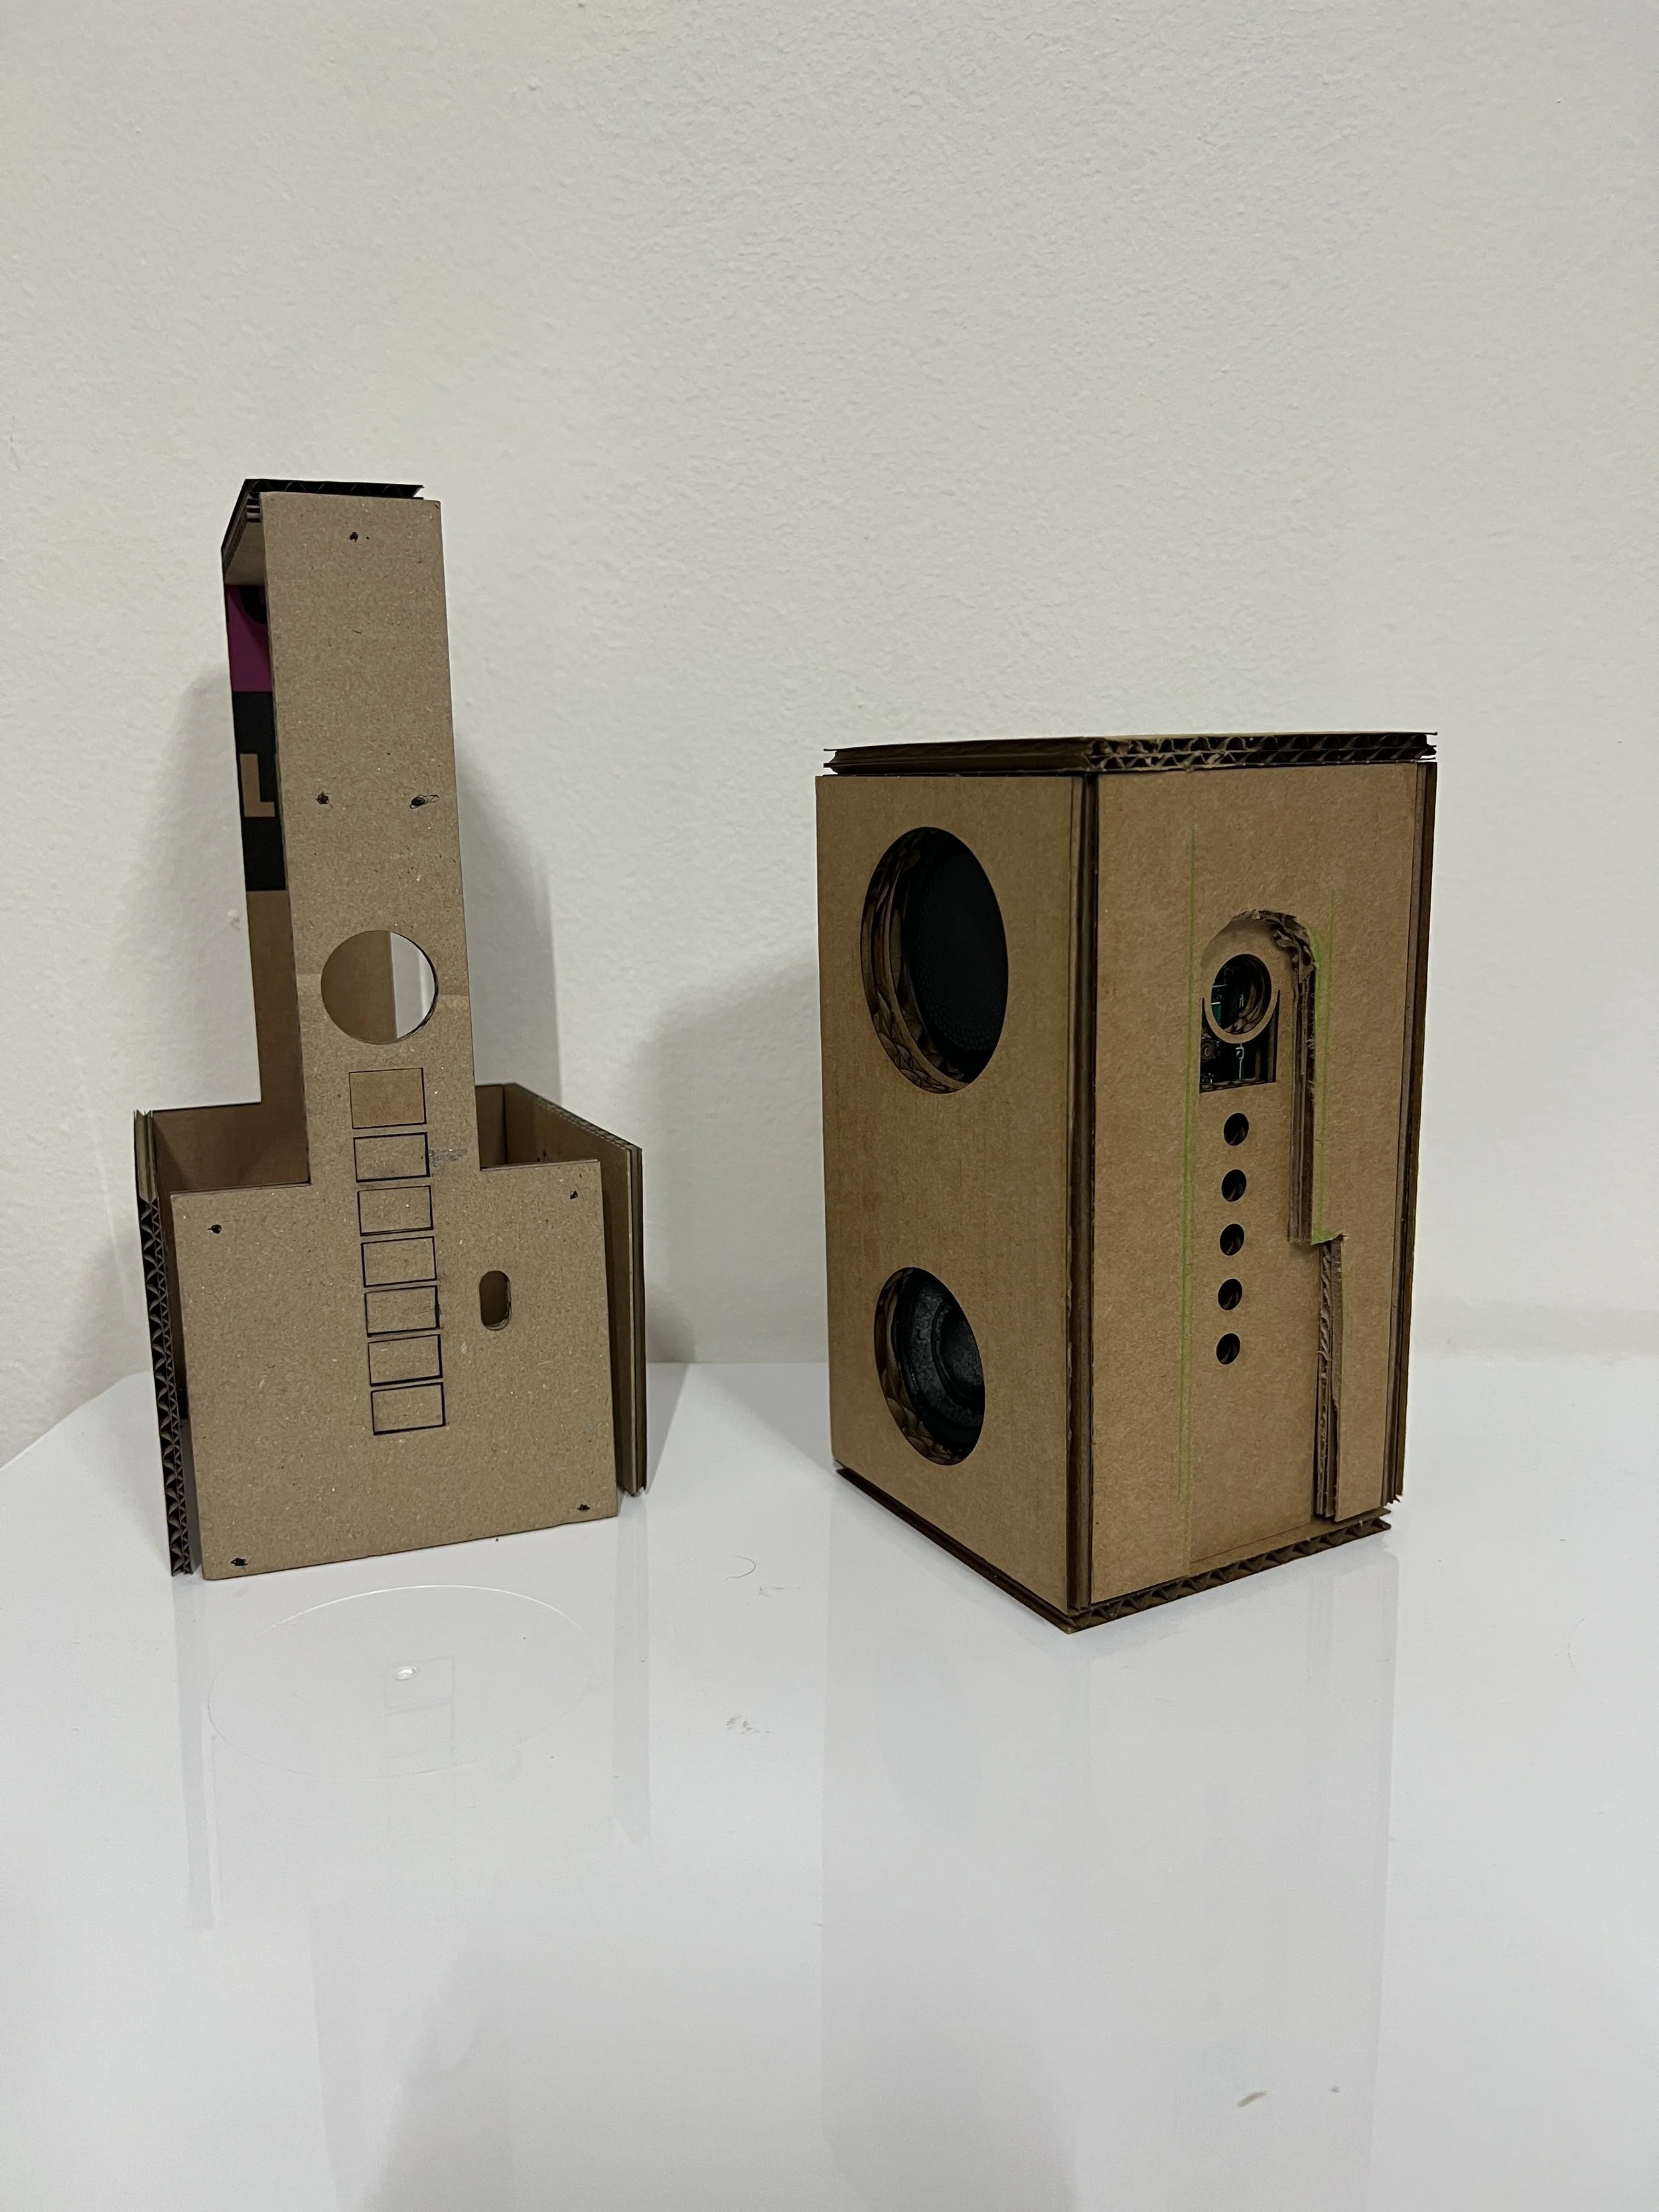

Second Concept Model Insights.
taking what I learned from the first model, I redesigned the parts so that they were all manufacturable via laser cutting which was my primary mode of fabricating the final model. This was about 90% of how the final design turned out and featured a single slide on enclosure that would seal the housing.

Concept Model Insights.
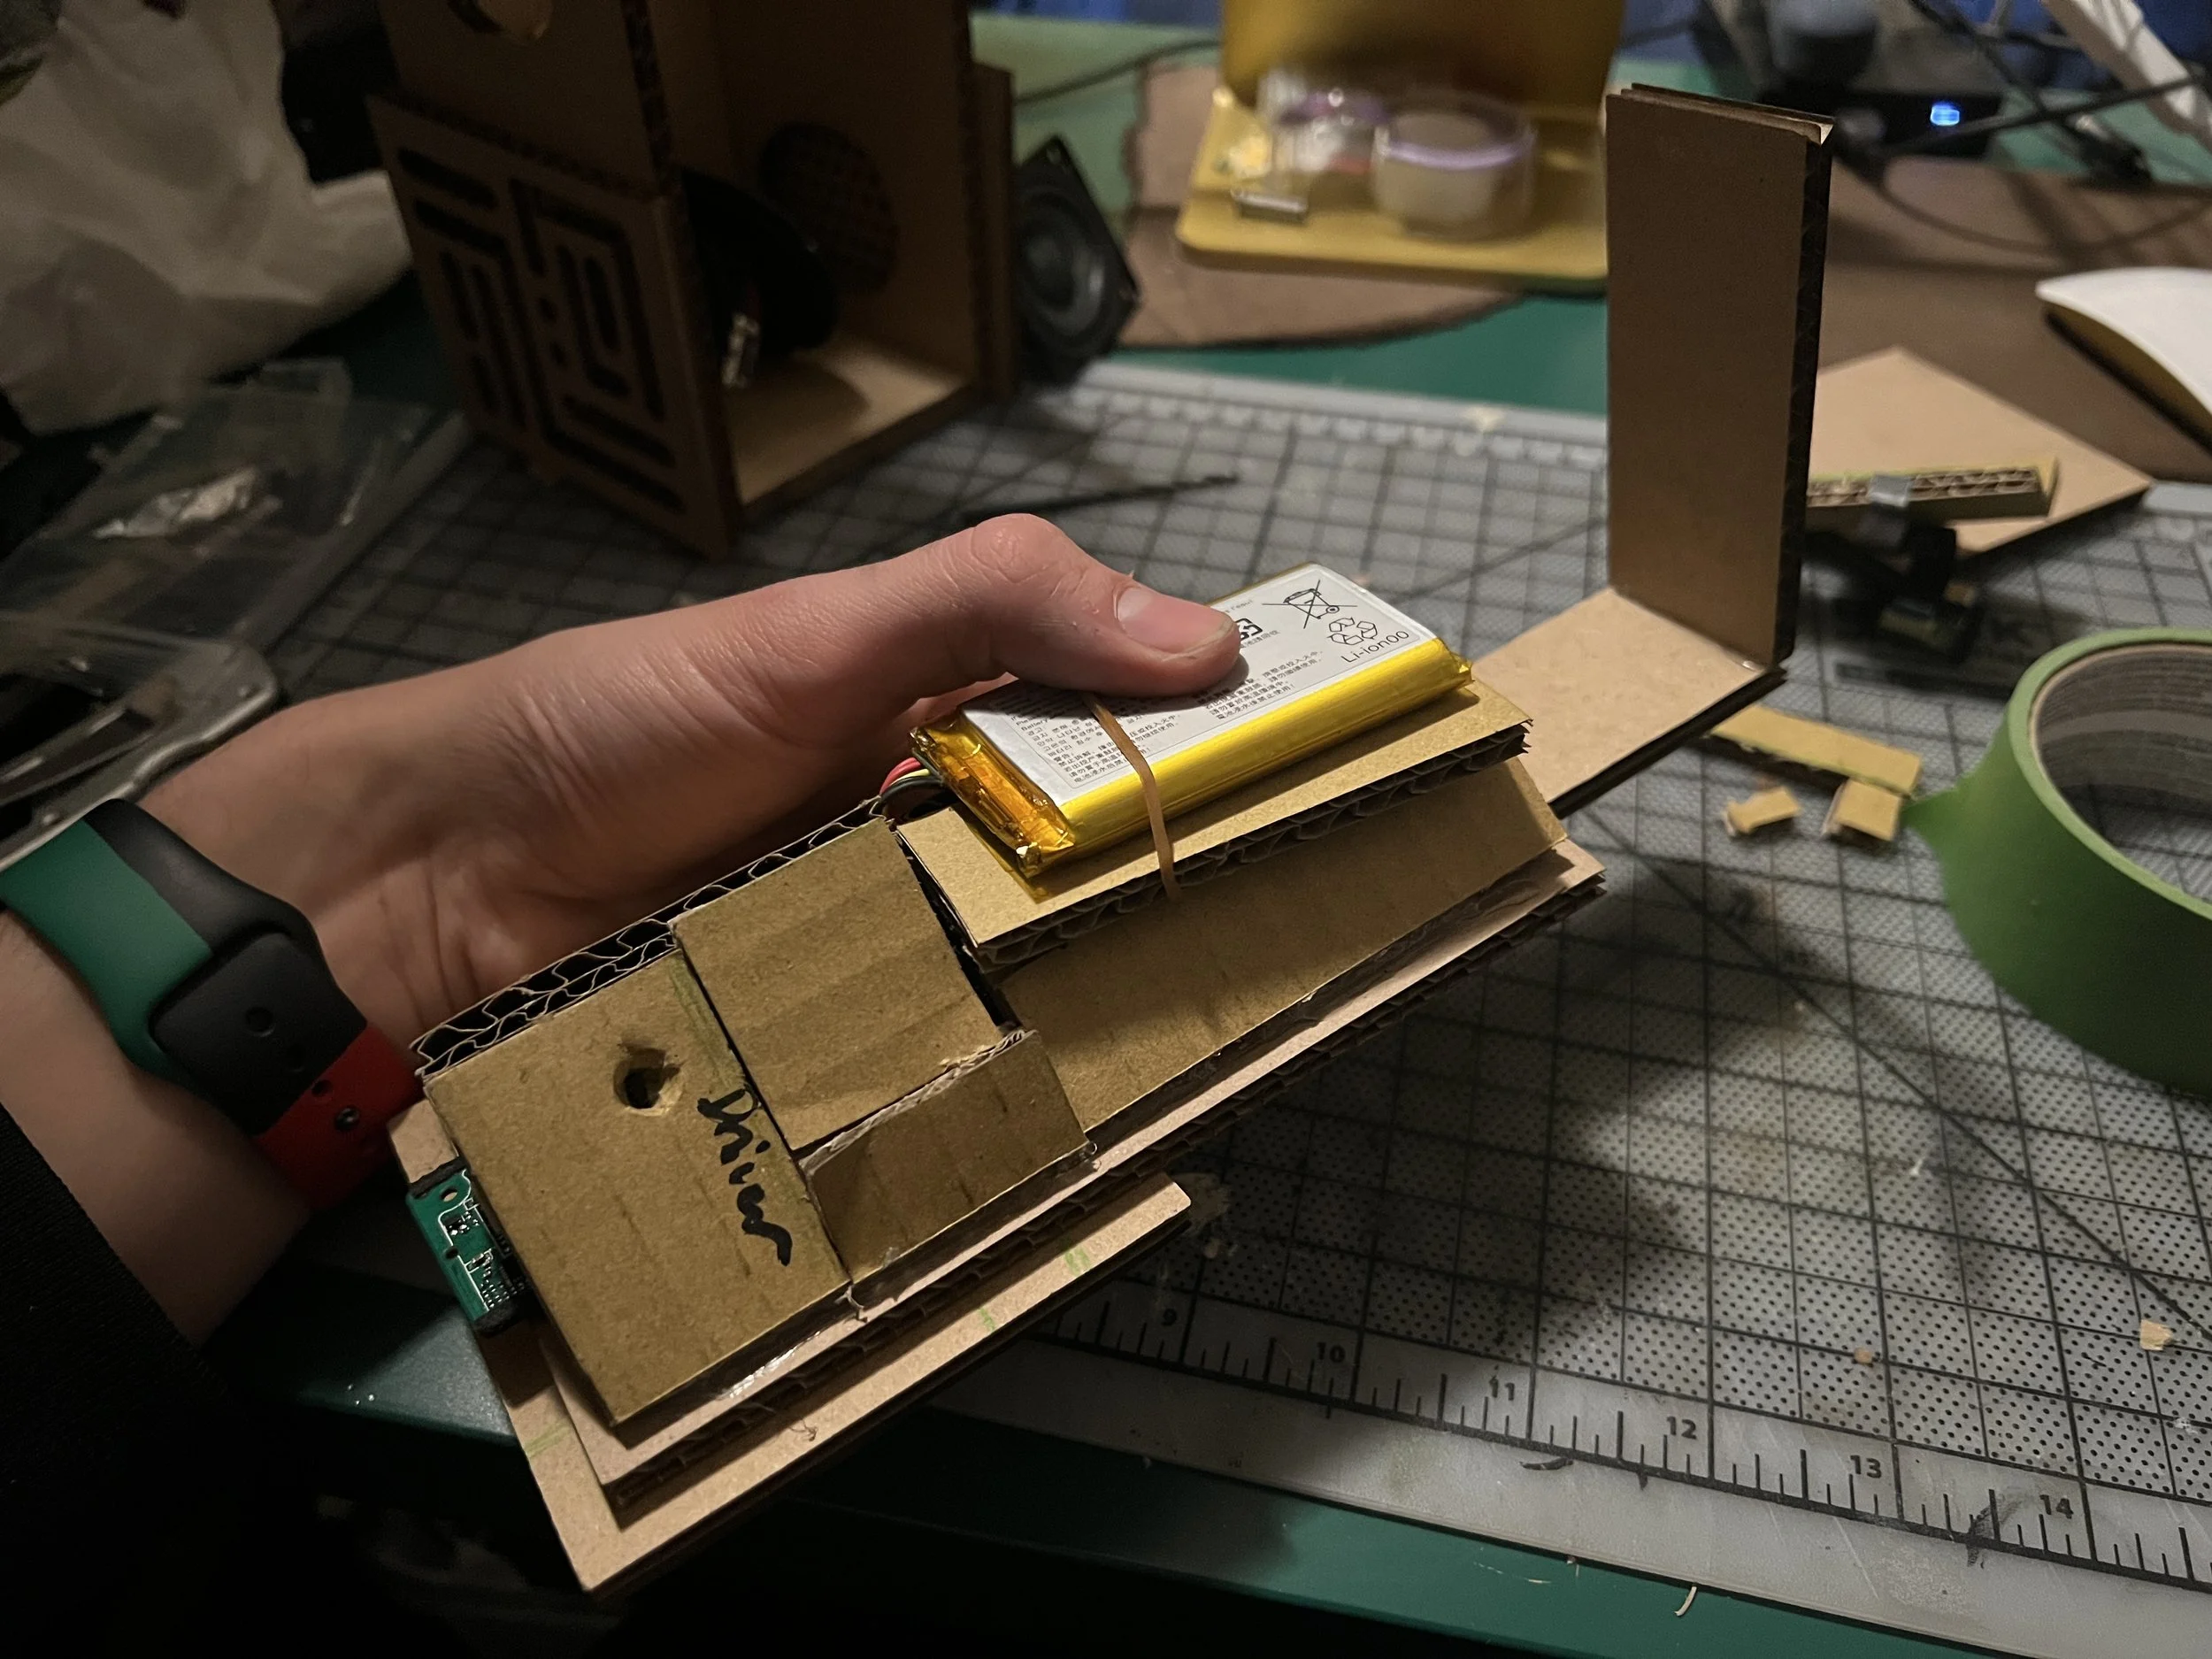
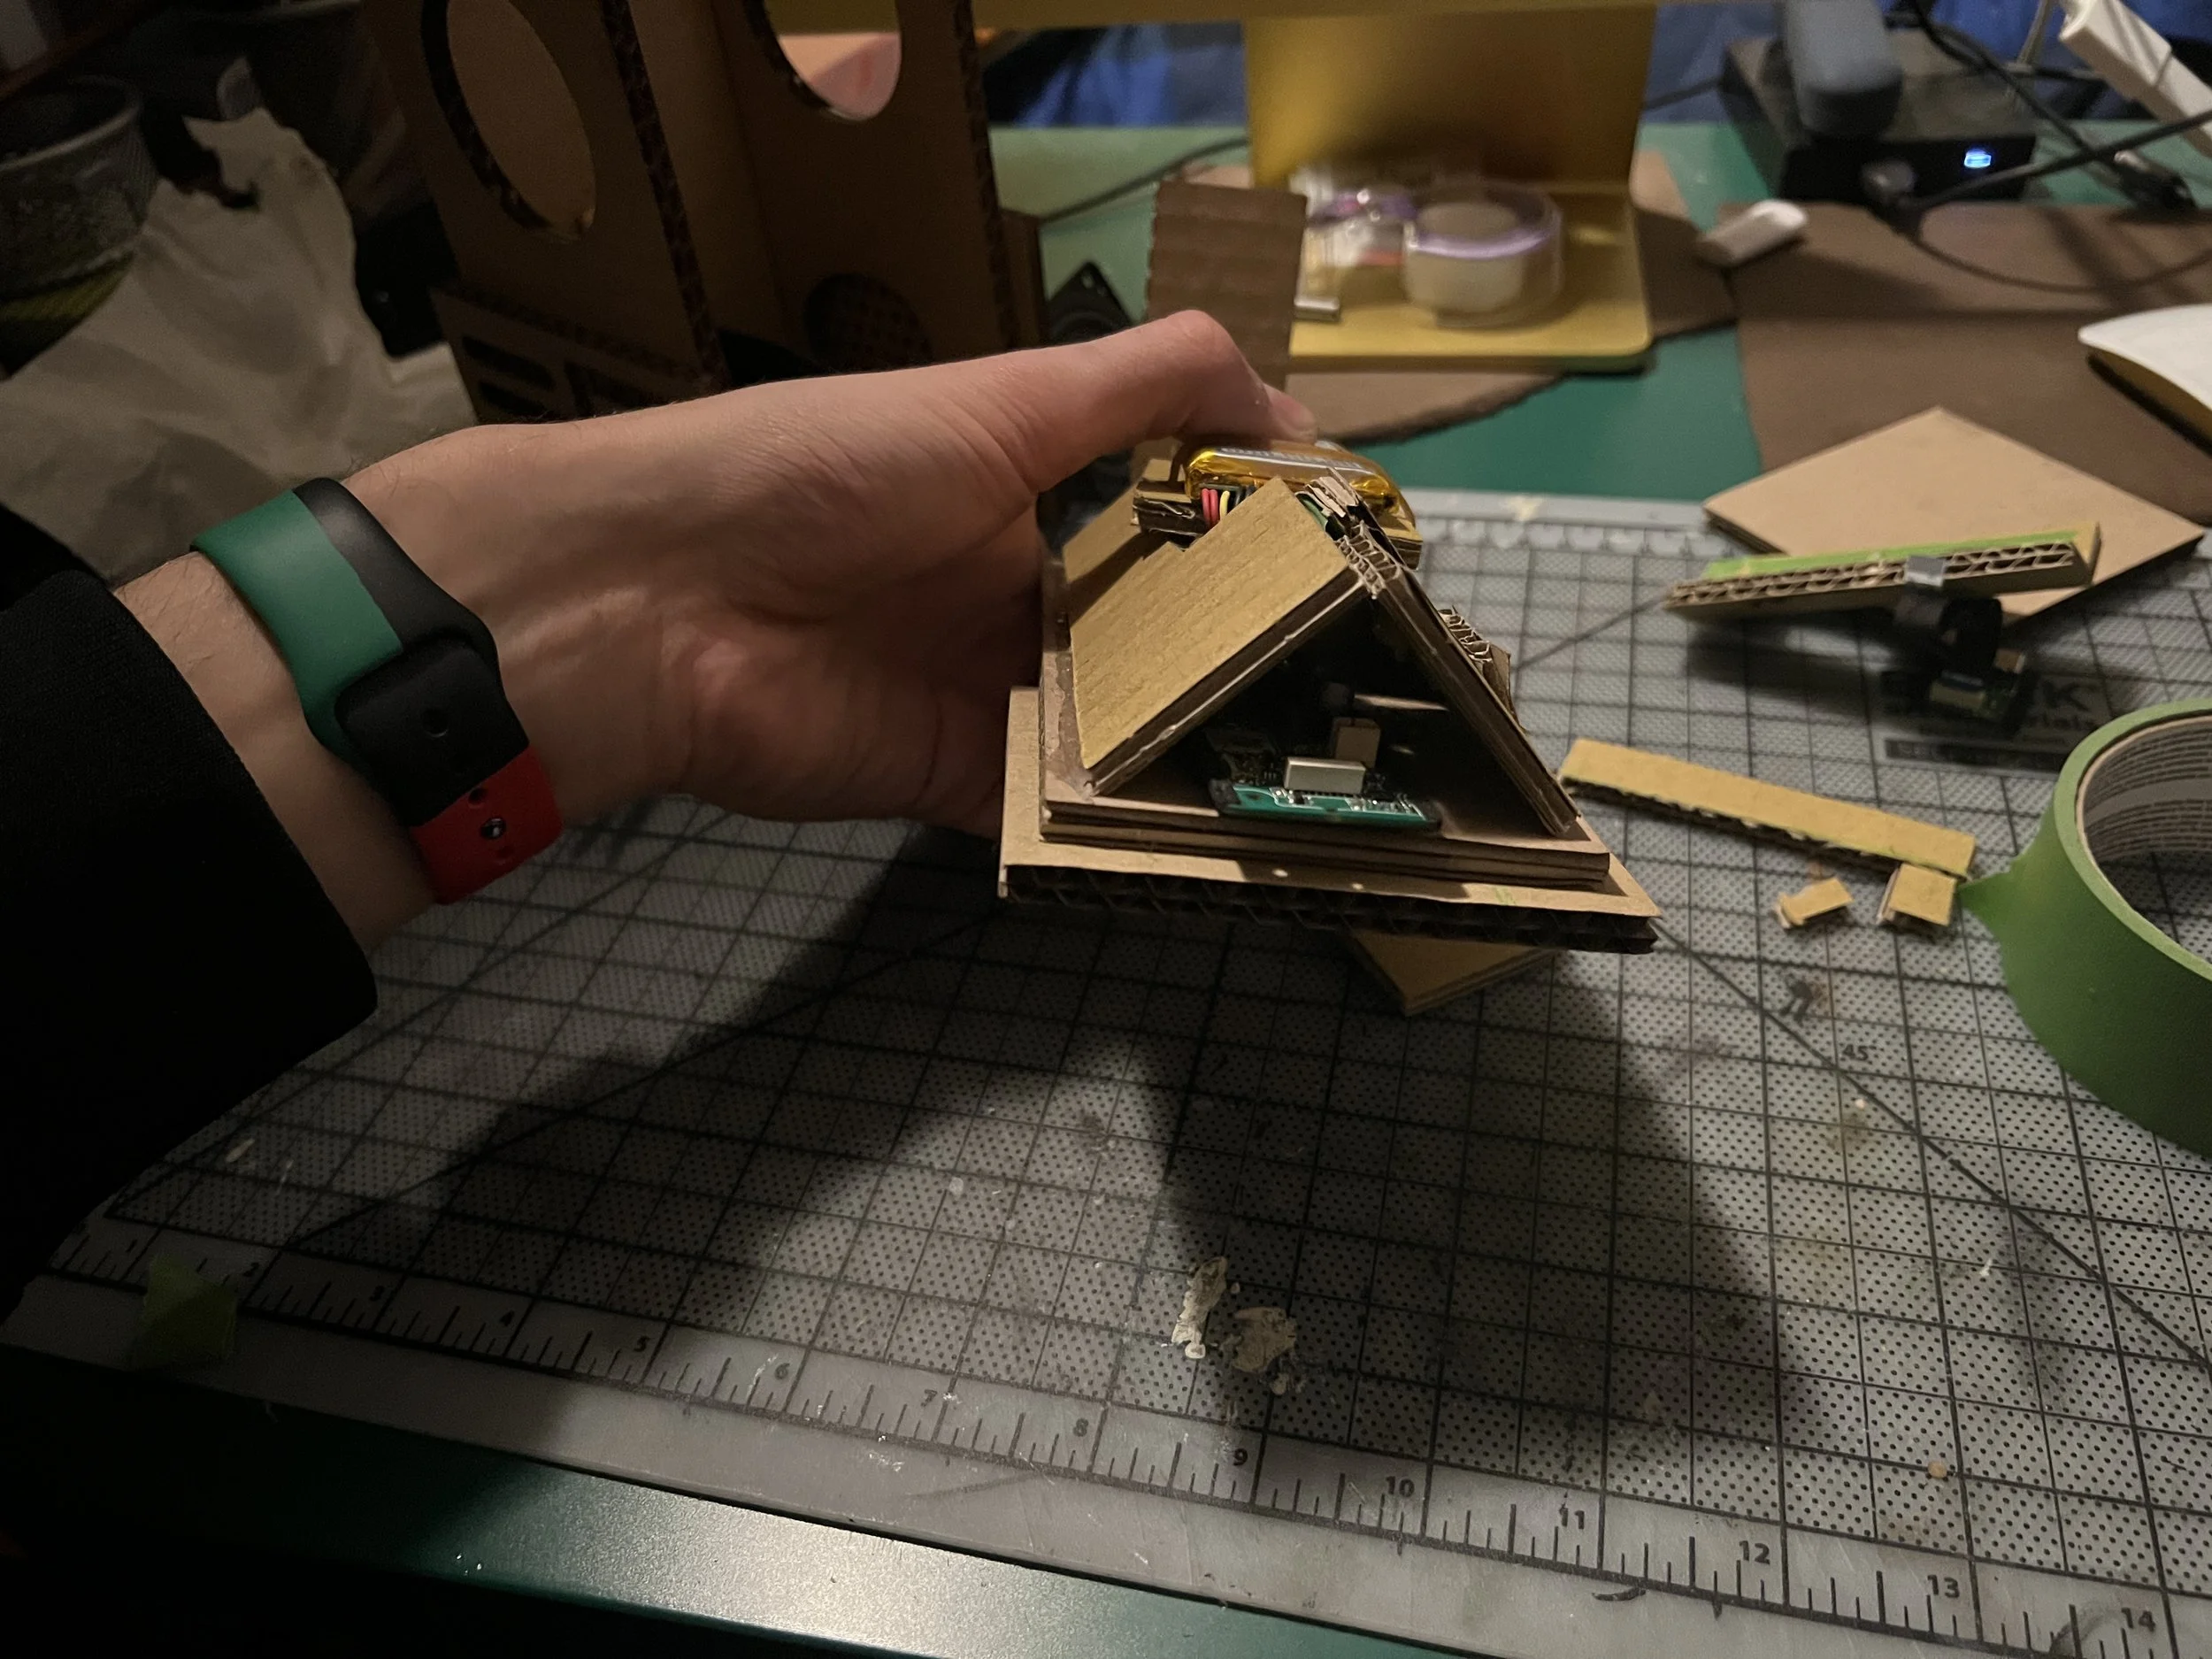
after the foam model, I worked with simple cardboard mockups to see how the parts could be secured inside the design. I had to make sure it was easy to disassemble and reassemble.
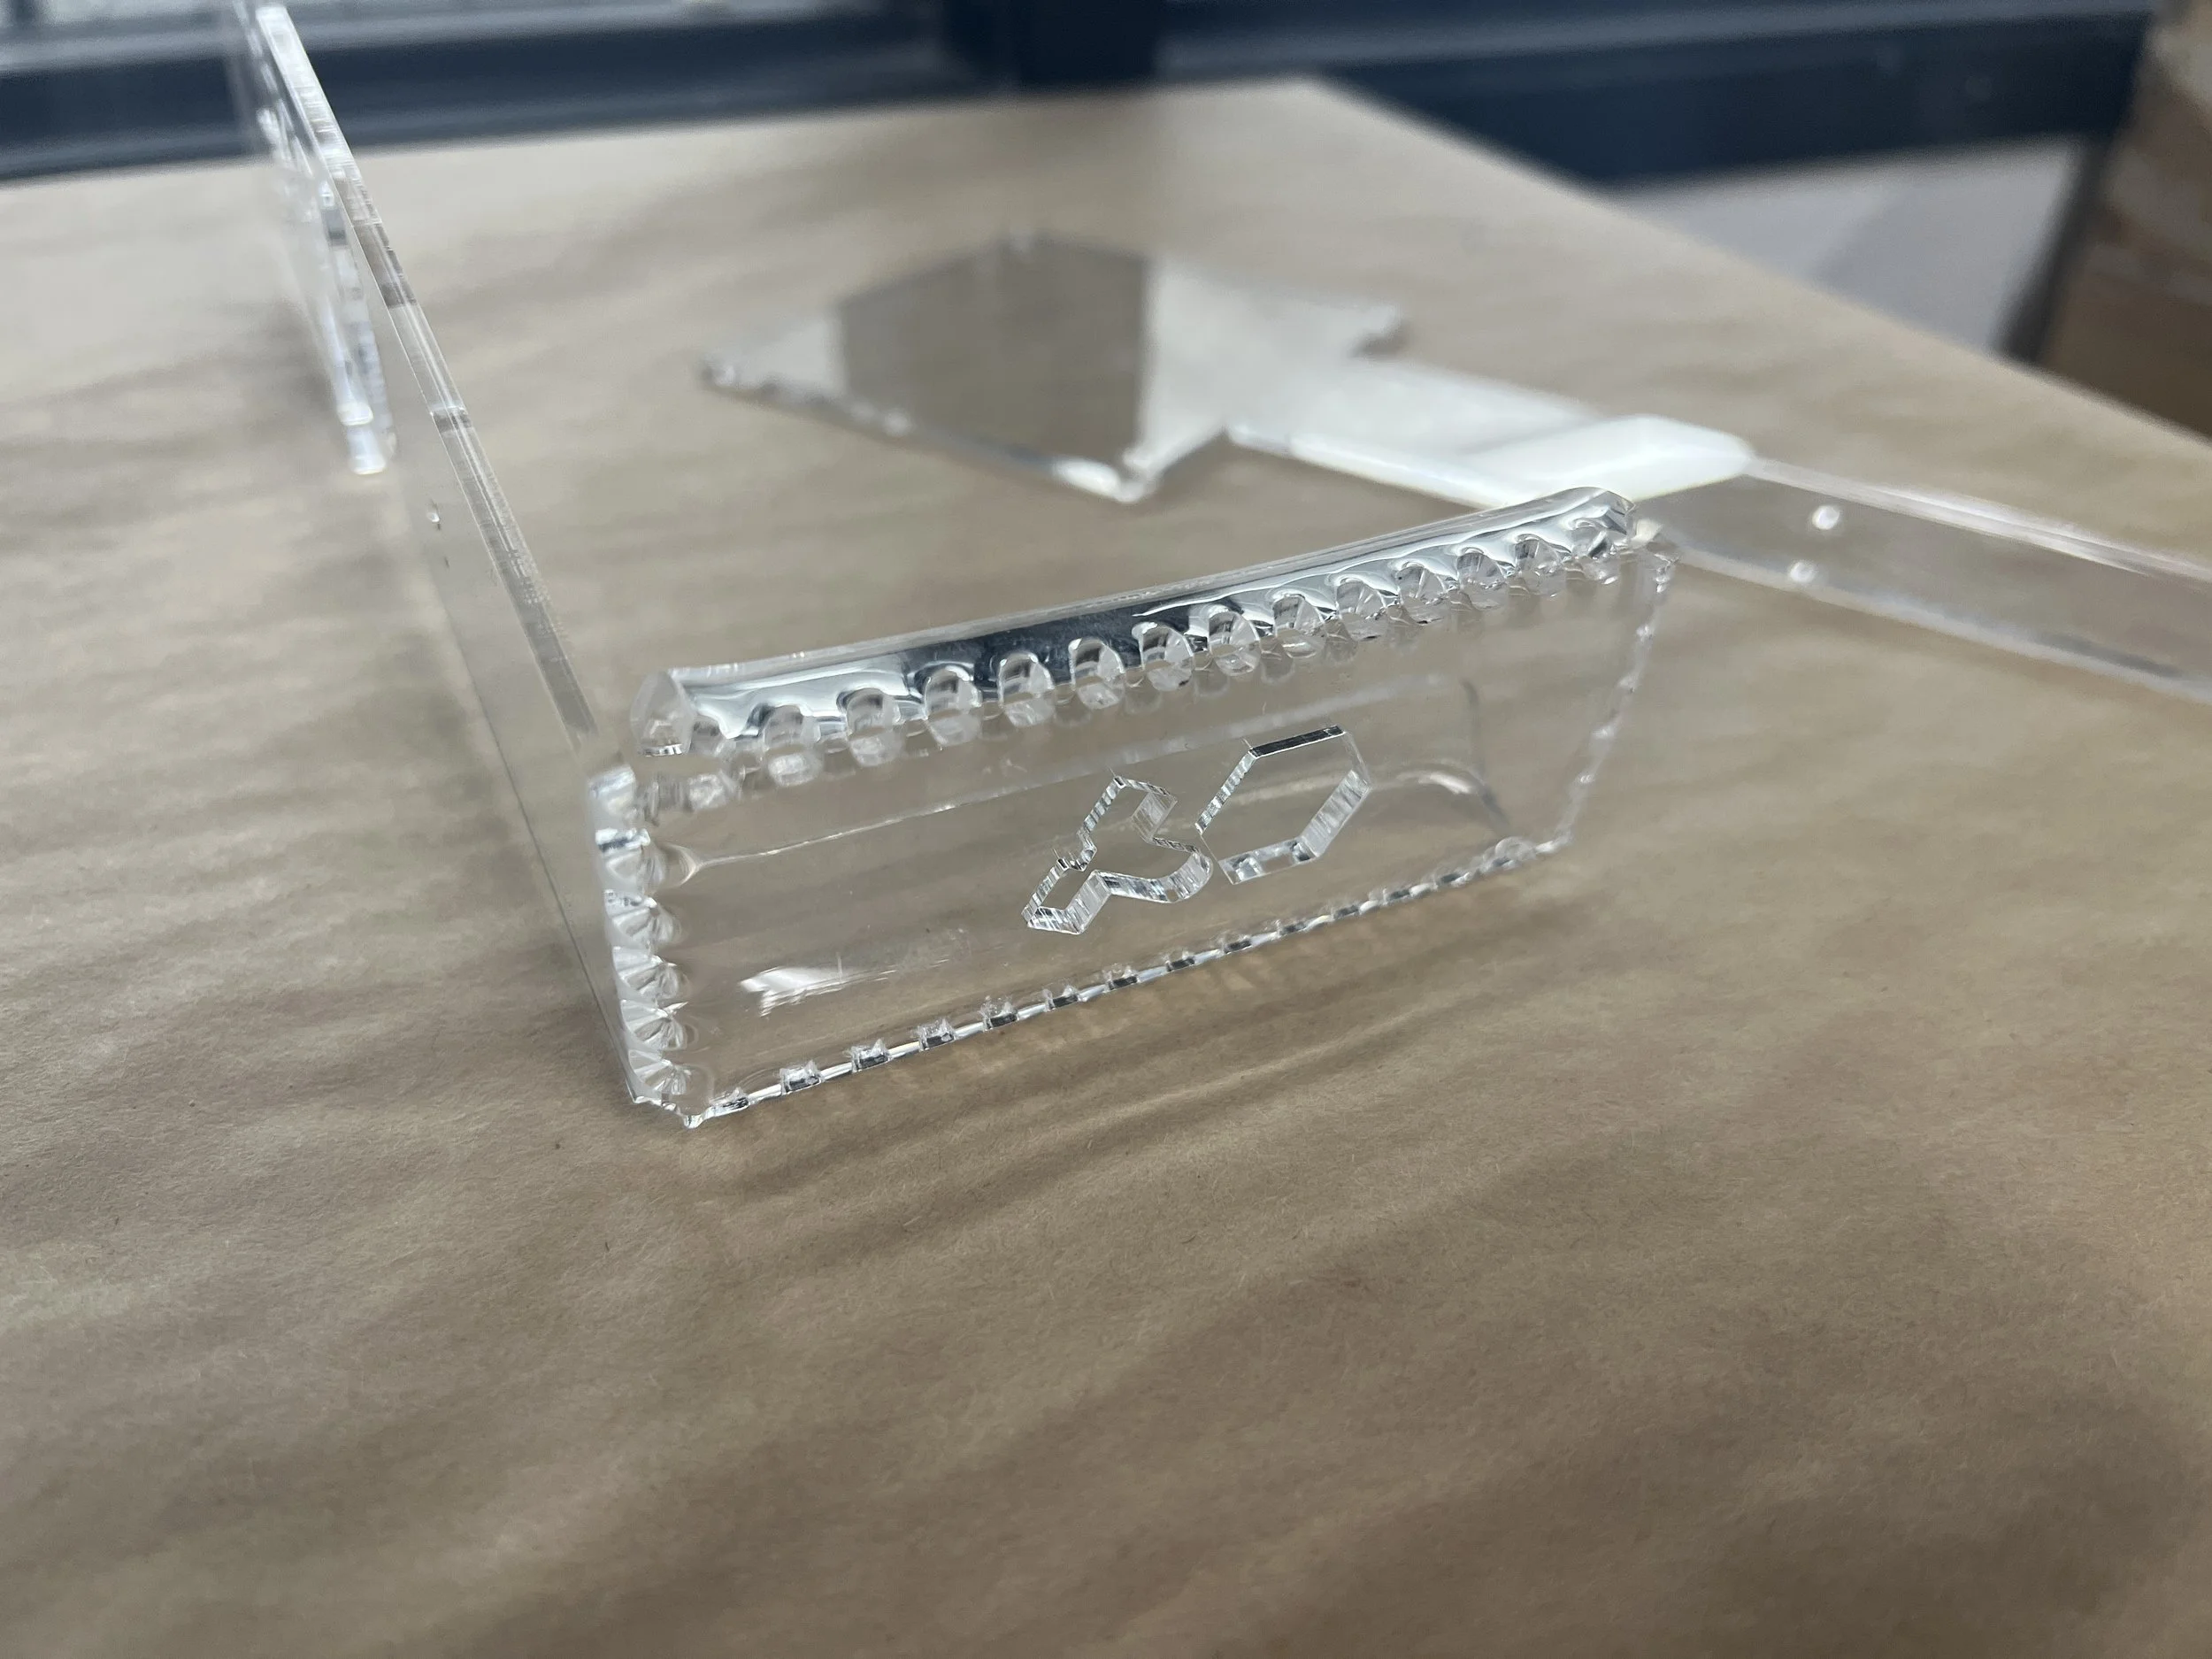
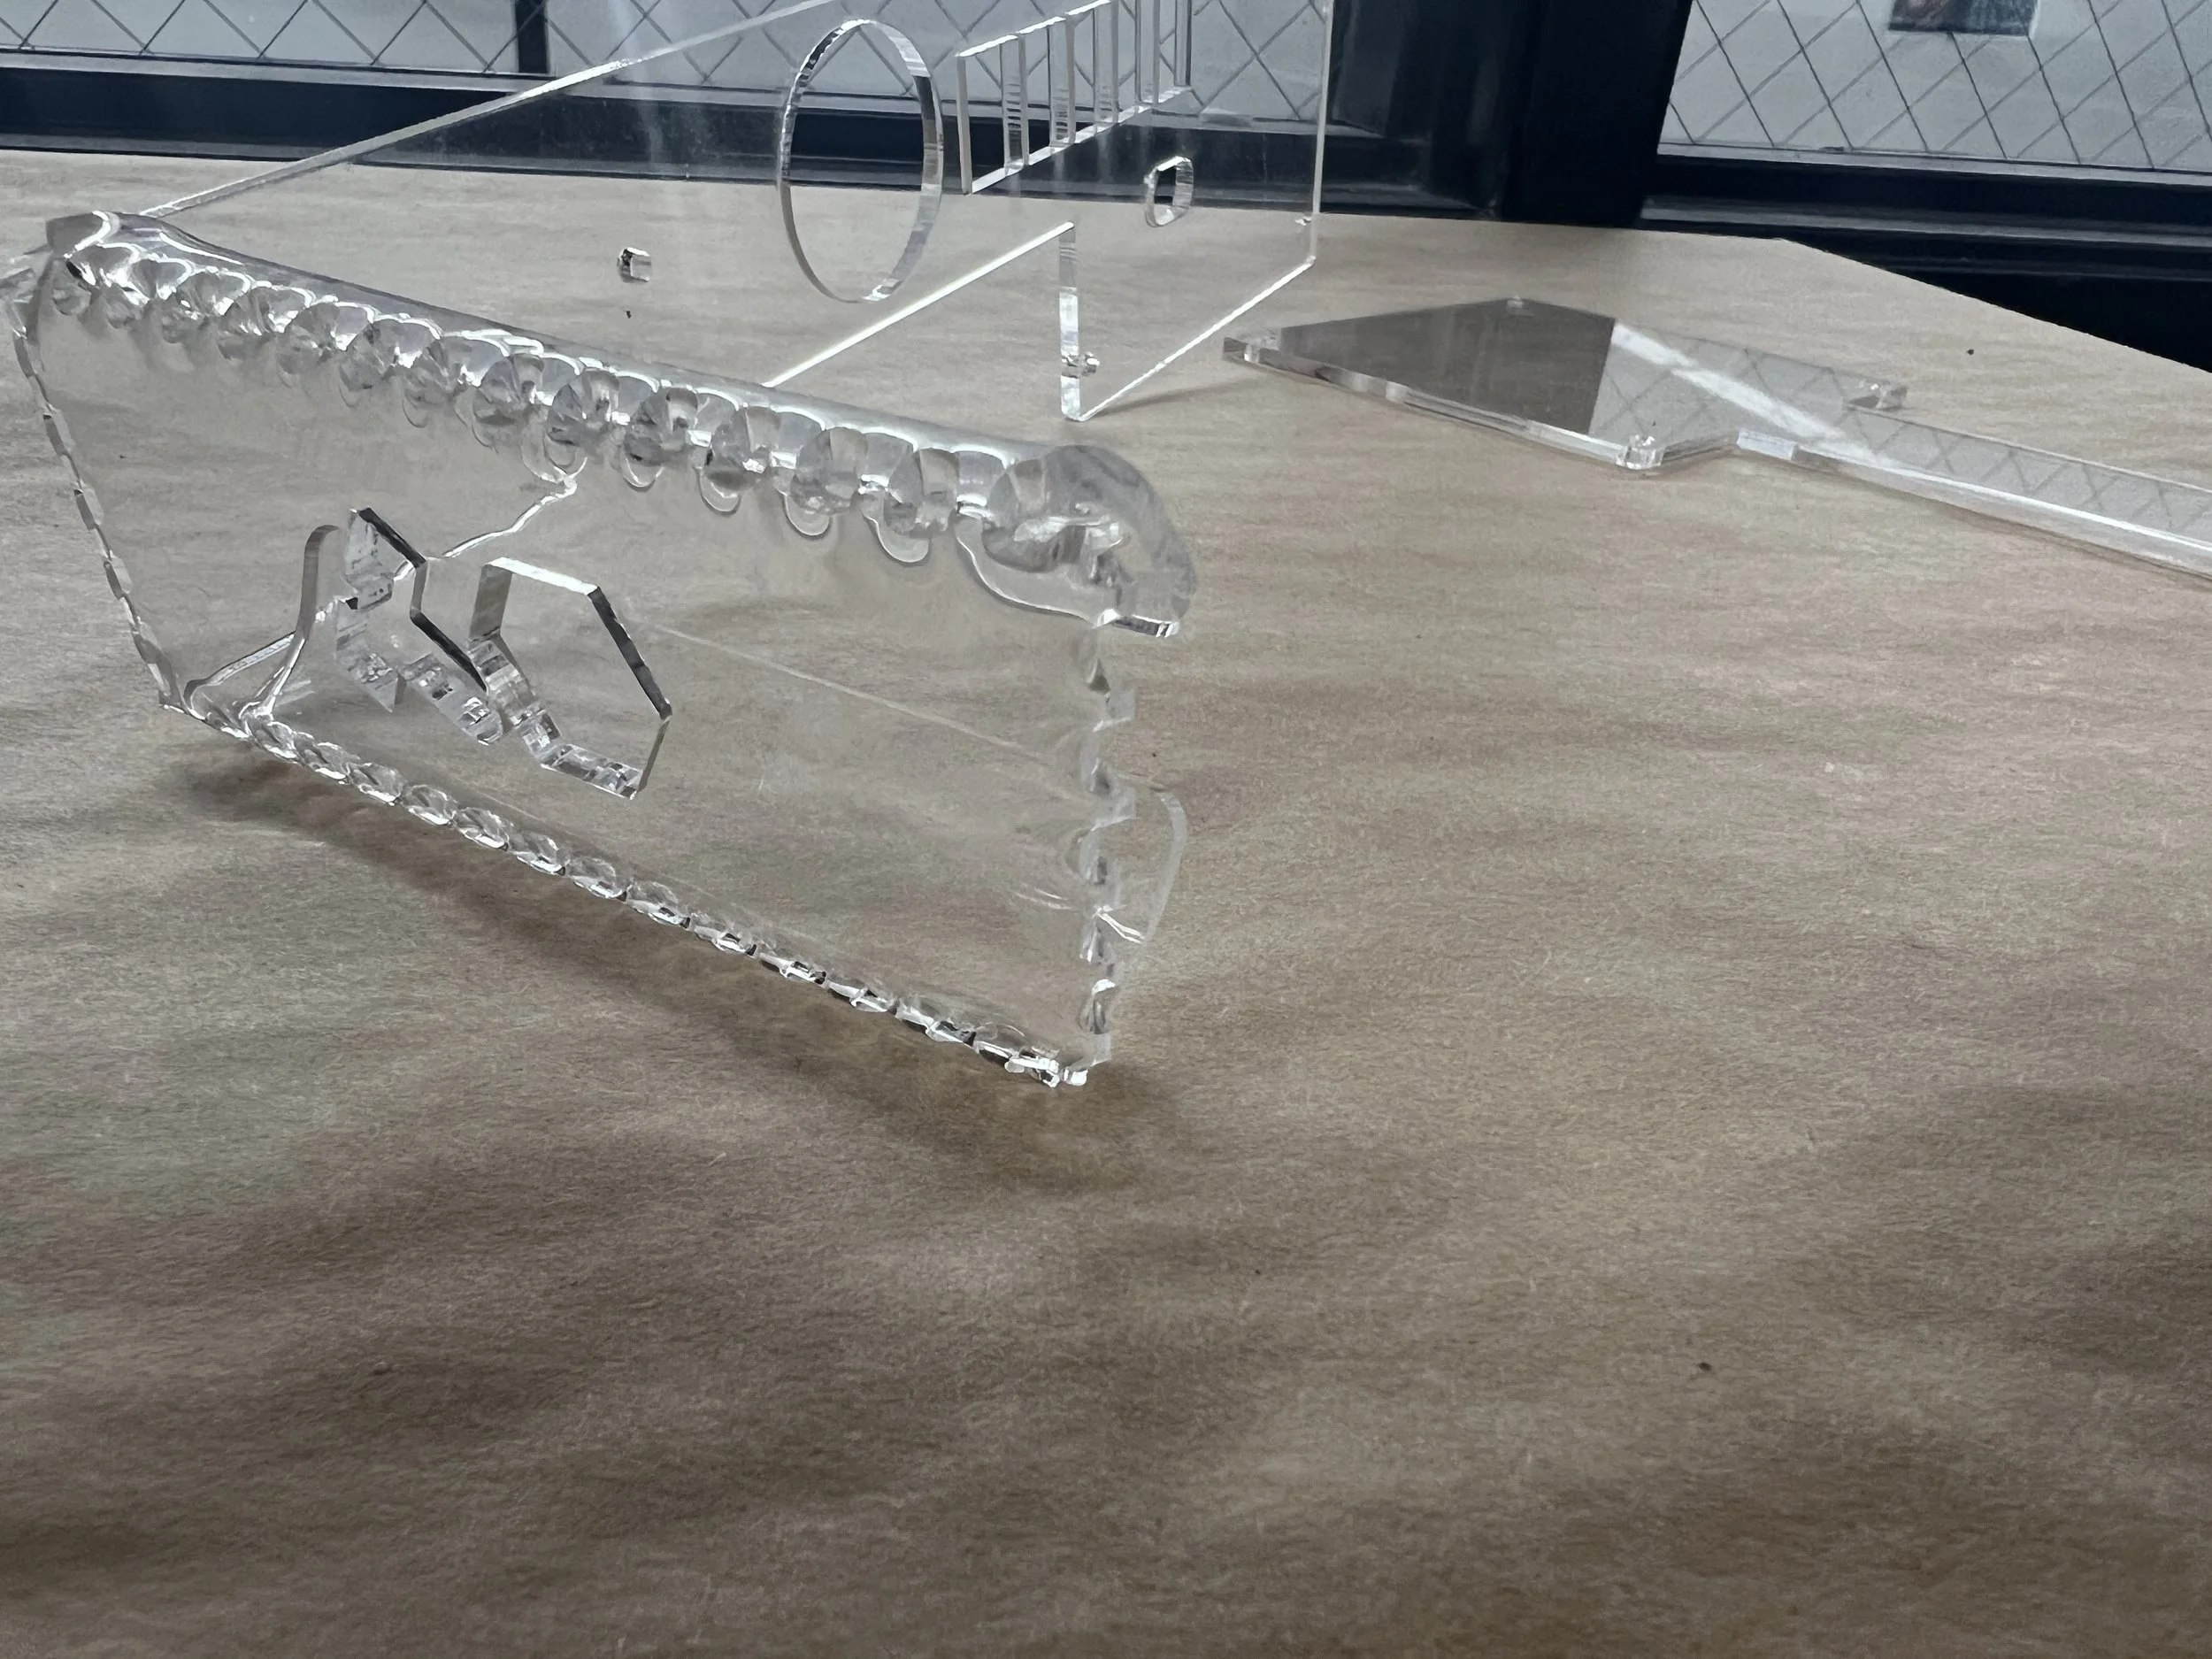
The next step in the design process was to start making prototypes using our final construction materials, in my case this was various thicknesses of acrylic.
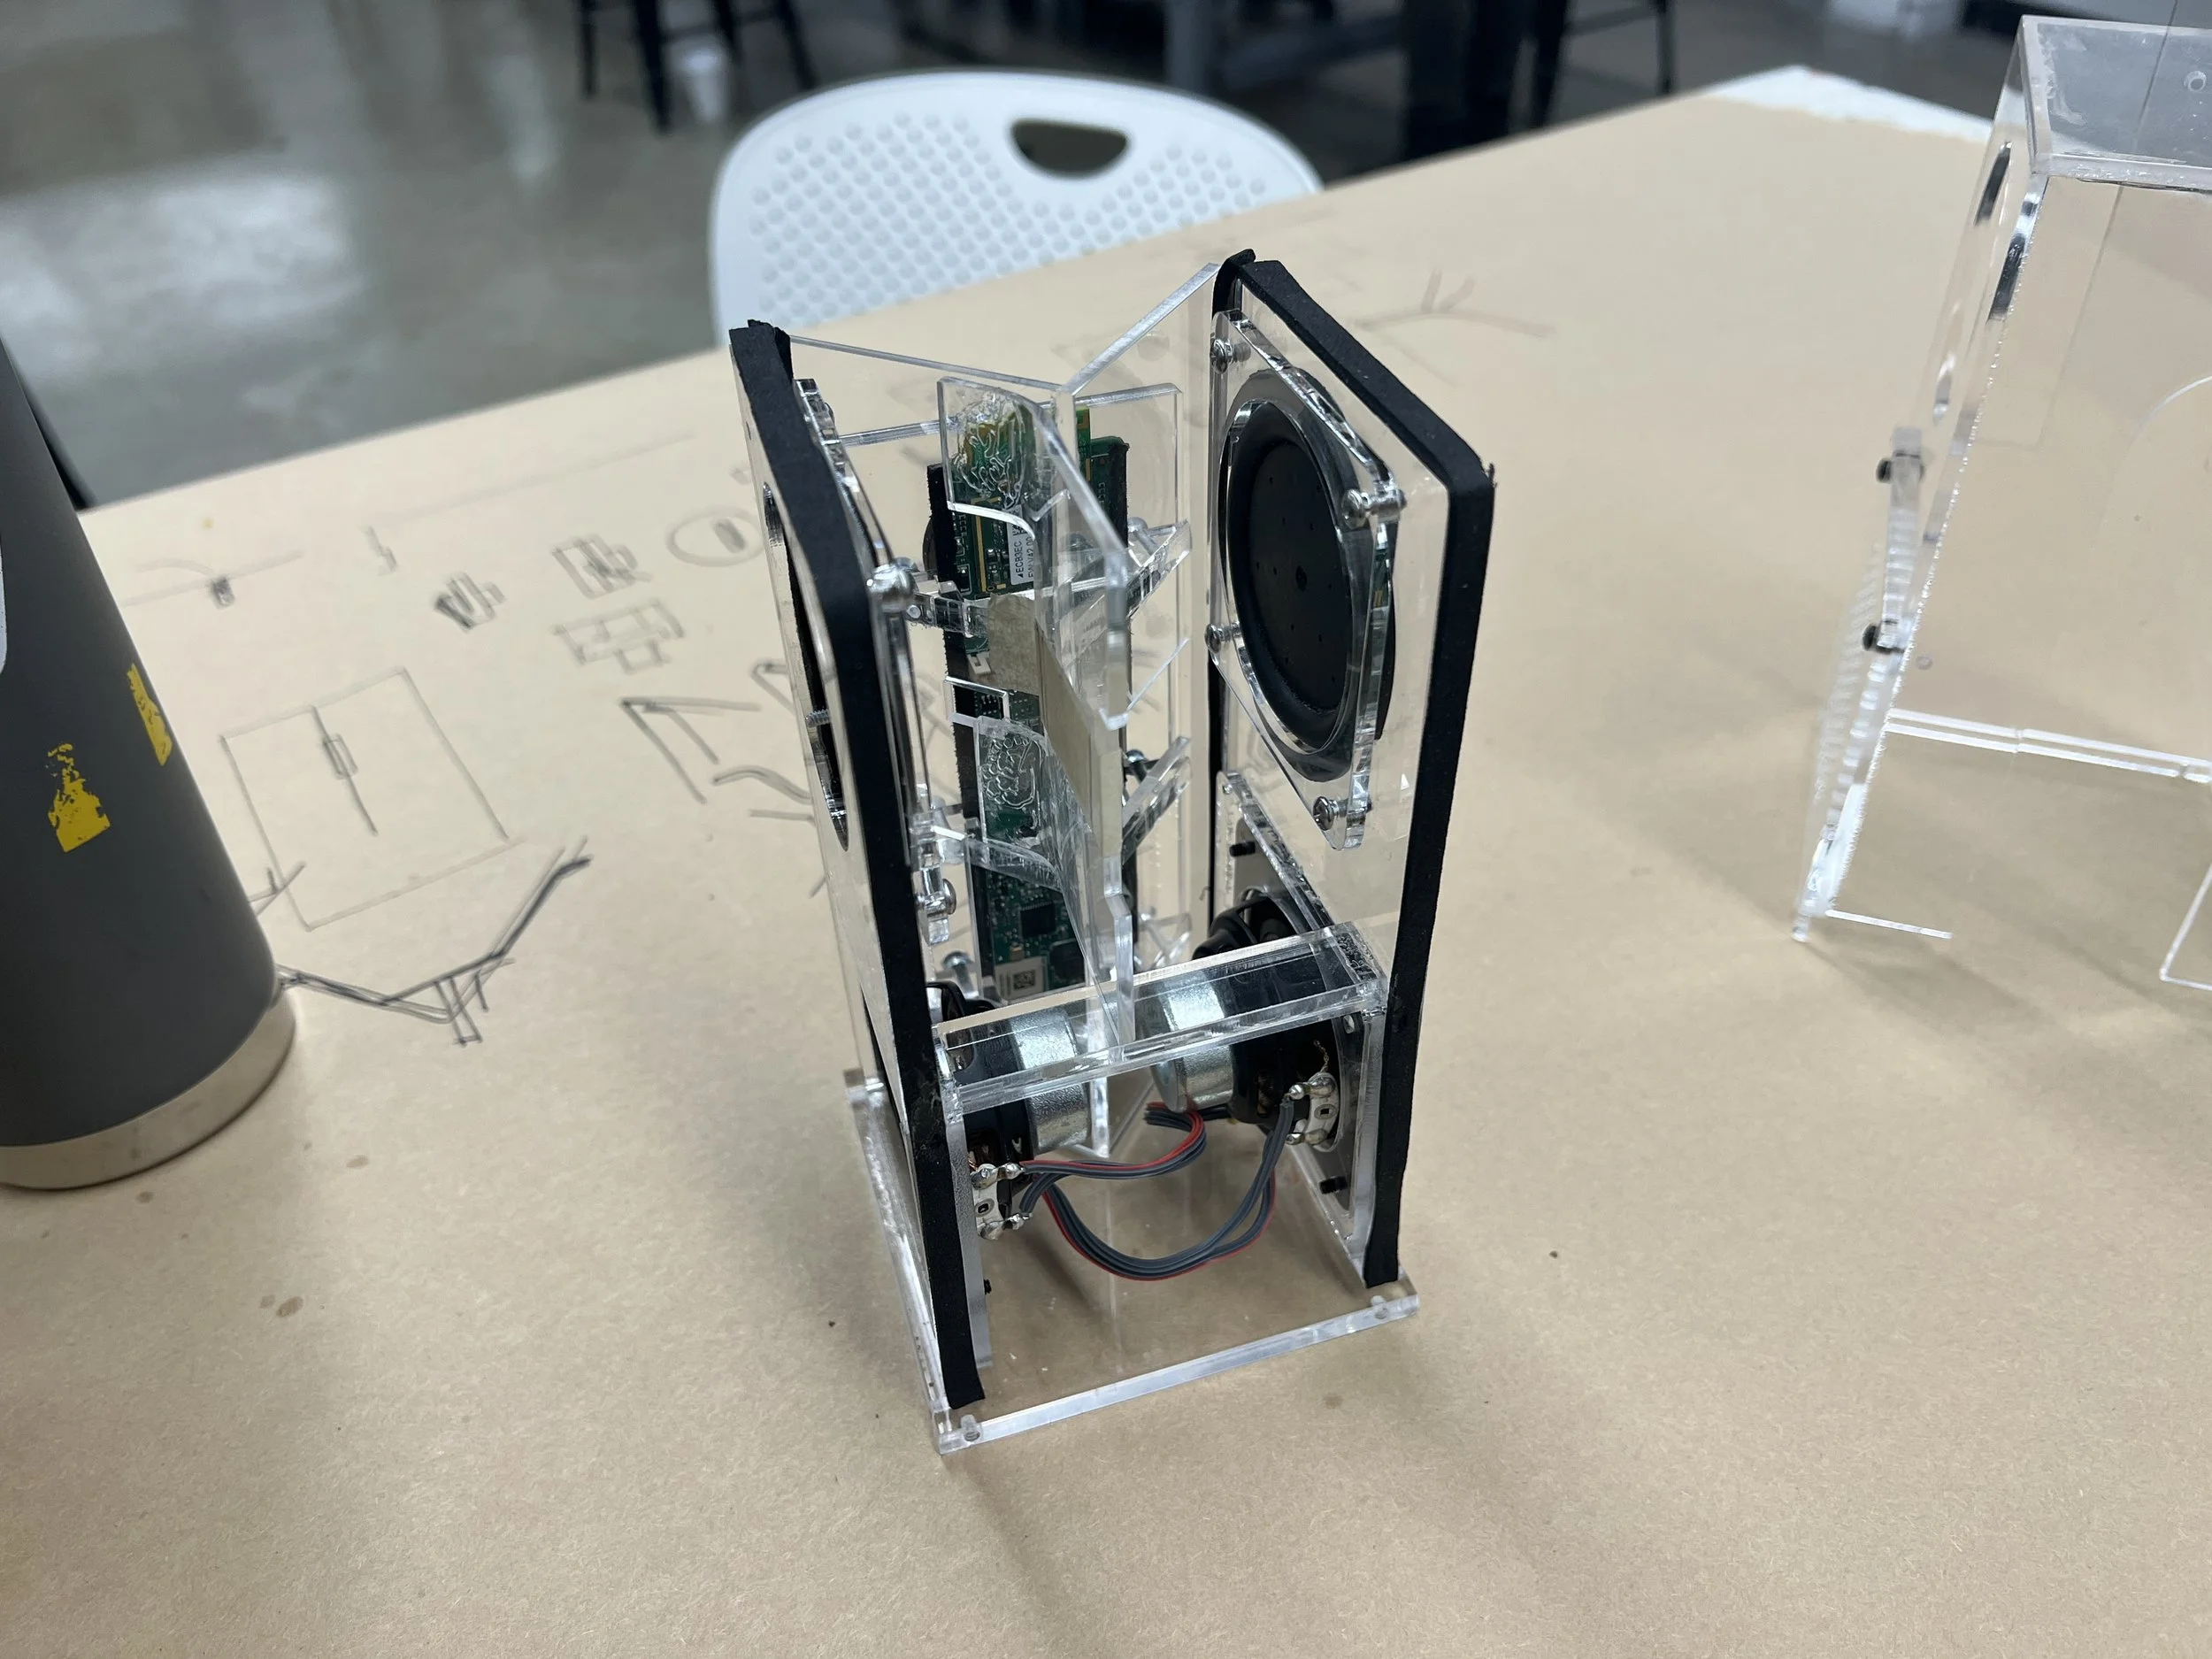

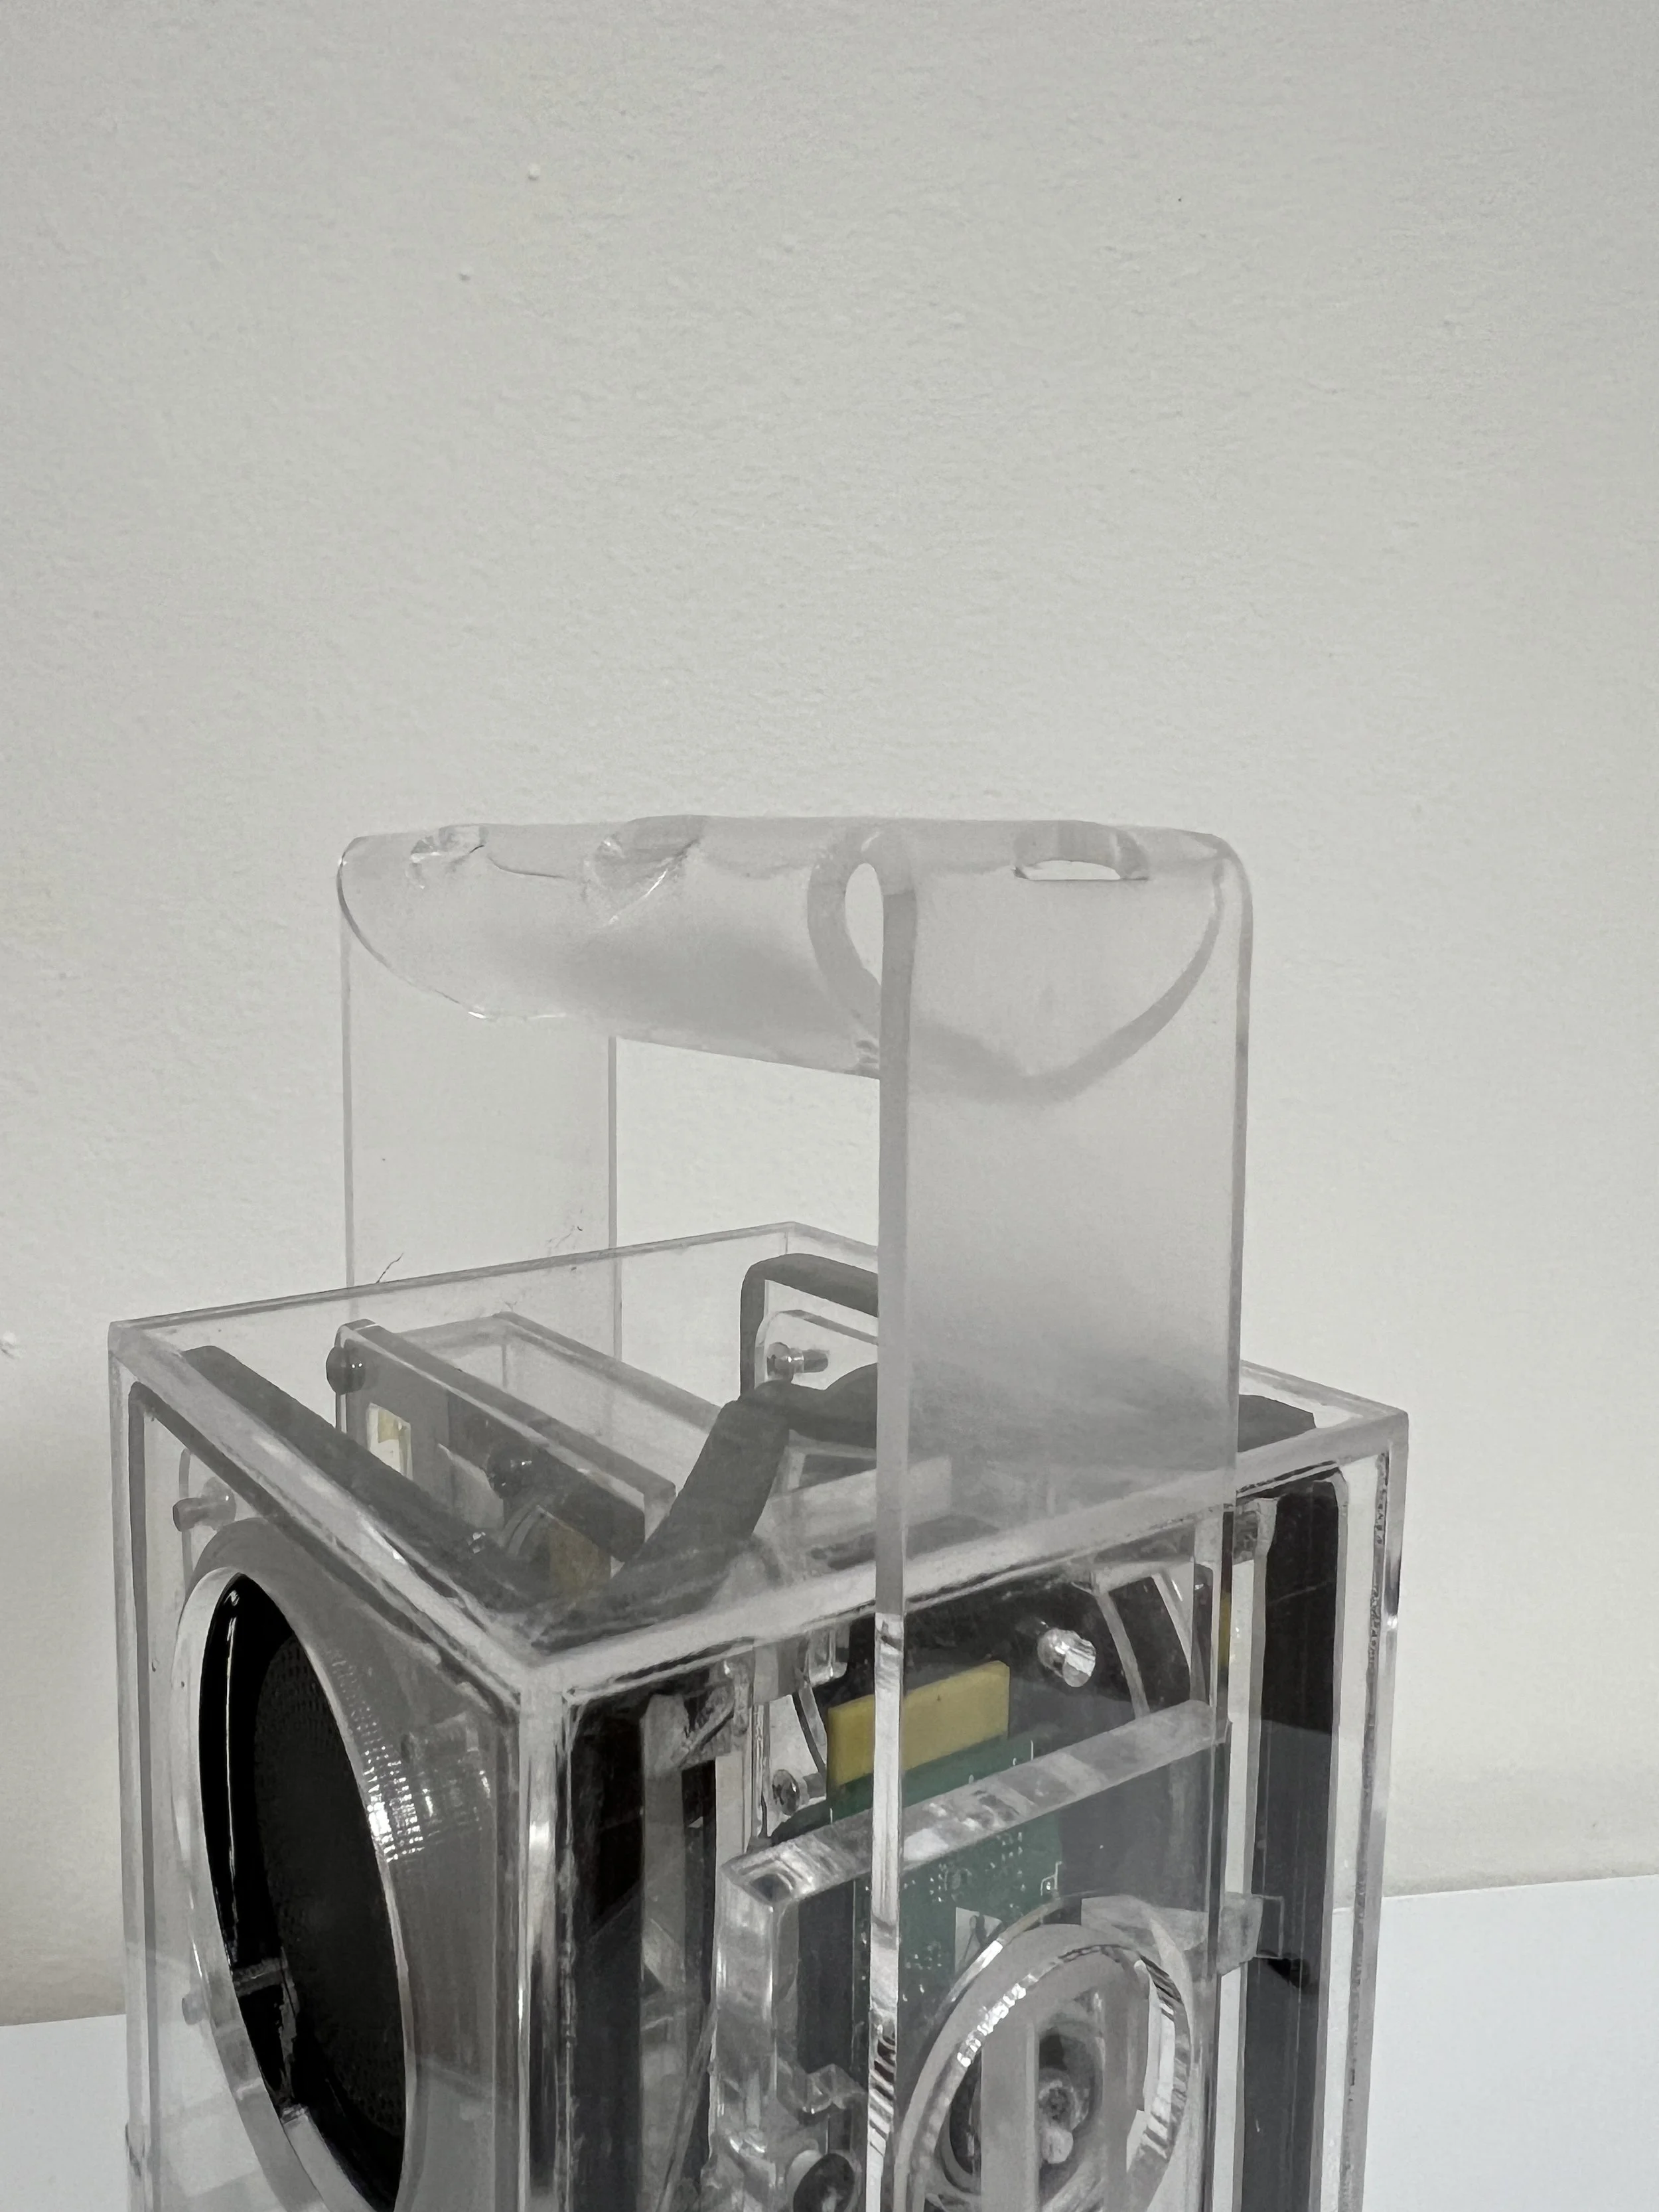
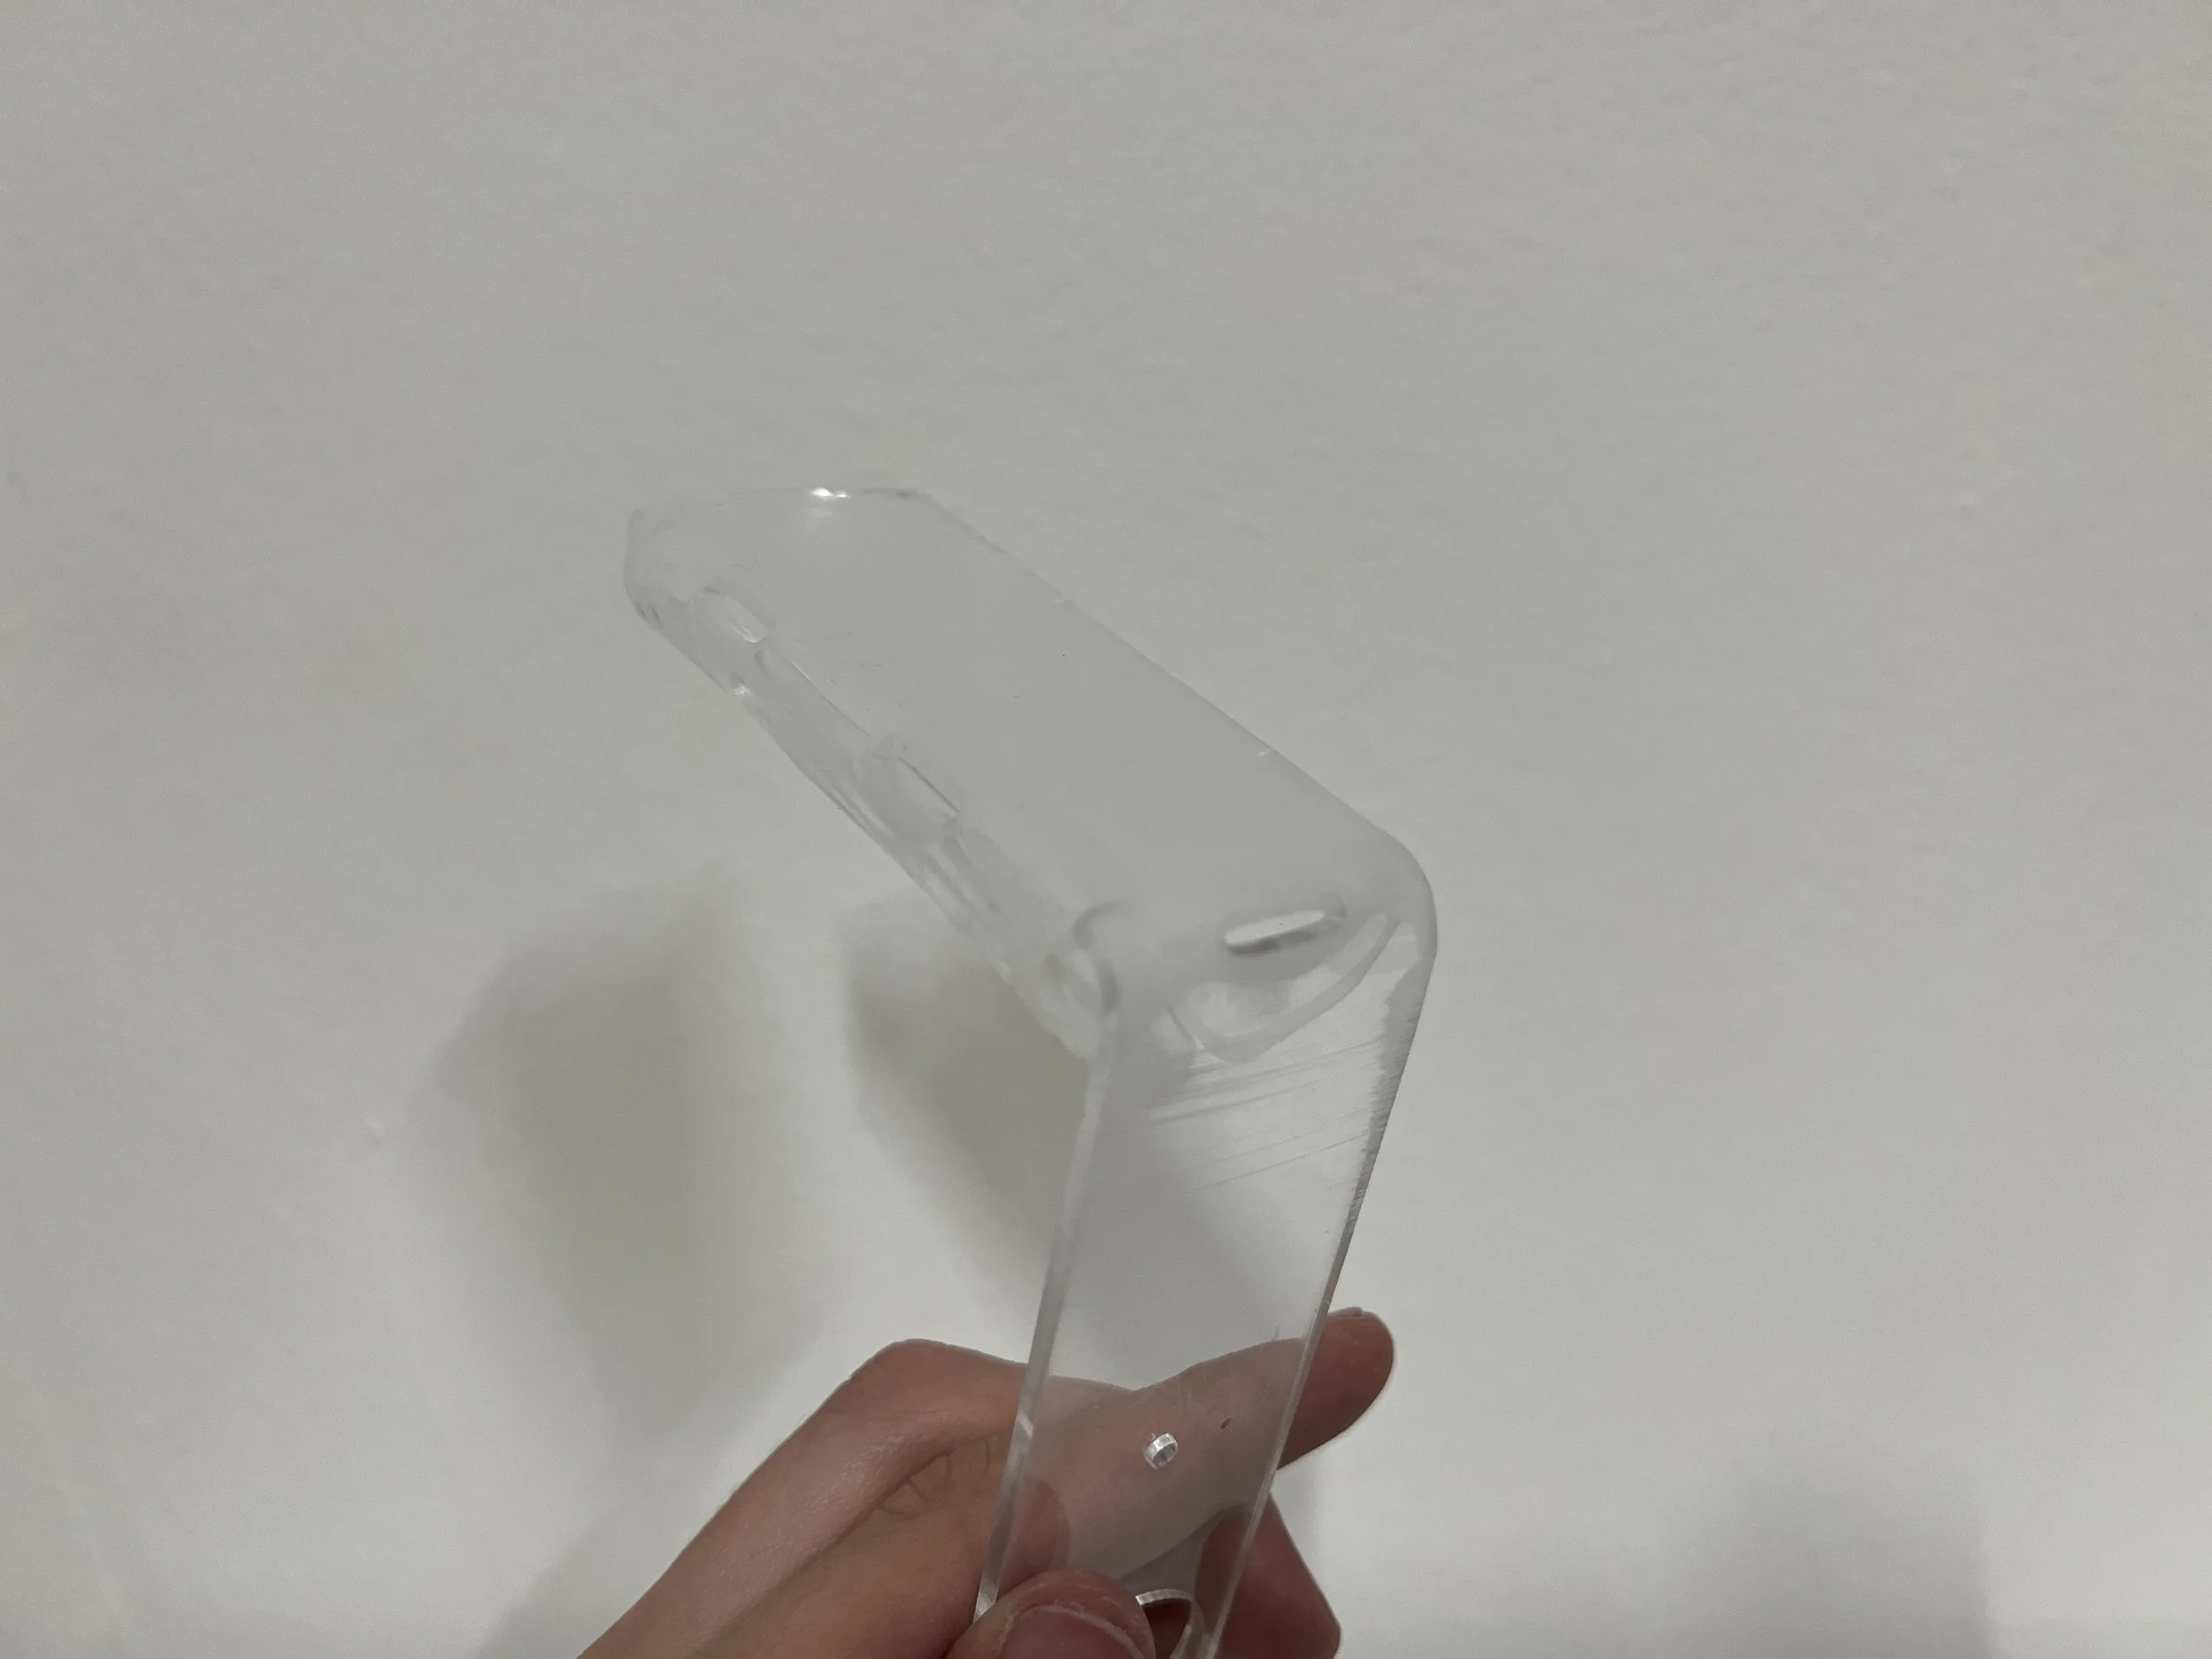
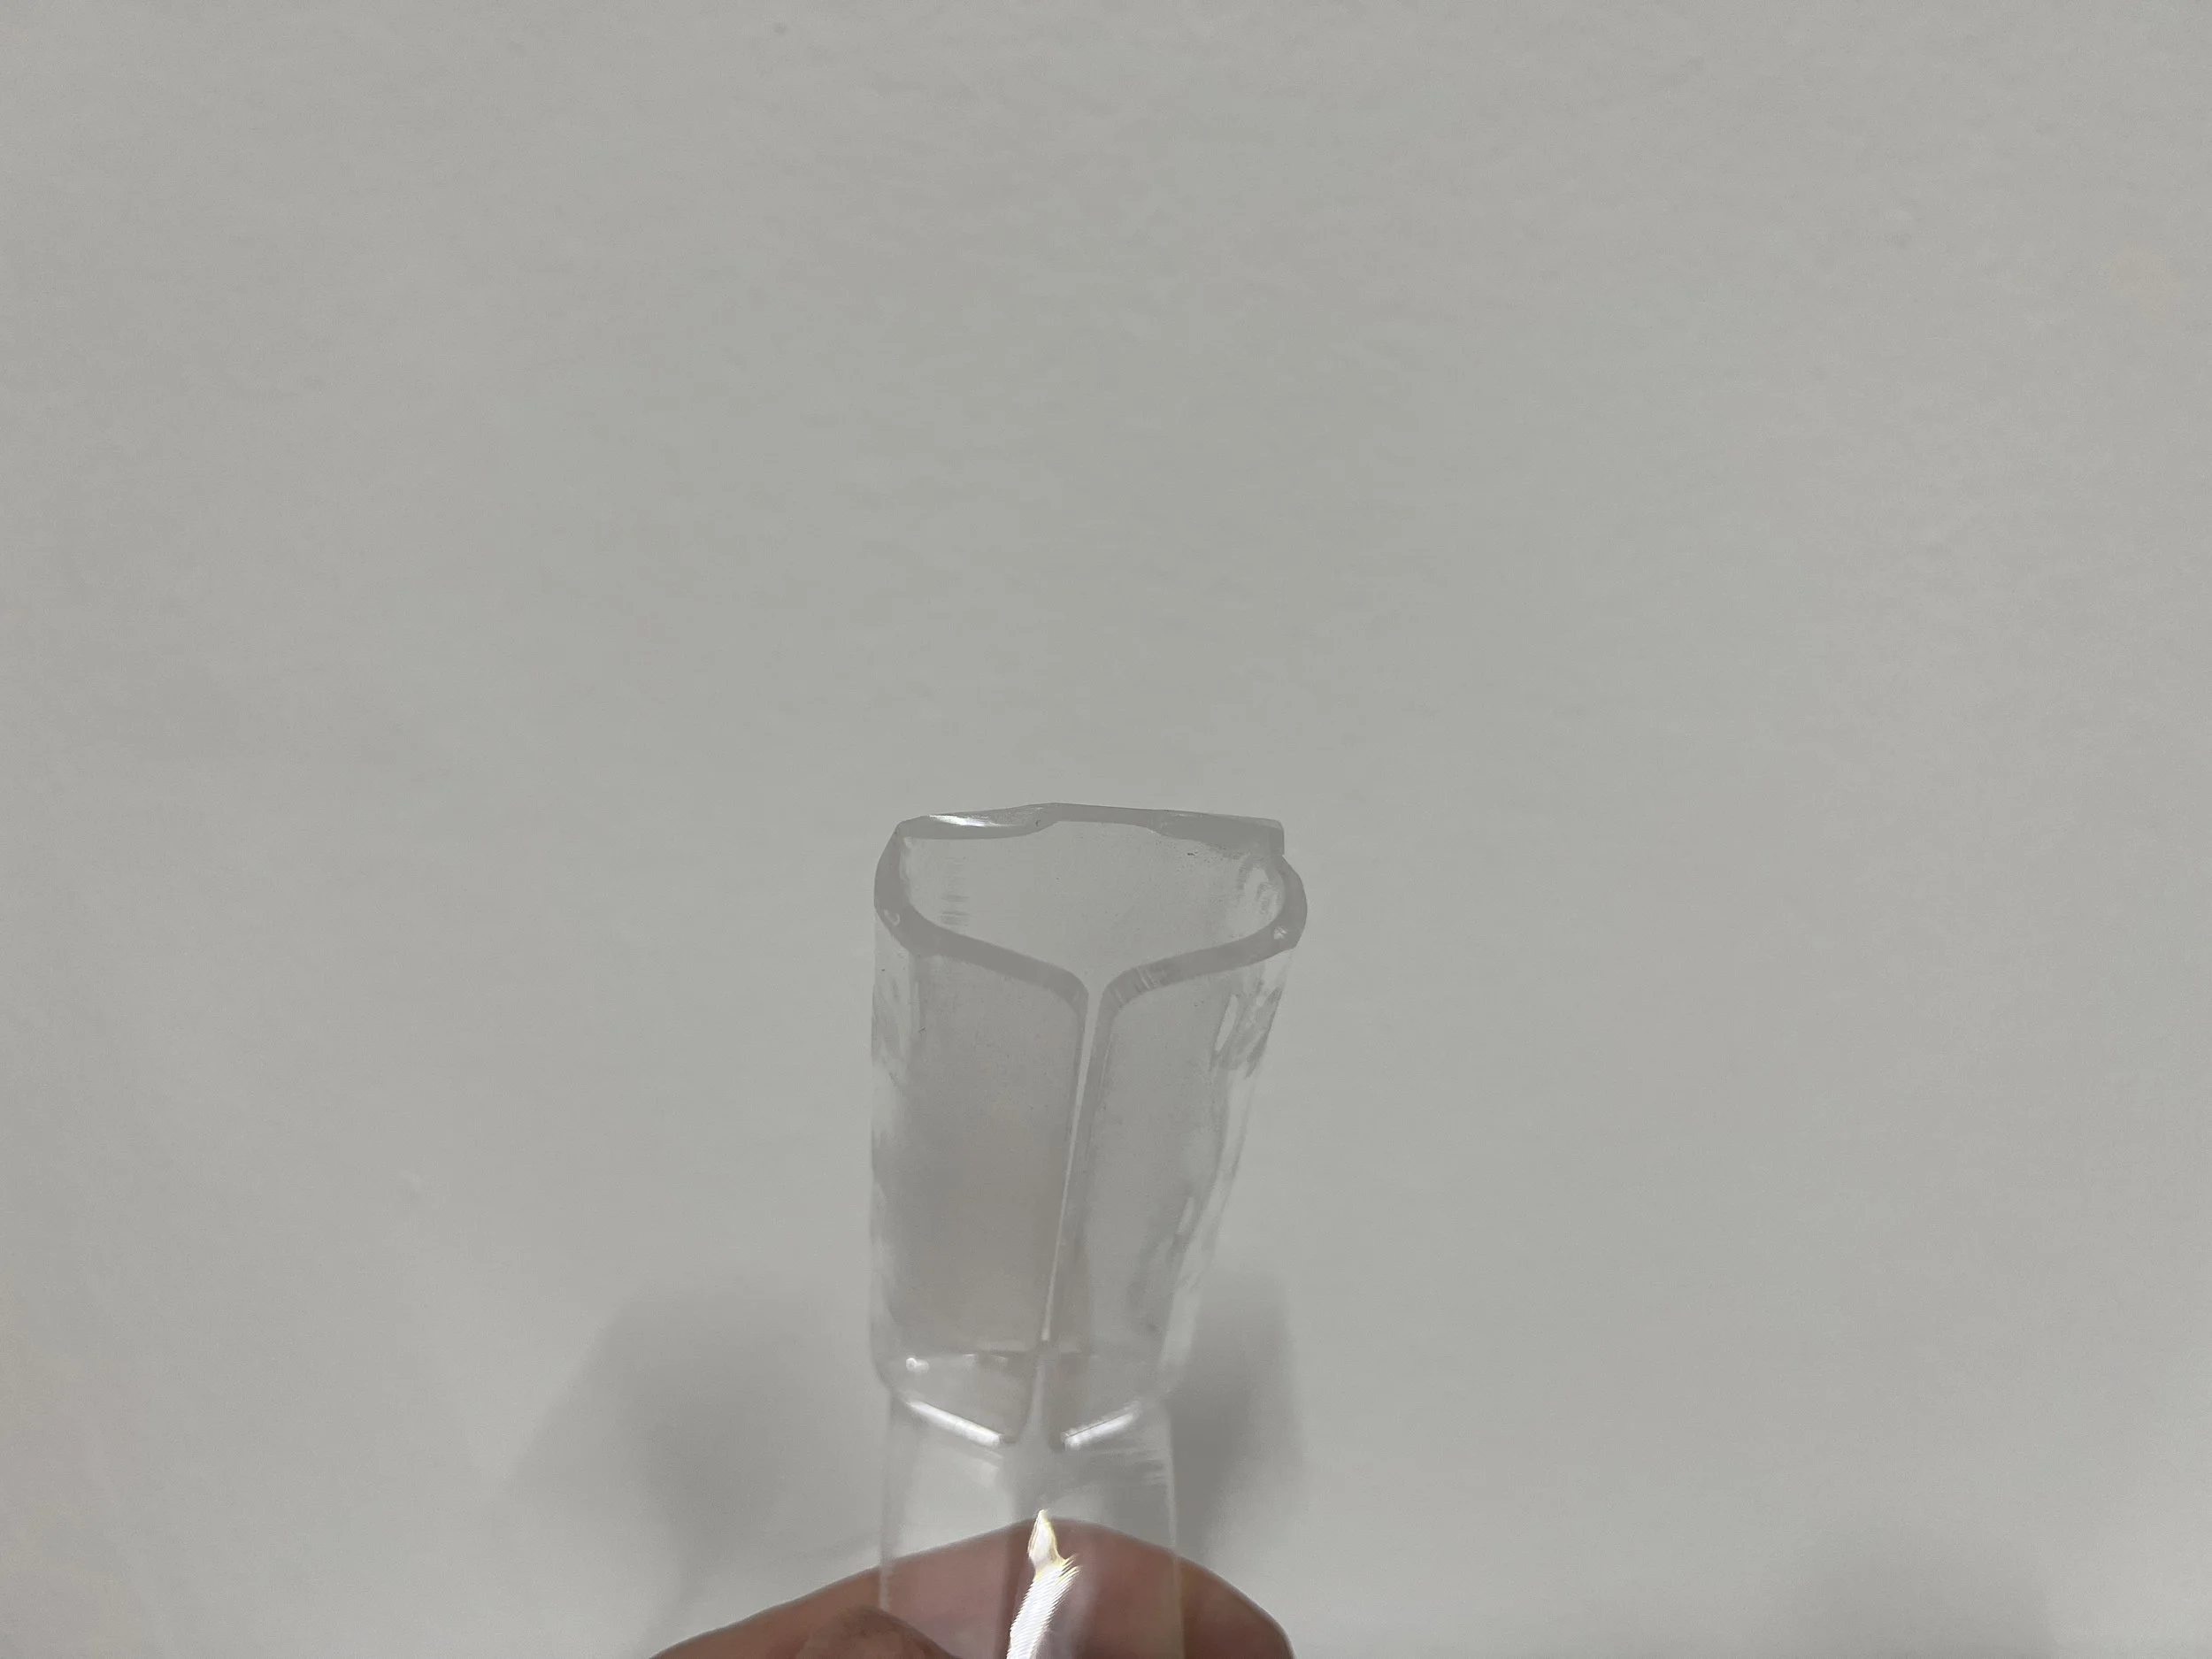
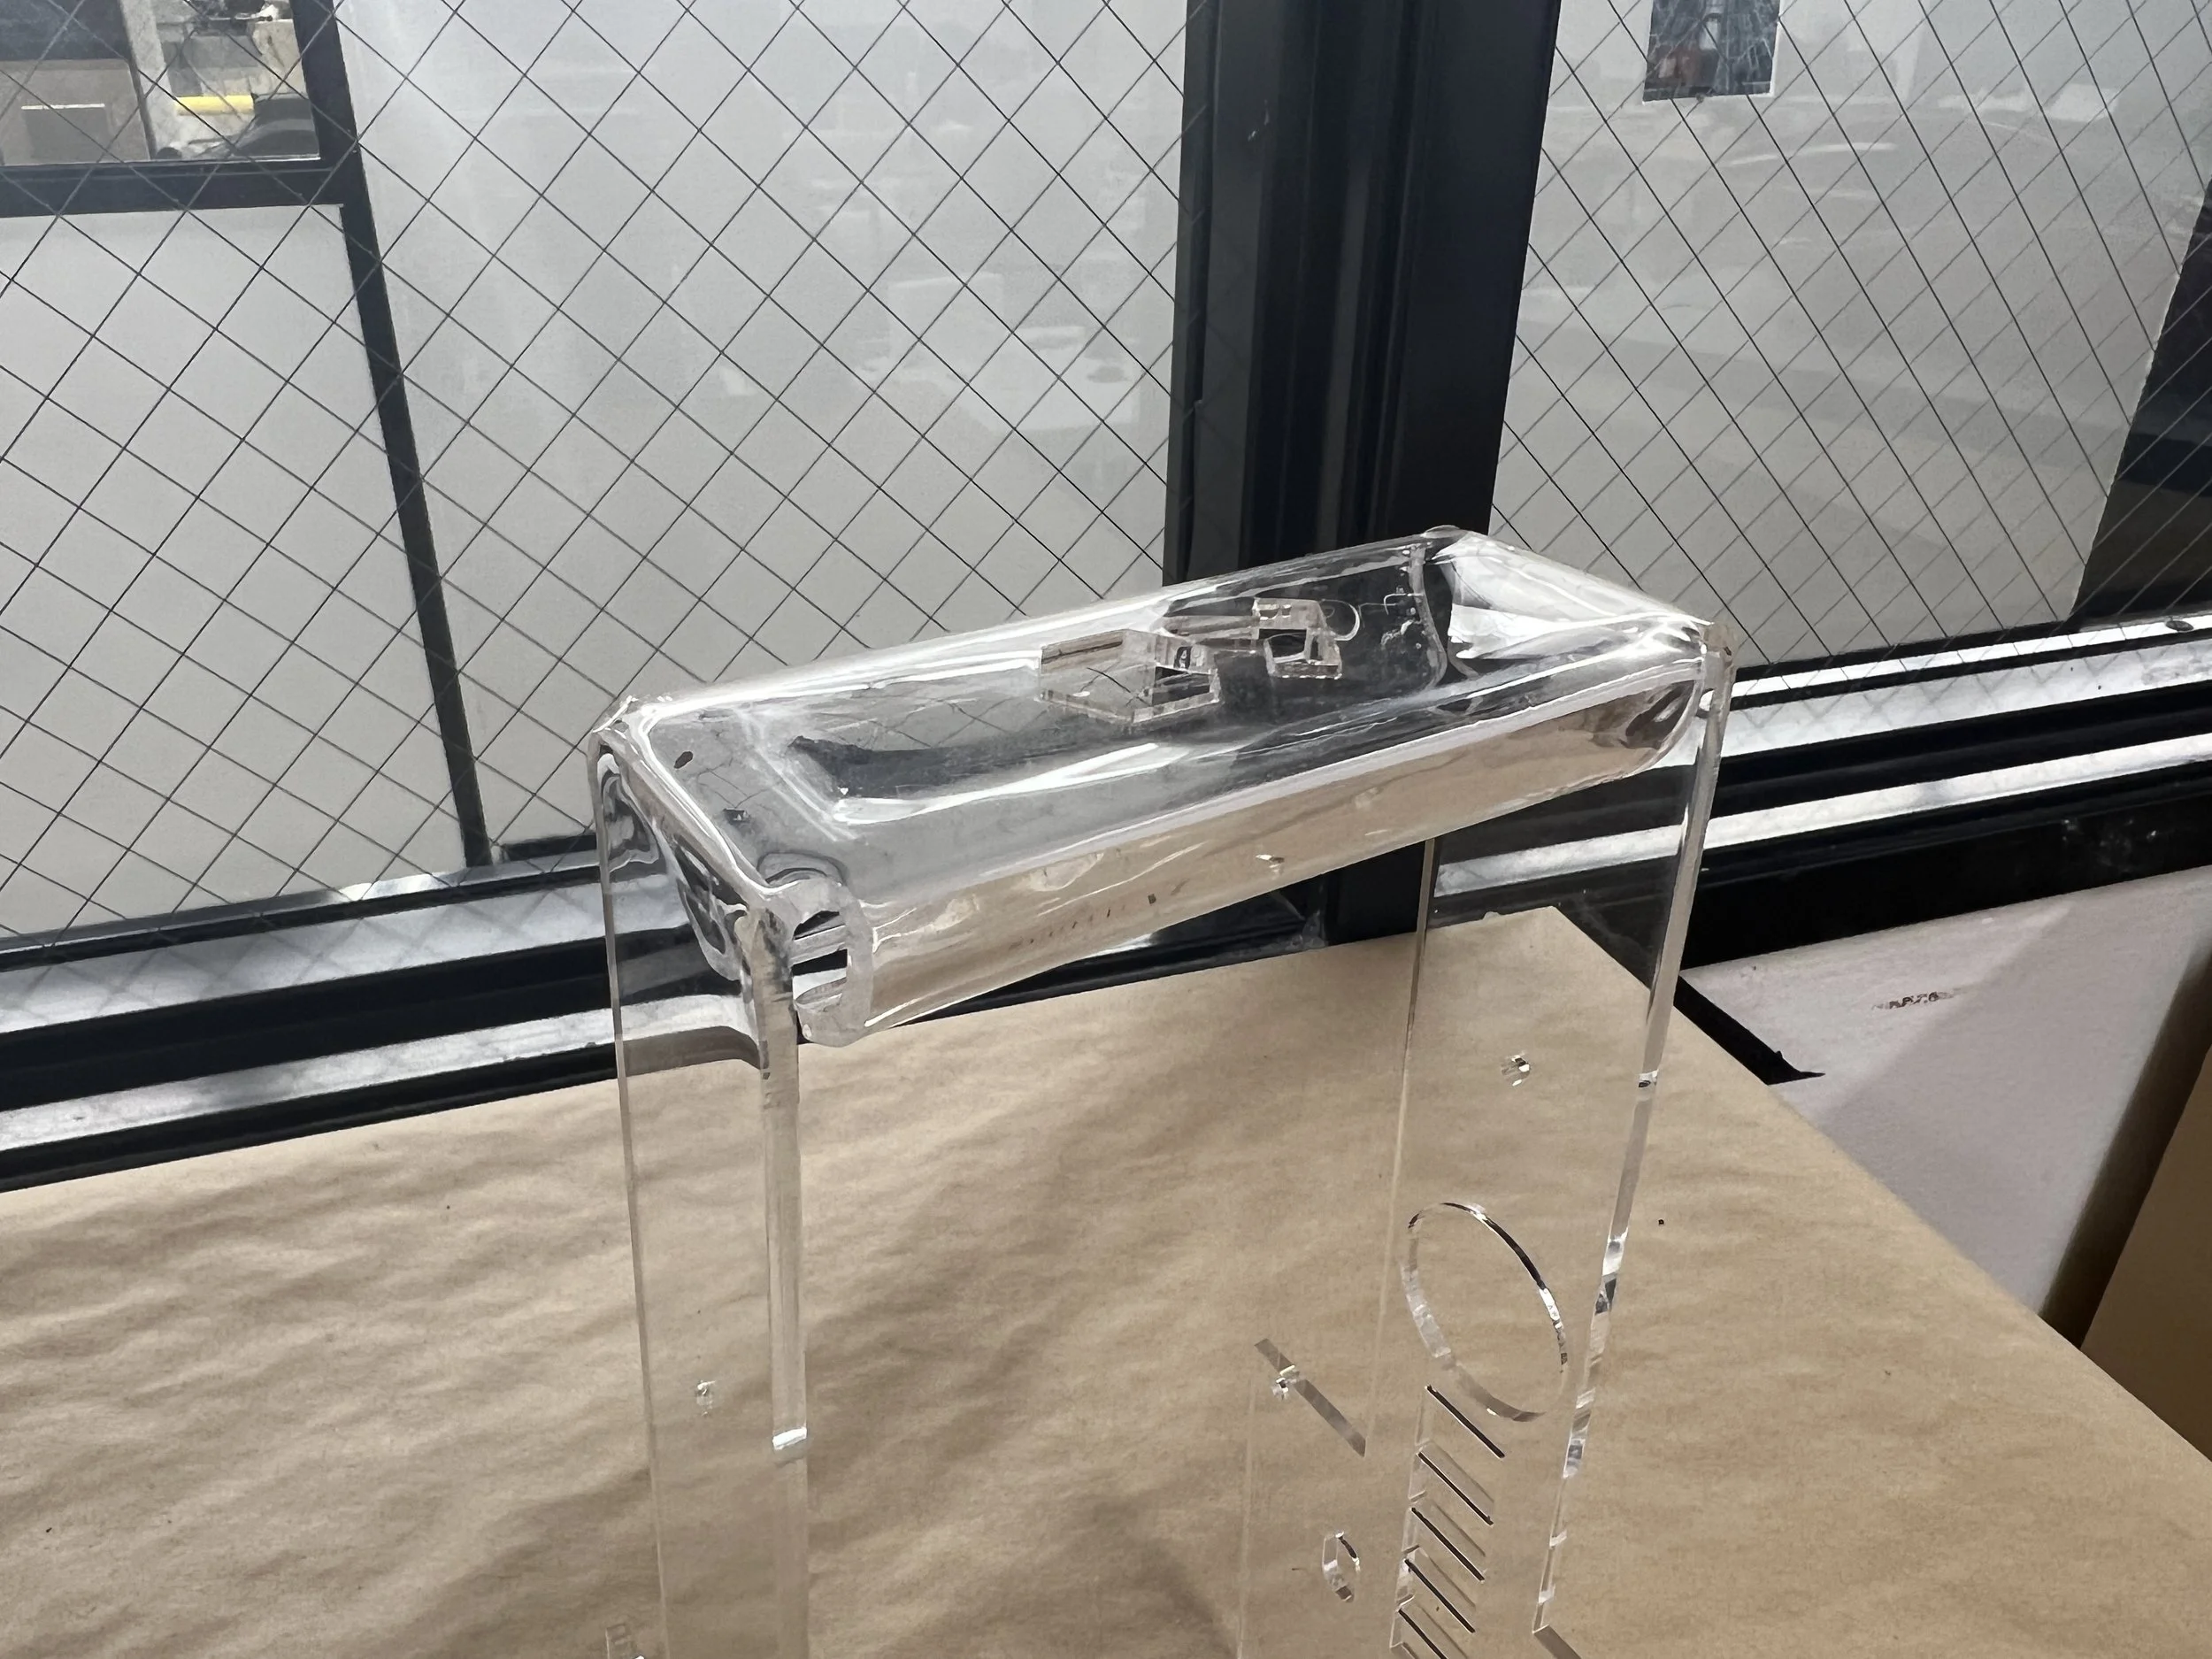
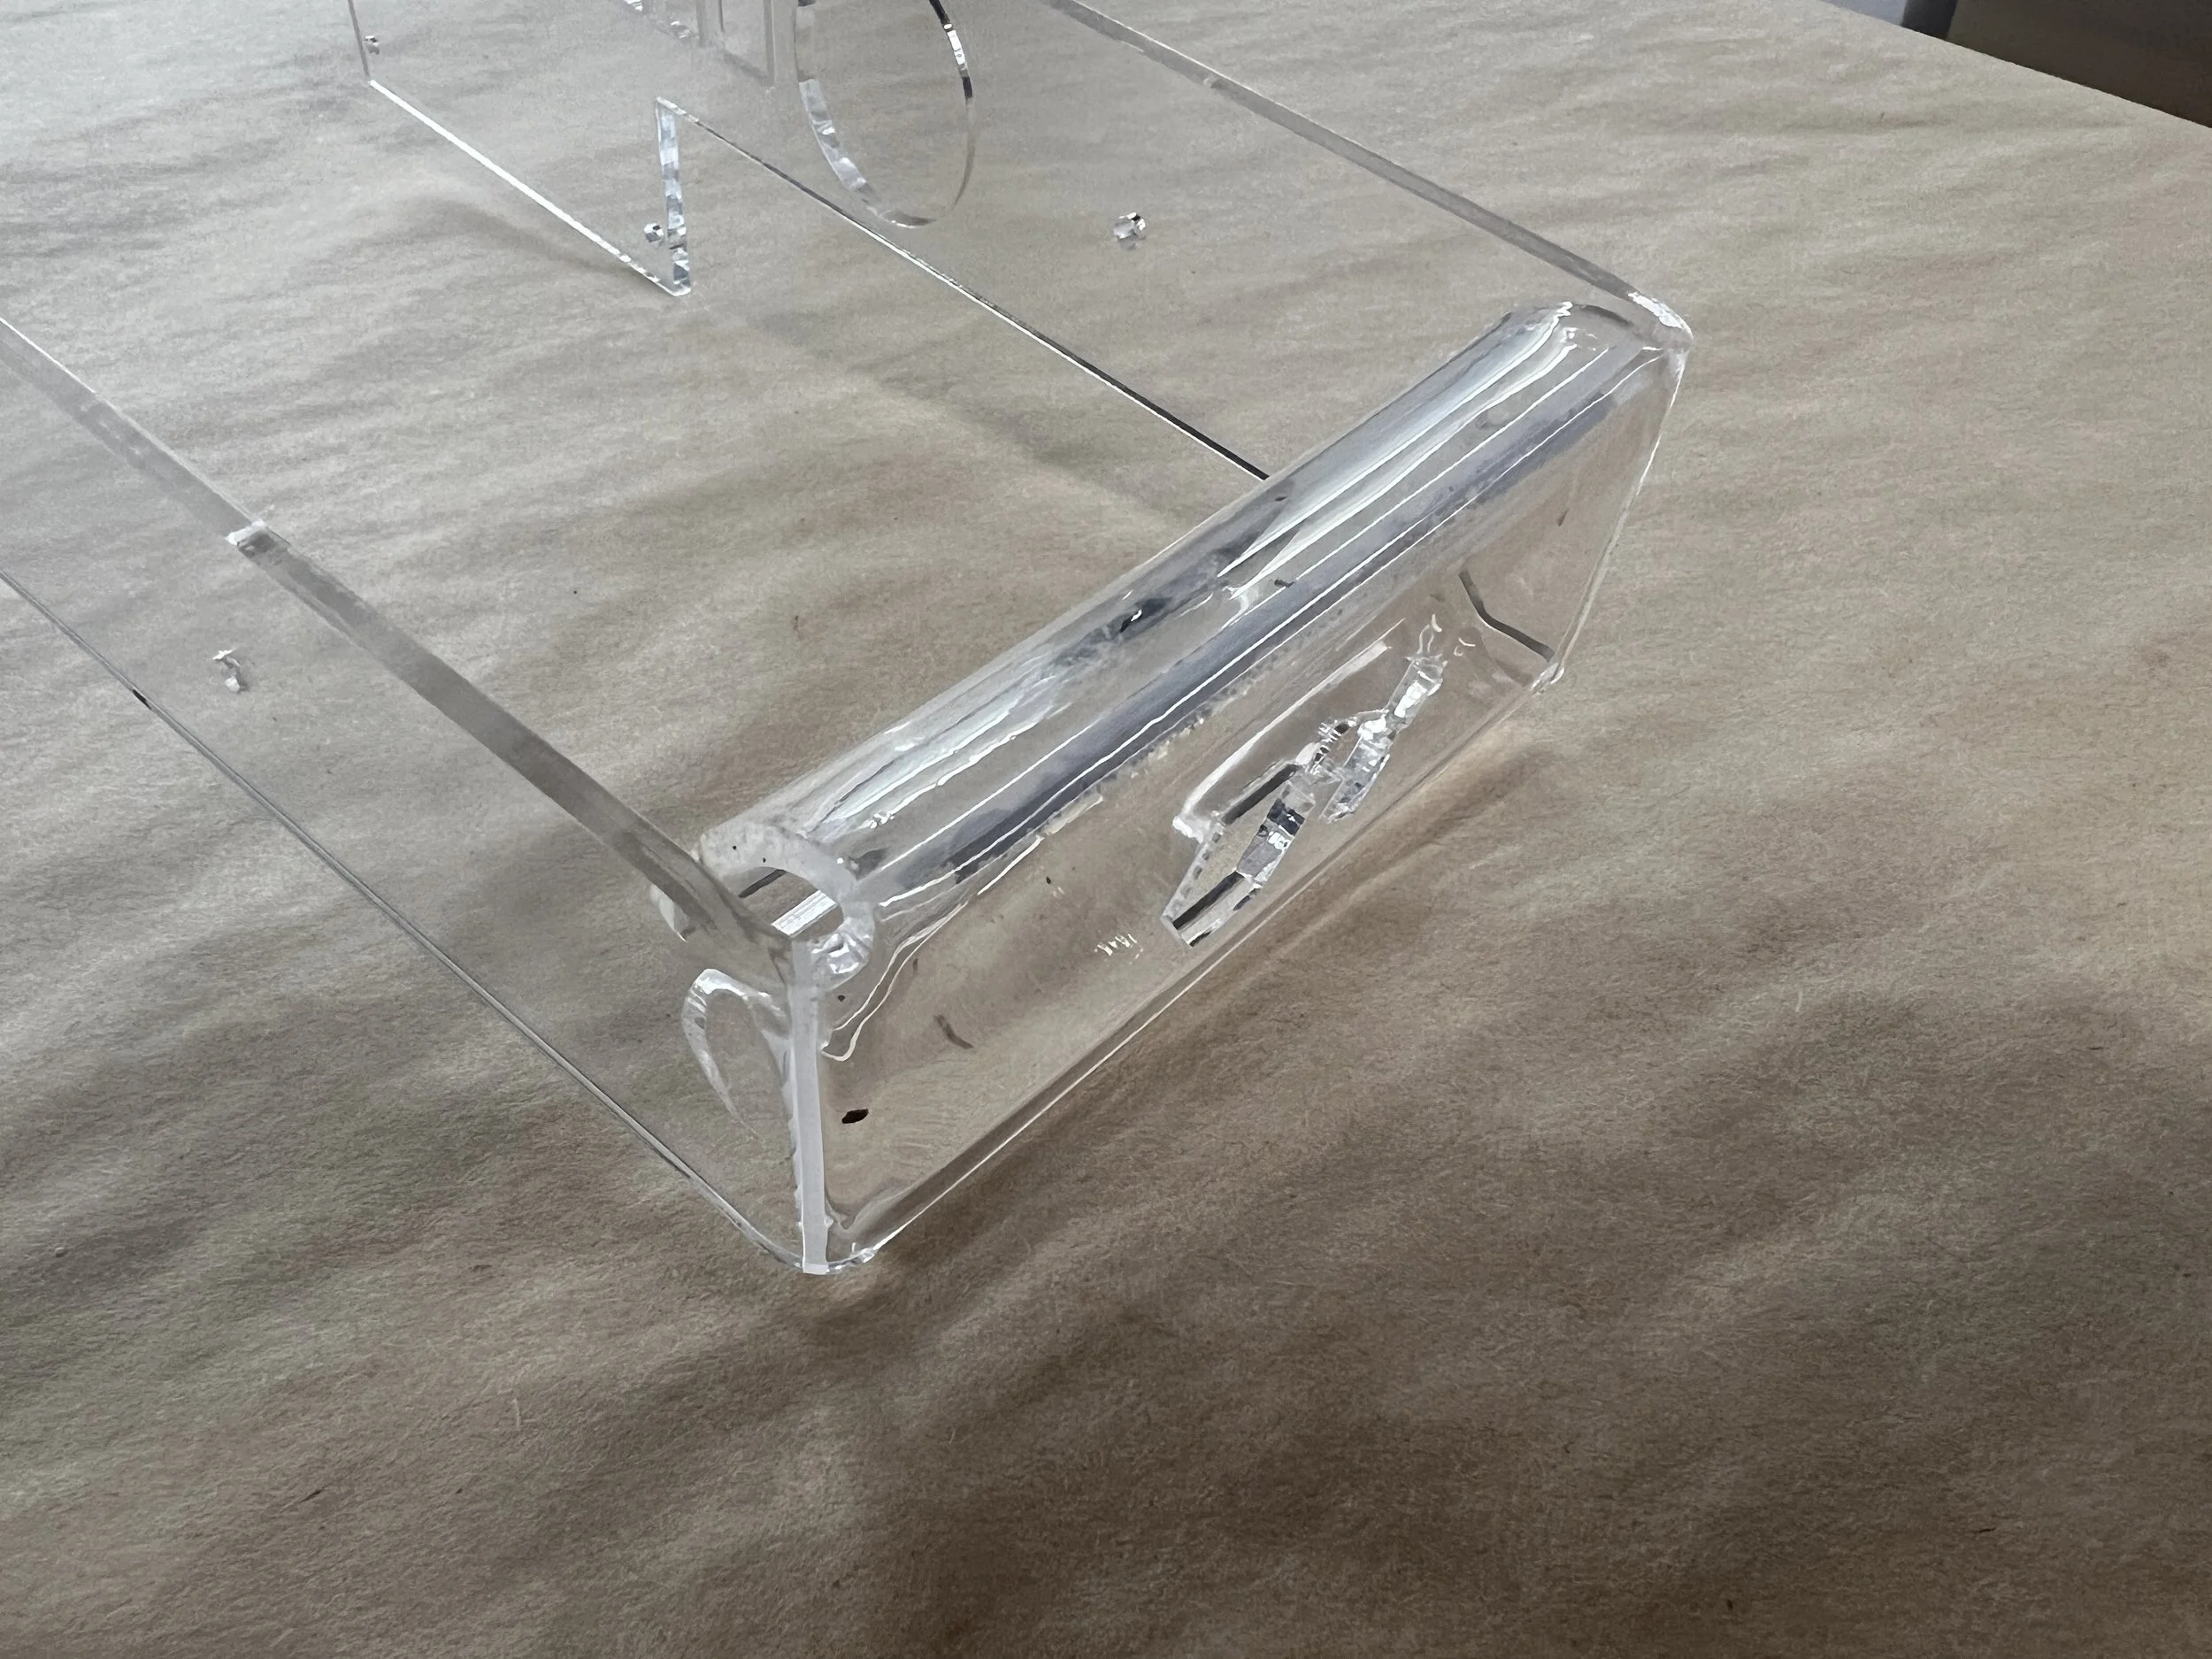
Handle Prototyping and Design.

Bent Acrylic Prototype.
Fabricating the bent acrylic handle proved to be very challenging. Not only did they become very brittle and easily crack once bent, but they were also challenging to heat and bend accurately bend in the first place.

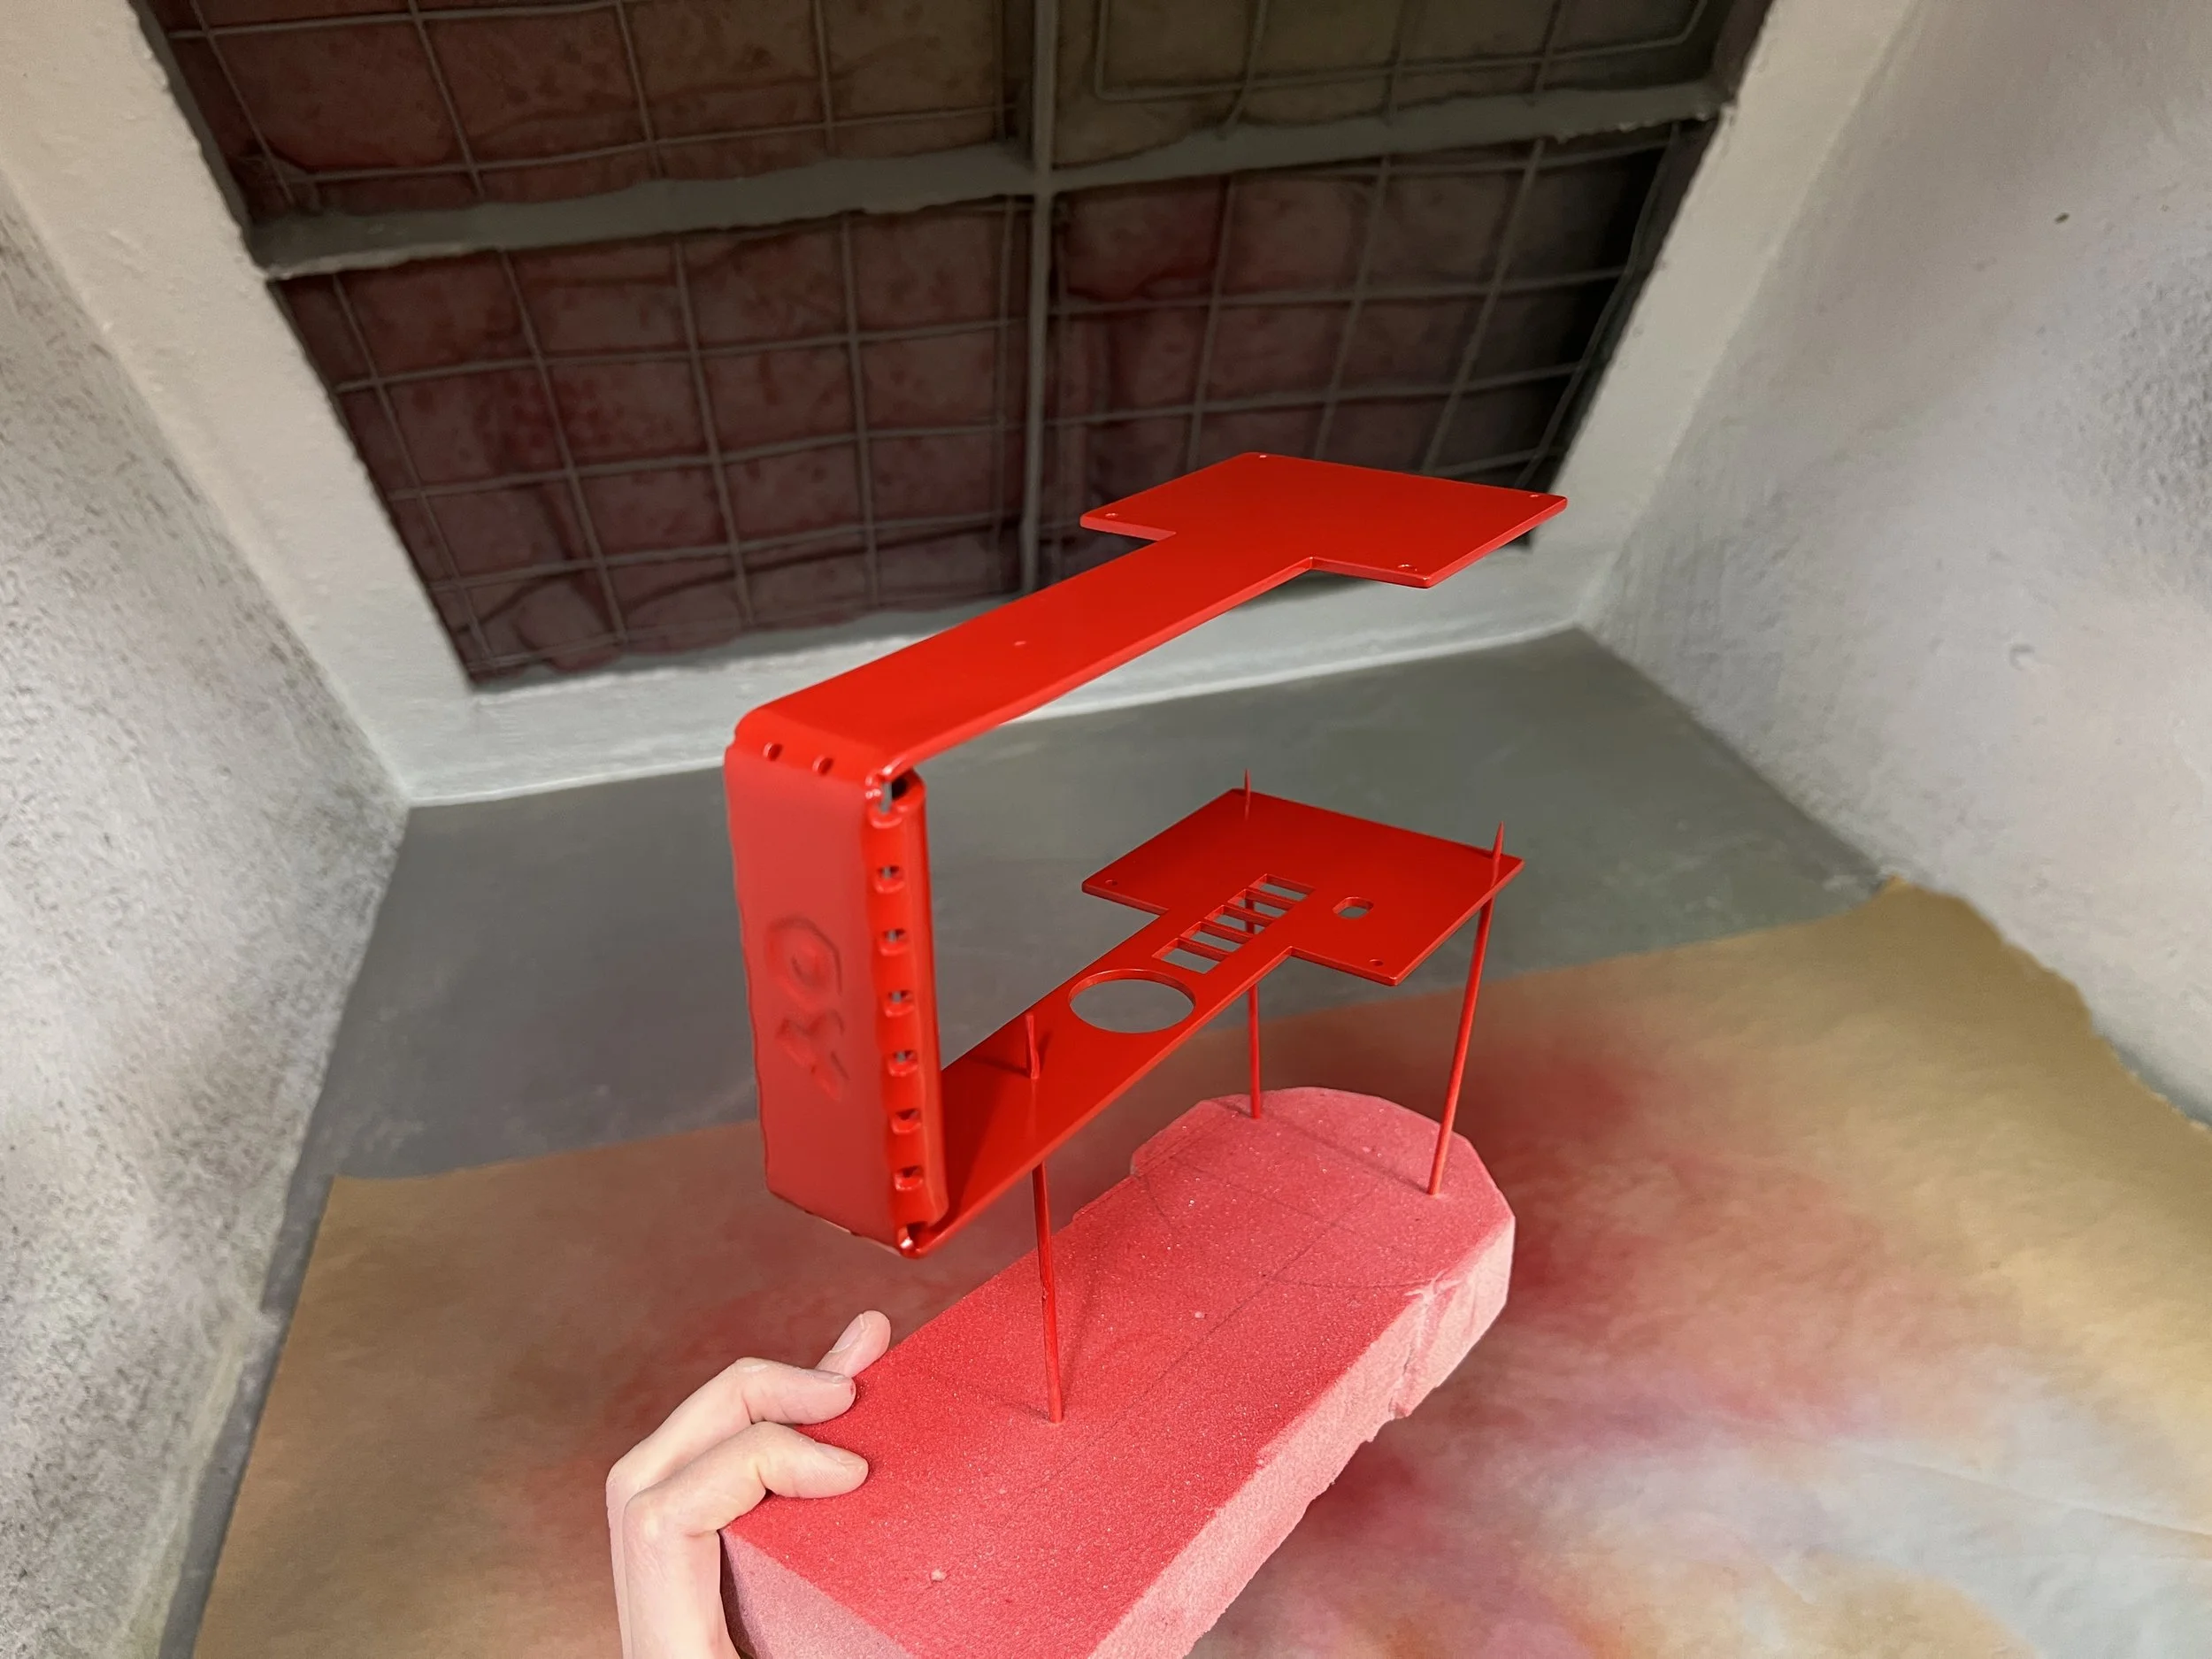
Why Nike ACG.
Once I had completed the main body design with all the parts fit in place. I wanted to try to replicate a bent metal handle design to mimic what teenage engineering had done on their other products.

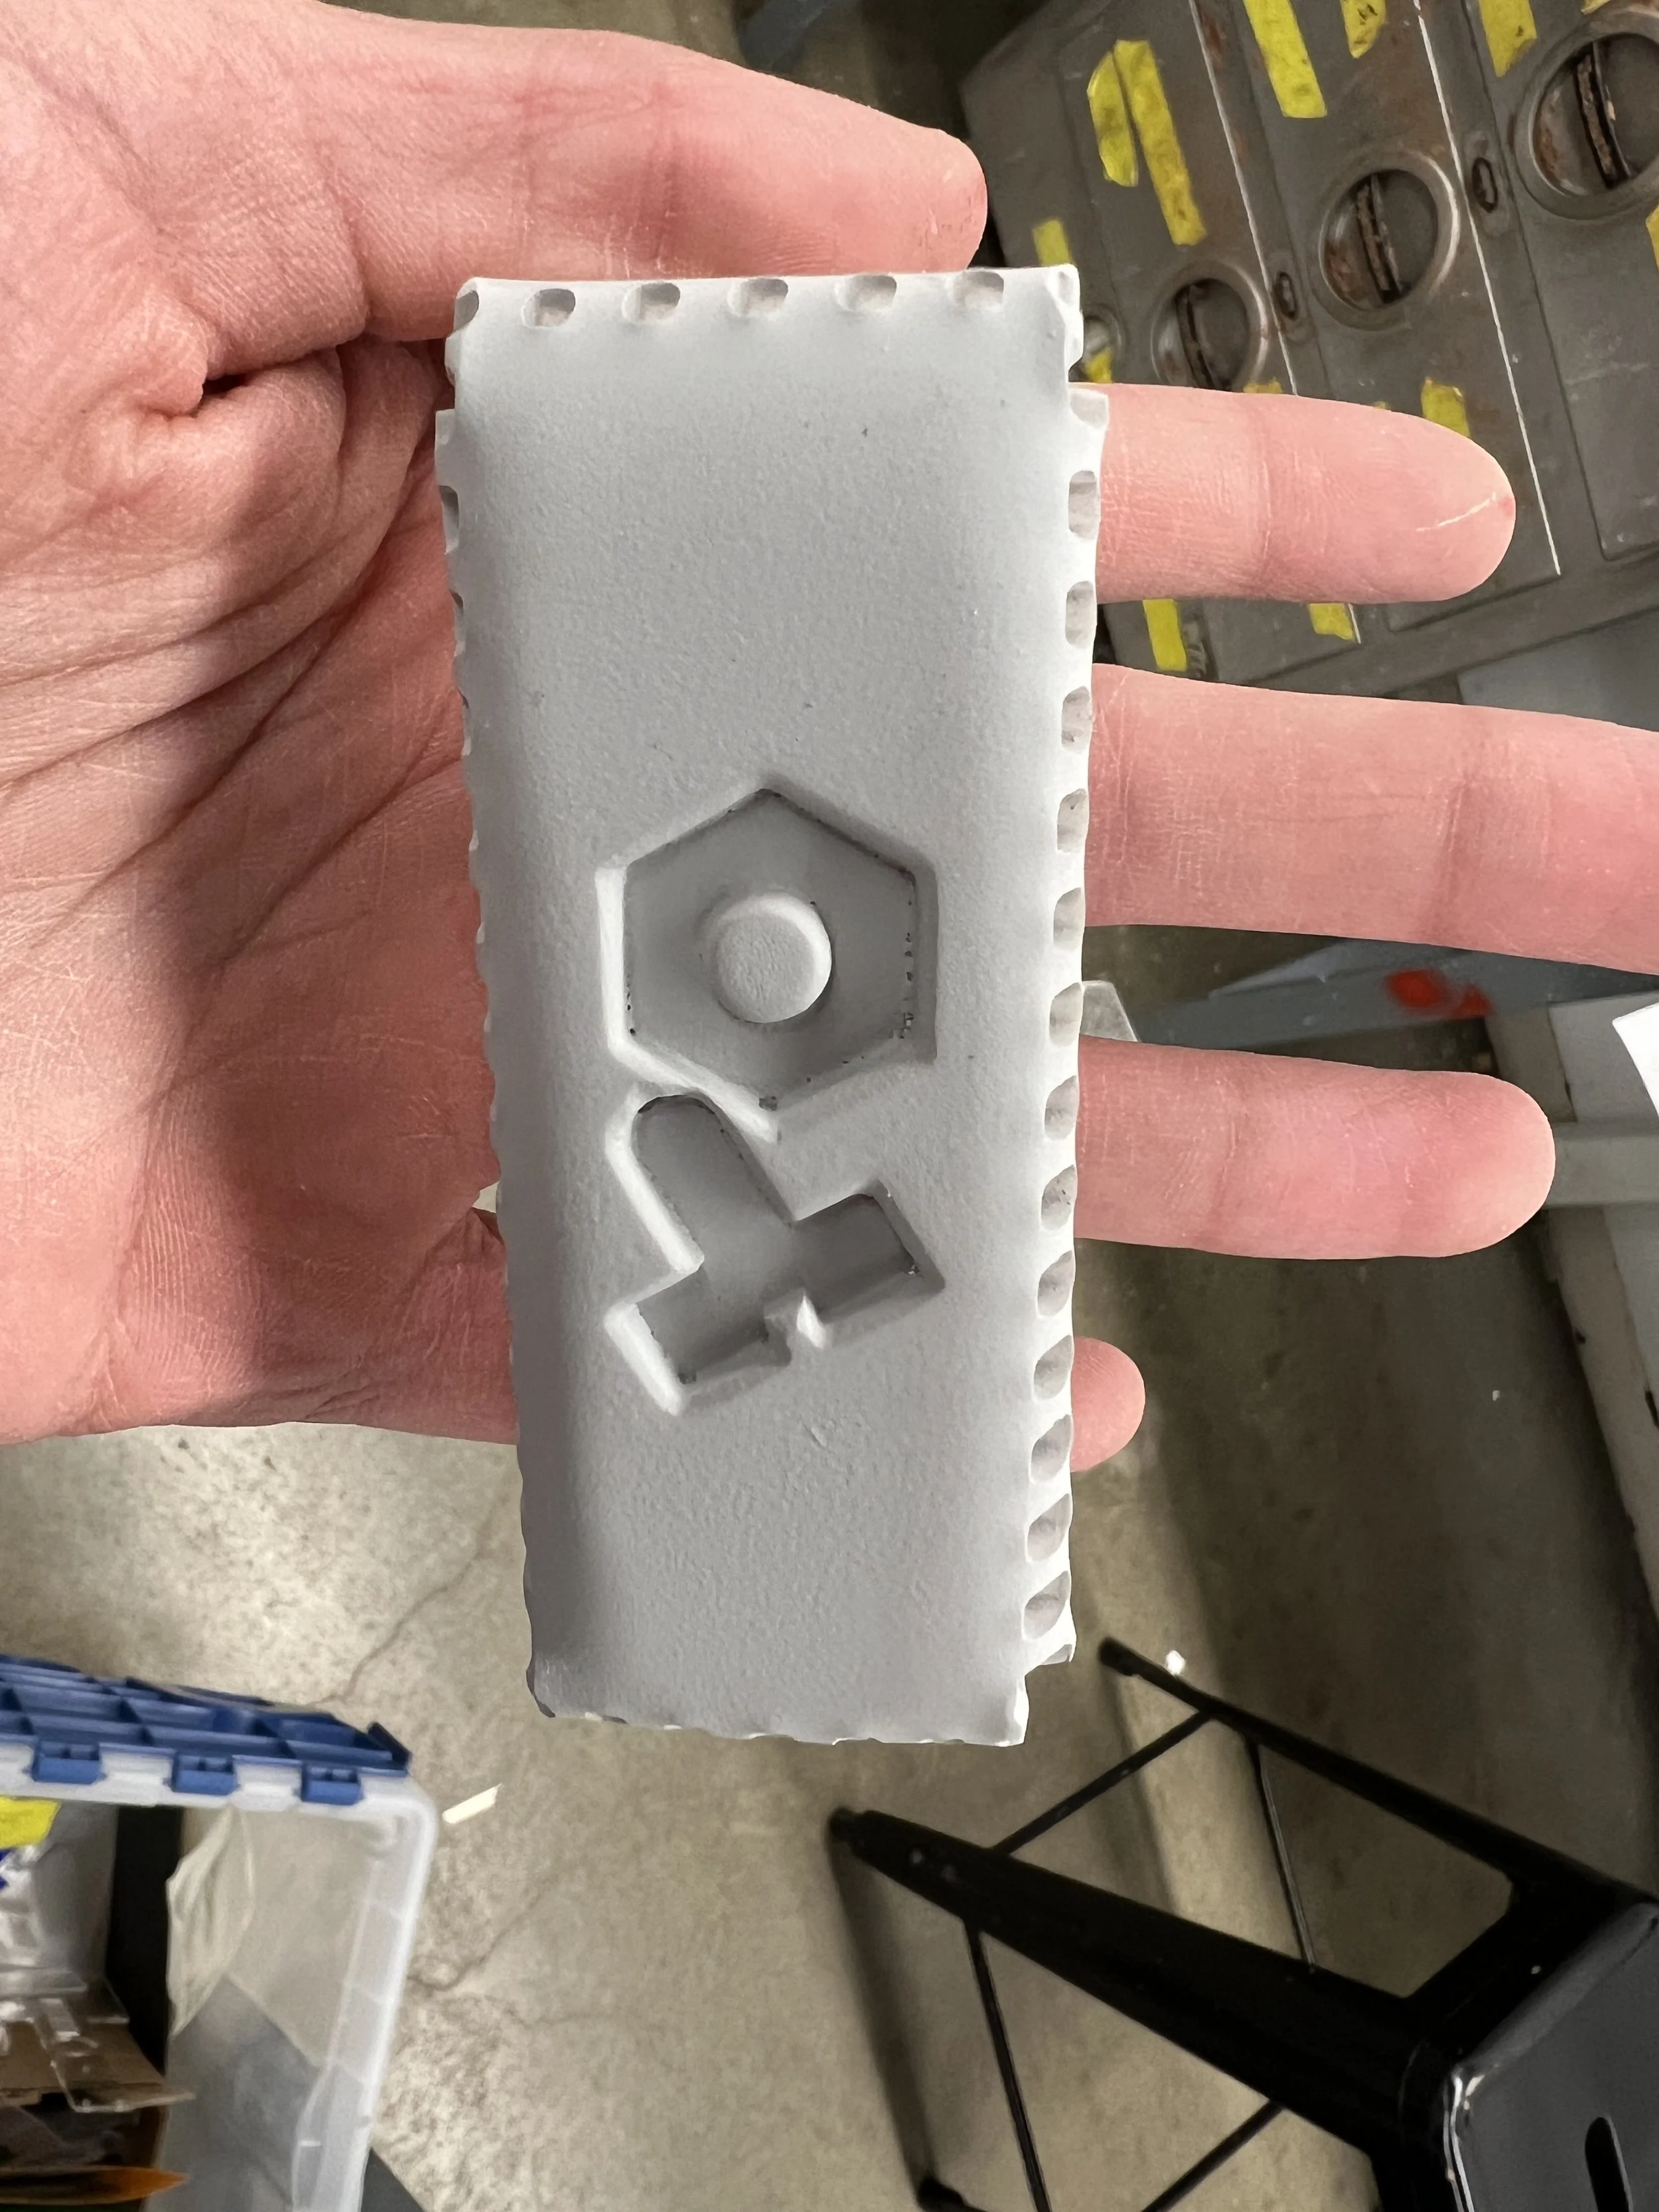

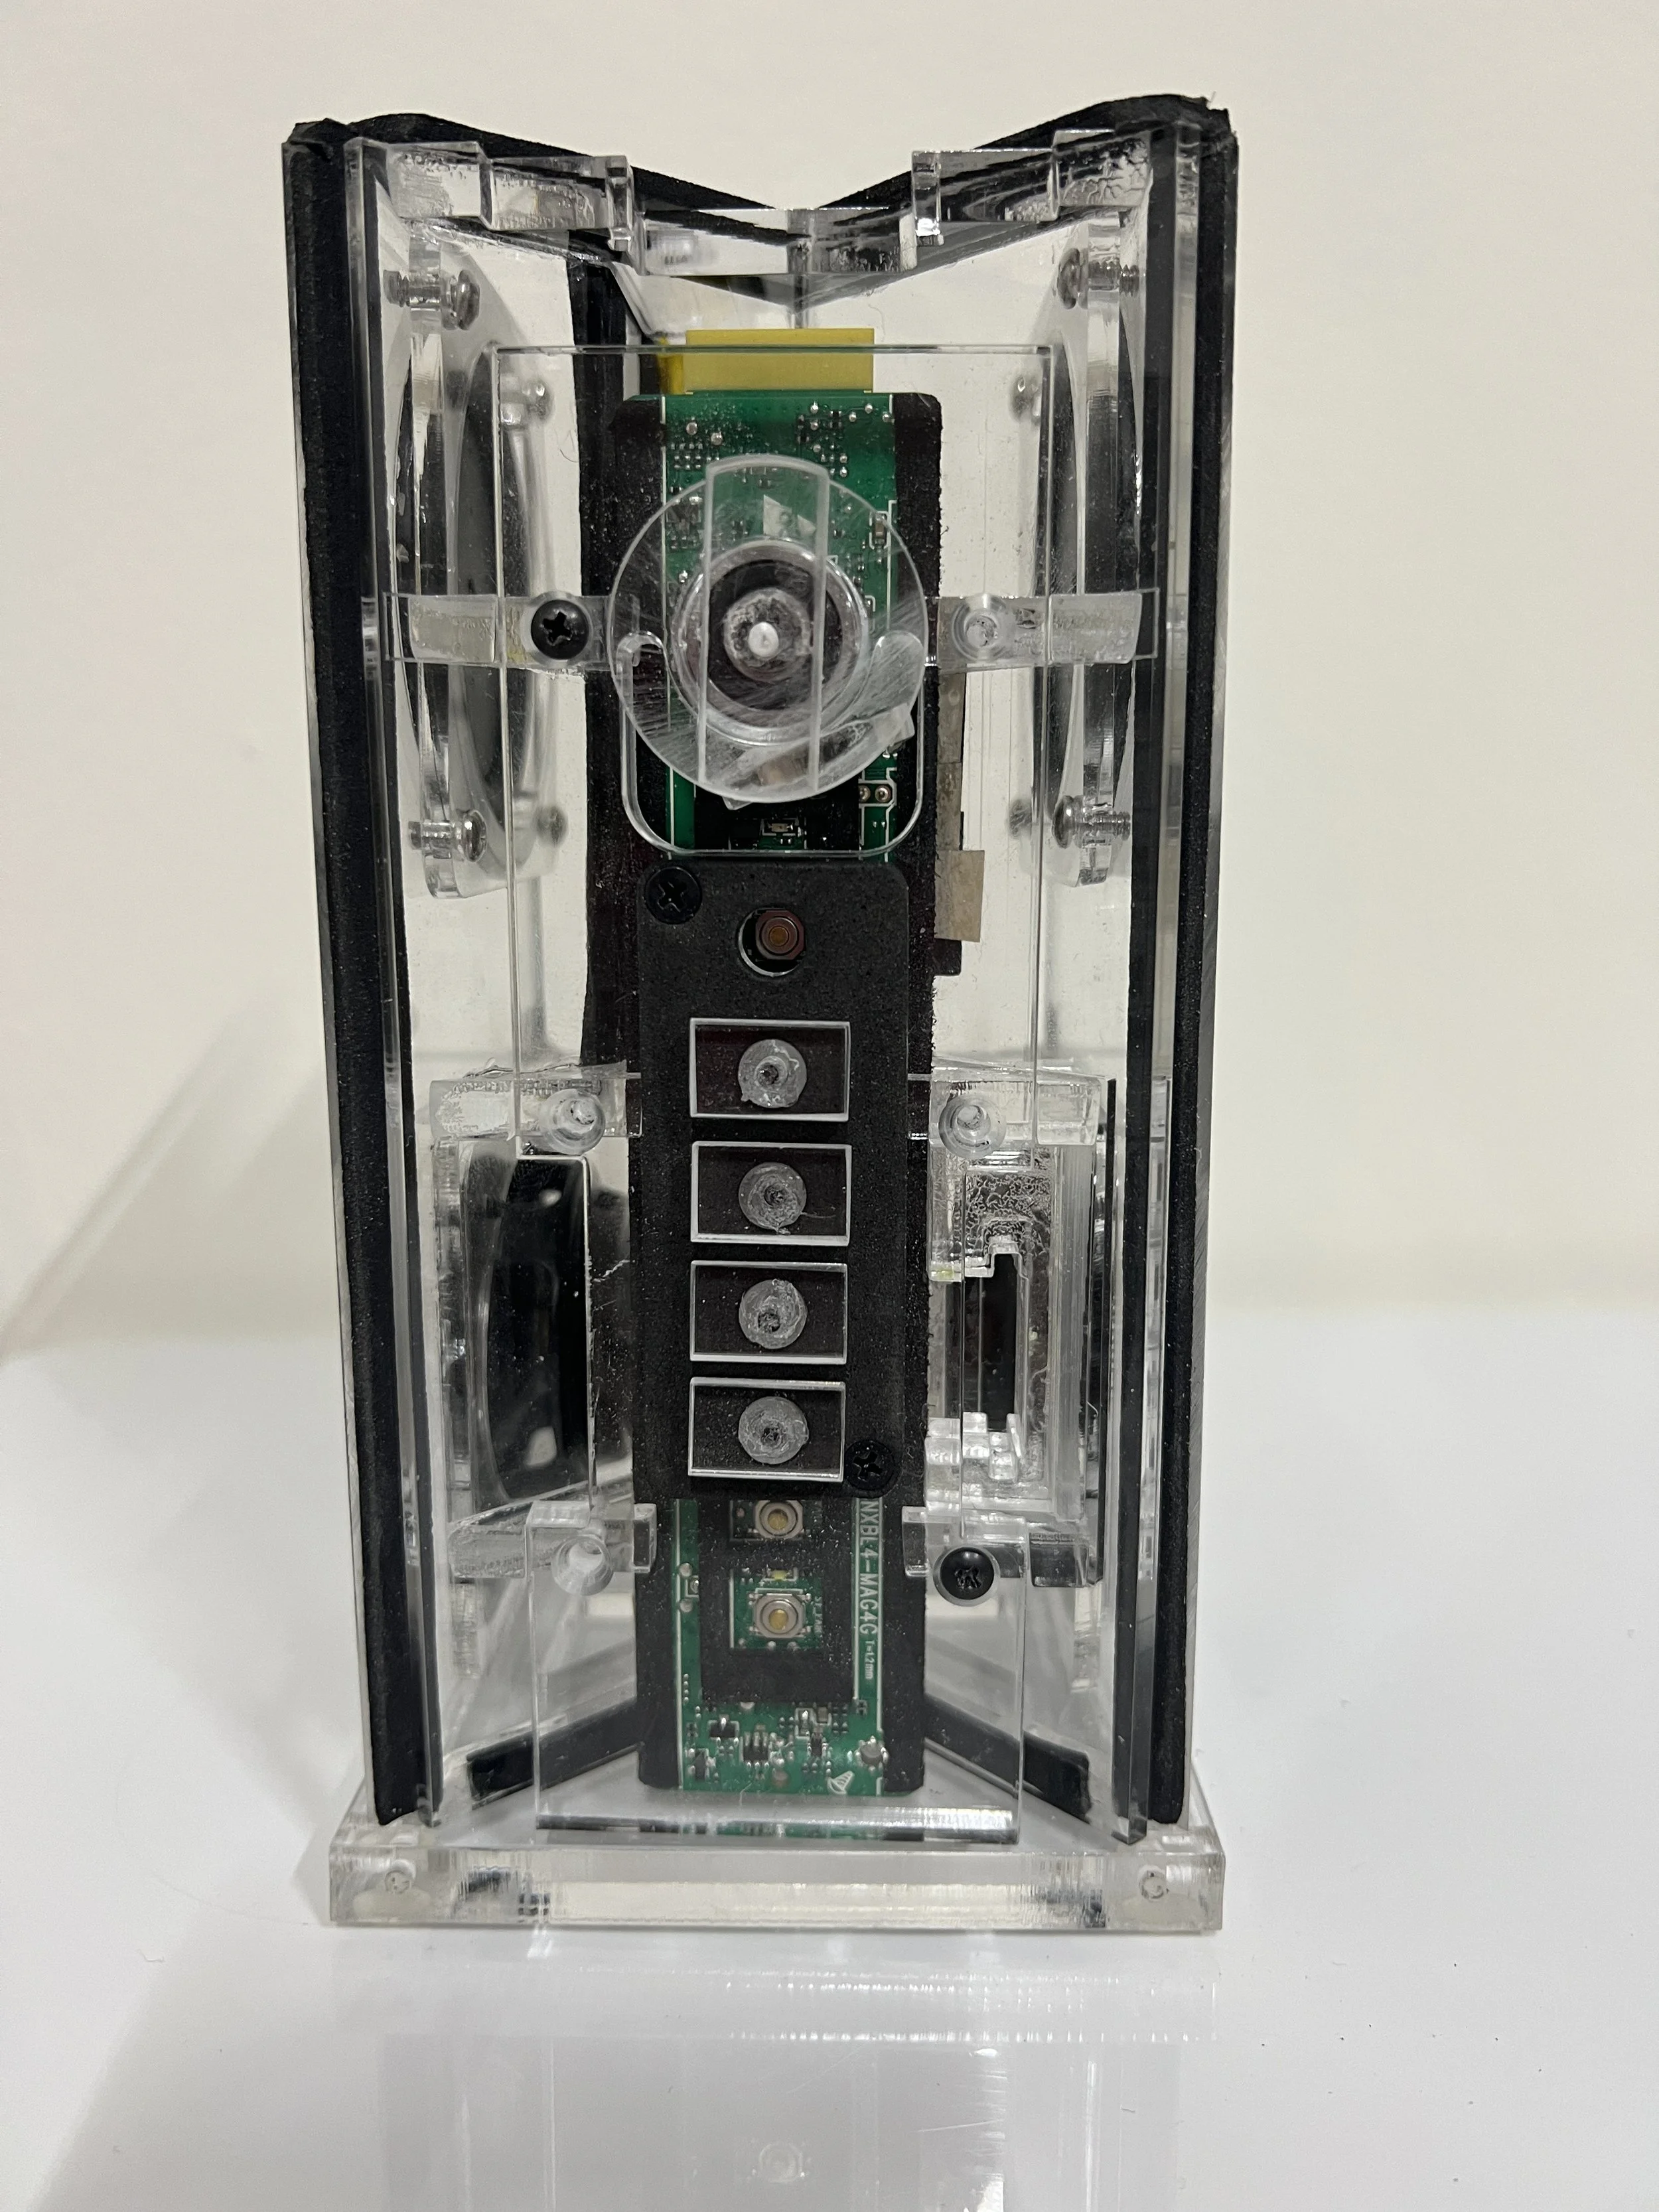
The last feature I wanted to achieve was a rotating on and off switch. Almost every product designed by teenage engineering has some sort of dial switch.
First dial switch mechanism sketch.
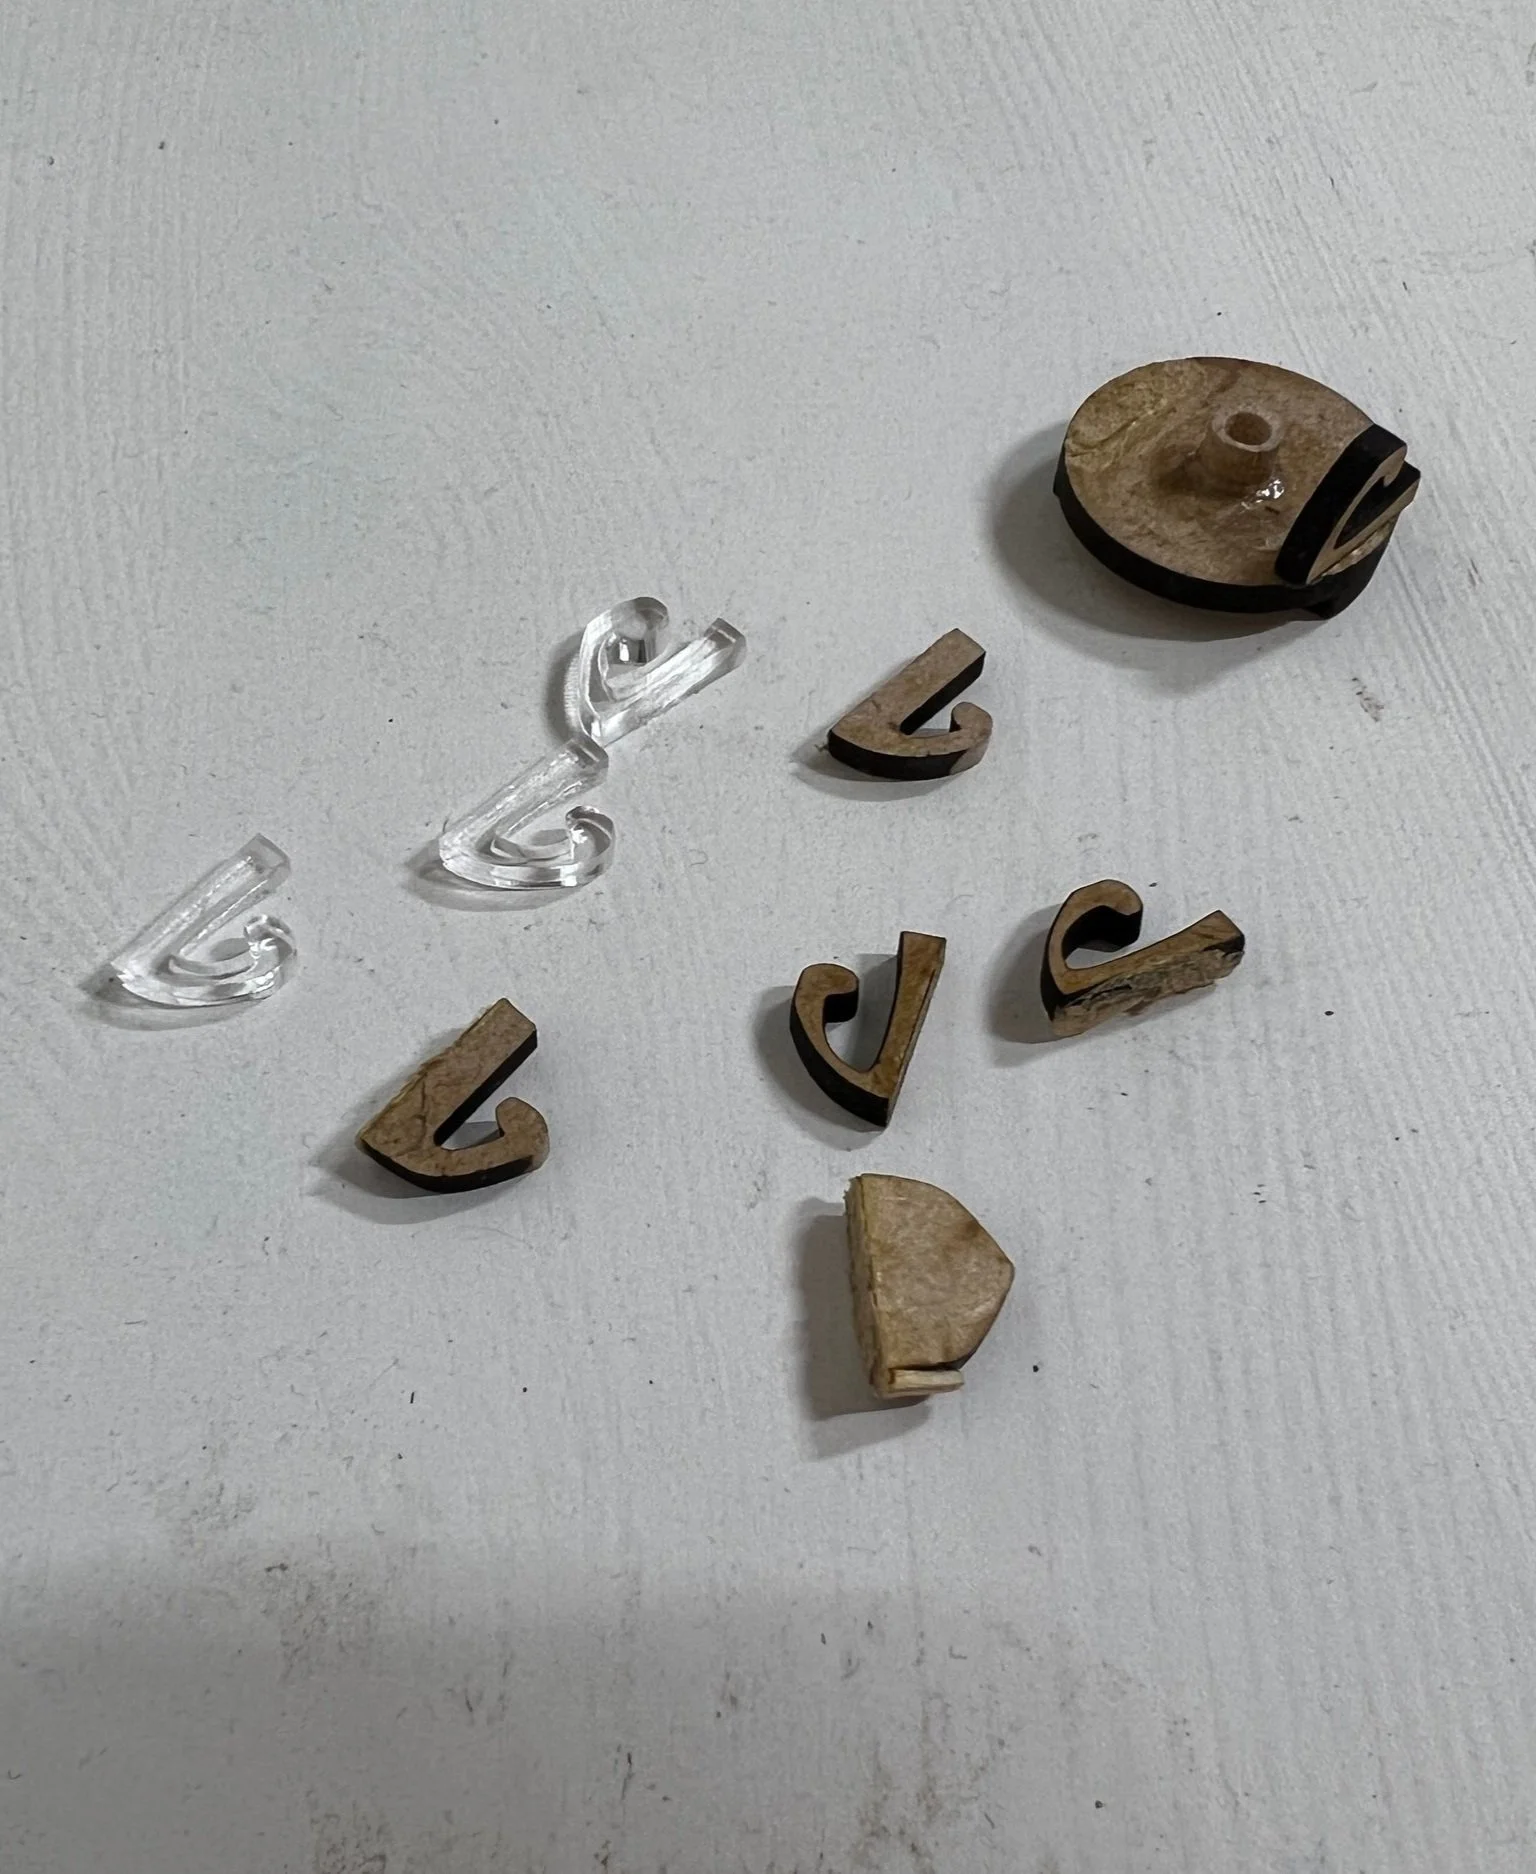

Working on/off Dial Switch .

Dial Switch Insights.
Because the controls were attached to the main board of the speaker, I had to design a dial that could work with the already installed power button. Ultimately this proved to be a pretty simple mechanism consisting of a small arm attached to the underside of the dial that would bump in to power button, turning it on when rotated. To turn off, you repeat the process in the reverse Direction hitting the button again.